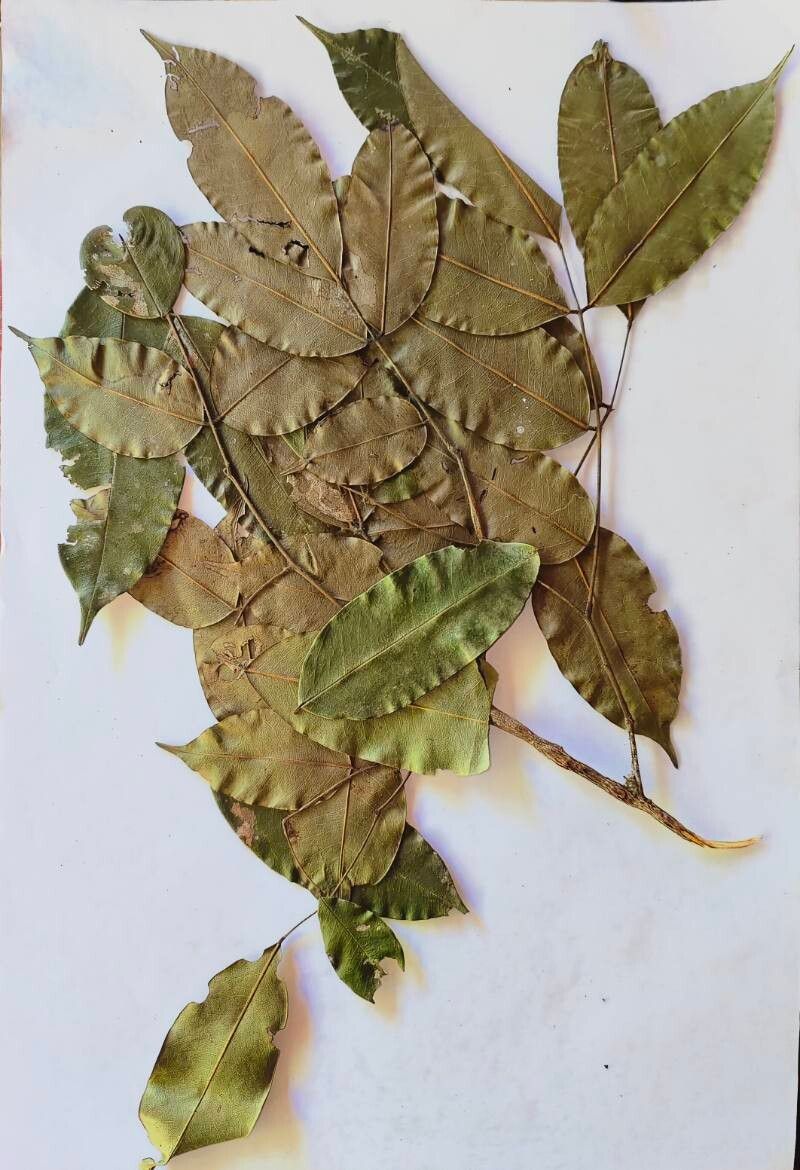
Hello, fellow plant lovers! I’m so excited to dive into a topic that brings me immense joy: propagating plants. Today, we’re going to talk about a really special one, the lovely Swartzia amshoffiana. She’s a jewel, isn’t she? Those delicate leaves and often vibrant blooms make her a standout in any collection. And the best part? Getting more of these beauties for yourself is incredibly rewarding. Now, if you’re new to the plant propagation game, I’ll be honest, Swartzia amshoffiana might present a slight challenge, but don’t let that deter you! With a little patience and the right approach, you’ll be successful.
The Best Time to Start
For the highest chance of success with your Swartzia amshoffiana, I always recommend starting in the spring or early summer. This is when the plant is actively growing and has the energy reserves to dedicate to forming new roots. You want to take cuttings from stems that are healthy and vigorous, but not brand new, tender growth. Think of stems that are semi-hardwood – they have a bit of flexibility but aren’t quite woody.
Supplies You’ll Need
Before we get our hands dirty, let’s gather our tools:
- Sharp Pruning Shears or a Clean Knife: For making clean cuts on your parent plant.
- Rooting Hormone: This isn’t strictly necessary for all plants, but it can significantly boost your success rate with Swartzia amshoffiana.
- Potting Mix: A well-draining mix is crucial. I like to use a blend of peat moss or coco coir, perlite, and a bit of coarse sand. You can also find pre-made succulent or cactus mixes that work well.
- Small Pots or Propagation Trays: Clean, with drainage holes!
- Plastic Bag or Humidity Dome: To create a humid environment for your cuttings.
- Watering Can or Spray Bottle: For gentle watering.
- Labels and a Marker: To keep track of your precious new plants.
Propagation Methods: Let’s Get Rooting!
The most reliable method for me with Swartzia amshoffiana is stem cuttings. Here’s how I do it:
- Select Your Cutting: Choose a healthy, semi-hardwood stem from your established plant. You’re looking for a section that’s about 4-6 inches long.
- Make the Cut: Using your clean pruning shears or knife, make a clean cut just below a leaf node. This is where the plant’s natural rooting hormones are concentrated. Remove any lower leaves that might fall below the soil line. You can leave a couple of leaves at the top to photosynthesize.
- Apply Rooting Hormone (Optional but Recommended): Dip the cut end of your stem into the rooting hormone powder or gel. Tap off any excess.
- Plant Your Cutting: Fill your small pot or propagation tray with your prepared potting mix. Make a small hole with your finger or a pencil. Gently insert the cut end of the stem into the hole, ensuring the leaf node is below the surface.
- Firm the Soil: Gently firm the soil around the stem to ensure good contact.
- Water Gently: Water the soil thoroughly but gently, so as not to dislodge the cutting.
- Create Humidity: Cover the pot with a plastic bag (loosely, to allow for some air circulation) or place it in a propagation tray with a humidity dome. This is key to preventing the cutting from drying out.
- Find the Right Spot: Place your pot in a bright location, but out of direct sunlight. A warm spot is ideal.
The “Secret Sauce” (Pro Tips)
Here are a few things I’ve learned over the years that can really help your Swartzia amshoffiana cuttings thrive:
- Bottom Heat is Your Friend: If you can, place your propagation pots on a heated propagation mat. This provides gentle bottom warmth, which encourages faster root development. It’s a game-changer!
- Don’t Overwater, But Don’t Let Them Dry Out: This is a delicate balance. You want the soil to remain consistently moist, but never soggy. Check the soil by touching it; if the top inch feels dry, it’s time to water.
- Patience is a Virtue (Especially with a Lid On): Resist the urge to constantly peek and pull at your cuttings. Once you’ve set them up, leave them be for a few weeks. You’ll see new growth when roots have formed.
Aftercare & Troubleshooting
Once you start to see little signs of new growth – perhaps a tiny new leaf unfurling – it’s a good indication that roots have formed. At this point, you can gradually start to acclimate your new plant to lower humidity levels by opening the plastic bag or dome for longer periods each day. Continue to keep it in bright, indirect light.
The most common issue you’ll encounter is rot. This usually happens from overwatering or poor drainage. If the stem turns mushy or black, it’s likely rot, and sadly, that cutting is probably lost. If you see signs of wilting and the soil is consistently damp, it could be a sign that roots haven’t formed yet and the cutting is struggling. Don’t give up on the others!
A Little Garden Magic
Propagating plants is a journey, and each success feels like a little bit of garden magic. Be patient with your Swartzia amshoffiana, give it the conditions it loves, and enjoy the process of watching new life emerge. Happy propagating!
Resource:
https://identify.plantnet.org/k-world-flora/species/Swartzia%20amshoffiana%20R.S.Cowan/data