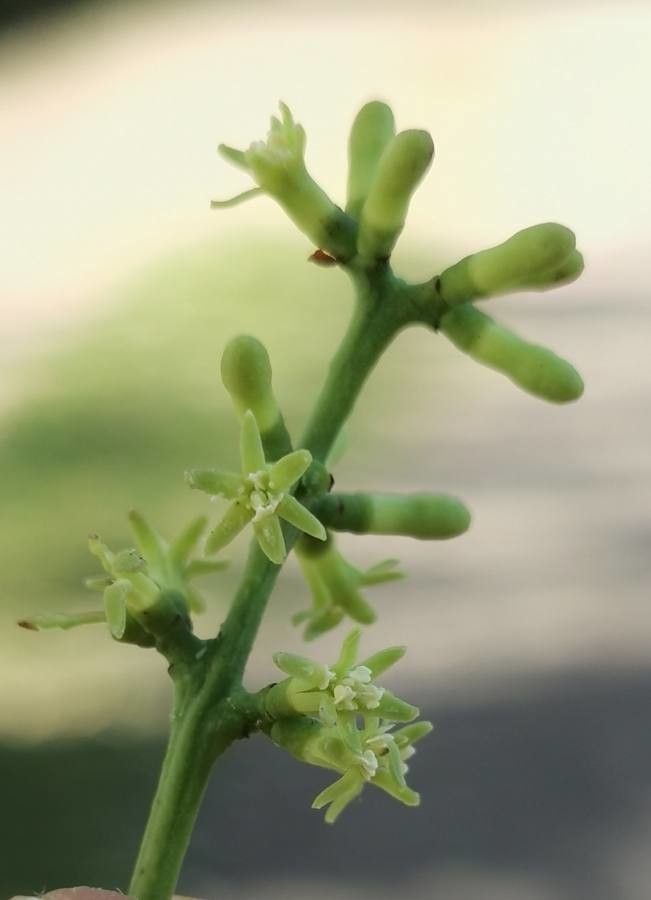
Oh, hello there! Come on in and pull up a chair. I’ve got my favorite mug of chamomile here, and I’m so excited to chat with you today about a truly fascinating plant: Struthanthus interruptus. If you’ve ever admired its vibrant foliage or its unique, almost architectural growth habit, you’re in for a treat. Propagating this beauty is a wonderfully rewarding experience, and while it might seem a little daunting at first glance, with a few pointers, you’ll be well on your way to a whole new bunch of happy plants! For beginners, I’d say it’s moderately easy. It requires a bit of attention but not a PhD in botany, thankfully!
The Best Time to Start
When it comes to Struthanthus interruptus, timing is everything. You’ll have the best luck starting in the spring, as the plant enters its active growth phase. This is when it’s got the most energy to put into developing new roots. Look for stems that are semi-hardwood – not brand new and floppy, but not old and woody either. Think of it as the plant’s teenage years; full of potential!
Supplies You’ll Need
Gathering your tools before you begin makes the whole process so much smoother. Here’s what I usually have on hand:
- Sharp Pruning Shears or a Clean Knife: Essential for making clean cuts to avoid damaging the plant.
- Well-Draining Potting Mix: A good blend for me is about 50% perlite and 50% peat moss or coco coir. You can also find specific succulent or cactus mixes that work well.
- Small Pots or Propagation Trays: Clean pots are a must! They should have drainage holes.
- Rooting Hormone (Optional but Recommended): This can really give your cuttings a boost. Look for one with a good concentration of IBA.
- Plastic Bags or a Propagator Lid: To create a humid environment.
- Watering Can or Spray Bottle: For gentle watering.
- Labels: You know, so you don’t forget what you planted!
Propagation Methods
I find stem cuttings to be the most reliable way to go for Struthanthus interruptus. It’s straightforward and yields excellent results if you follow these steps:
- Take Your Cuttings: Using your clean shears, select a healthy stem. Cut a piece that is about 4-6 inches long. Make the cut just below a leaf node (where a leaf attaches to the stem). Remove any lower leaves that might touch the soil or water, leaving just a couple of leaves at the top.
- Apply Rooting Hormone (if using): Dip the cut end of the stem into your rooting hormone. Gently tap off any excess.
- Plant Your Cuttings: Fill your small pots with your prepared potting mix. Make a small hole with your finger or a pencil and gently insert the cutting, firming the soil around it. You can typically fit 2-3 cuttings per small pot.
- Water Gently: Give the soil a light watering. You want it moist, not soggy.
- Create Humidity: Cover the pot with a clear plastic bag, securing it around the rim with a rubber band, or place it inside a propagator with the lid on. This traps moisture, which is crucial for the cuttings to form roots.
- Provide Light: Place the pots in a bright spot that receives indirect sunlight. Avoid direct sun, as it can scorch the delicate cuttings.
The “Secret Sauce” (Pro Tips)
Now, for a couple of little tricks I’ve learned over the years that really make a difference:
- Don’t Overcrowd! When you’re taking cuttings, resist the urge to cram too many into one pot. Give each one a bit of space. Overcrowding can lead to poor air circulation and increase the risk of fungal issues.
- Bottom Heat is Your Friend: If you have a heat mat designed for seedlings and cuttings, using it can dramatically speed up root development. Just place your pots on top of it. The gentle warmth encourages the plant to get rooting.
- Cleanliness is Next to Godliness: I can’t stress this enough. Make sure everything you use – your shears, your pots, your hands – is spotlessly clean. This prevents the transmission of any diseases that could foil your efforts.
Aftercare & Troubleshooting
Once your cuttings have started to show signs of growth or you gently tug on them and feel resistance (that’s a good sign of roots!), it’s time to lighten up on the humidity. Gradually remove the plastic bag over a few days, or open the propagator slots. Continue to keep the soil consistently moist but not waterlogged.
The most common issue you might encounter is rot. If your cuttings turn mushy and brown, that’s usually a sign of too much moisture and not enough air circulation. If you see this, try to remove the affected cutting immediately and check your watering habits. It’s a bummer, but don’t be discouraged! It happens to the best of us.
A Encouraging Closing
Propagating plants is a journey, and Struthanthus interruptus is a wonderful companion for that journey. Be patient with your little cuttings. It might take a few weeks, or even a couple of months, to see significant root development. Keep them happy, keep them consistently moist, and have faith in nature’s magic. Before you know it, you’ll have a whole new family of these gorgeous plants to admire and share. Happy propagating!
Resource: