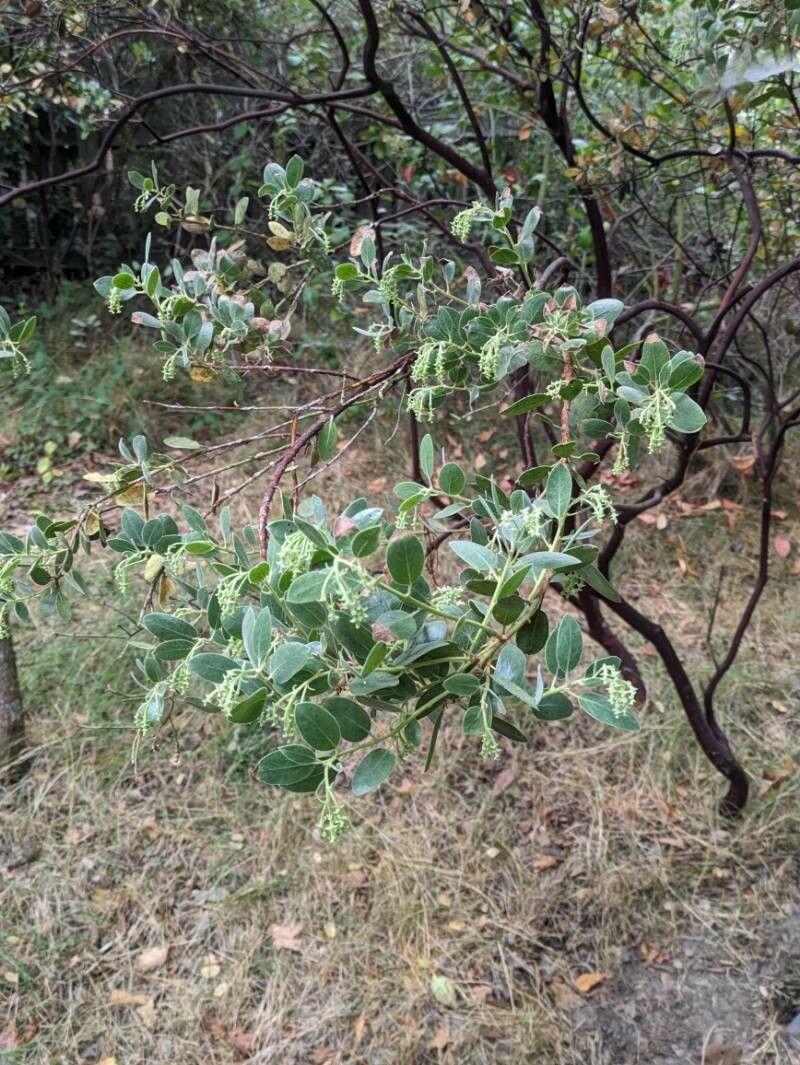
Hello fellow garden enthusiasts! Today, we’re diving into the wonderful world of Arctostaphylos bakeri, often called Baker’s Manzanita. If you’ve ever admired its beautiful, smooth, mahogany-red bark and delicate pink flowers, you know how special this plant is. Propagating them yourself is such a rewarding experience, like coaxing a tiny piece of that natural beauty into your own hands. While Manzanitas can sometimes be a little particular, with a little patience and the right approach, you can absolutely succeed!
The Best Time to Start
For stem cuttings, you’ll have the best luck when the plant is in a semi-hardwood stage. This usually happens in late summer to early fall, after the rapid growth of spring has slowed down. The stems are firm but not yet fully woody and mature. Think of it as the “just right” phase – not too soft and floppy, not too hard and brittle.
Supplies You’ll Need
Here’s what you’ll want to have on hand:
- Sharp, clean pruning shears or a sharp knife: Essential for making clean cuts.
- Rooting hormone: A powdered form is usually easiest for cuttings.
- A well-draining potting mix: A blend of perlite, coarse sand, and peat or coco coir works wonders. Many people find success with a commercial succulent or cactus mix as a base.
- Small pots or seed trays: Clean and with drainage holes, of course!
- Plastic bags or a propagator lid: To keep humidity high around the cuttings.
- Watering can or spray bottle: For gentle watering.
- Optional: Bottom heat mat: This can significantly speed up root development.
Propagation Methods
Let’s get our hands dirty with stem cuttings, which are generally the most successful for Baker’s Manzanita.
- Take Your Cuttings: In late summer or early fall, select healthy, non-flowering stems that are about 4-6 inches long. Make a clean cut just below a leaf node (where a leaf attaches to the stem).
- Prepare the Cuttings: Gently remove the lower leaves from the bottom 2-3 inches of the stem. This prevents them from rotting when buried in the soil.
- Apply Rooting Hormone: Dip the cut end of the stem into your rooting hormone, tapping off any excess.
- Plant Your Cuttings: Fill your small pots or trays with your well-draining potting mix. Moisten it thoroughly.
- Insert the Cuttings: Make a small hole in the soil with a pencil or your finger and carefully insert the prepared cutting, ensuring the bottom leaf nodes are buried. Gently firm the soil around the stem.
- Create a Humid Environment: Water gently to settle the soil. Then, cover the pots with a plastic bag (propping it up so it doesn’t touch the leaves) or place them in a propagator with a lid. This is crucial for preventing the cuttings from drying out.
The “Secret Sauce” (Pro Tips)
Here are a couple of things I’ve learned over the years that can really make a difference:
- Avoid Overwatering, But Don’t Let Them Dry Out: This is a fine balance! The soil should be consistently moist but not soggy. Soggy conditions are a fast track to rot. A good trick is to check the soil moisture by touch or by the weight of the pot.
- Bottom Heat is Your Friend: If you can, place your pots on a bottom heat mat set to around 70-75°F (21-24°C). This gentle warmth encourages root formation from below and can significantly shorten the rooting time. It truly makes a difference, especially for trickier plants.
Aftercare & Troubleshooting
Once your cuttings are planted, find a bright spot with indirect light. Avoid direct sun, which can scorch those tender new cuttings. Keep the humidity high.
You’ll know your cuttings are rooting when you see signs of new growth – tiny leaves emerging from the tip or even along the stem. This can take anywhere from 4-8 weeks, sometimes longer. You can also give a gentle tug; if there’s resistance, roots have likely formed.
If you see the leaves turning yellow and dropping, or the stem becoming mushy and black, rot is the likely culprit. This is often due to too much moisture or poor drainage. Unfortunately, rotten cuttings usually can’t be saved, but don’t despair! Just learn from it and try again. Sometimes, a cutting just doesn’t take, and that’s perfectly okay.
A Little Patience Goes a Long Way
Propagating any plant is a journey of patience and observation. Don’t get discouraged if your first attempt isn’t a runaway success. Each cutting you take, each watering you give, is a learning experience. Enjoy the process of nurturing these little potential treasures. Happy gardening!
Resource:
https://identify.plantnet.org/k-world-flora/species/Arctostaphylos%20bakeri%20Eastw./data