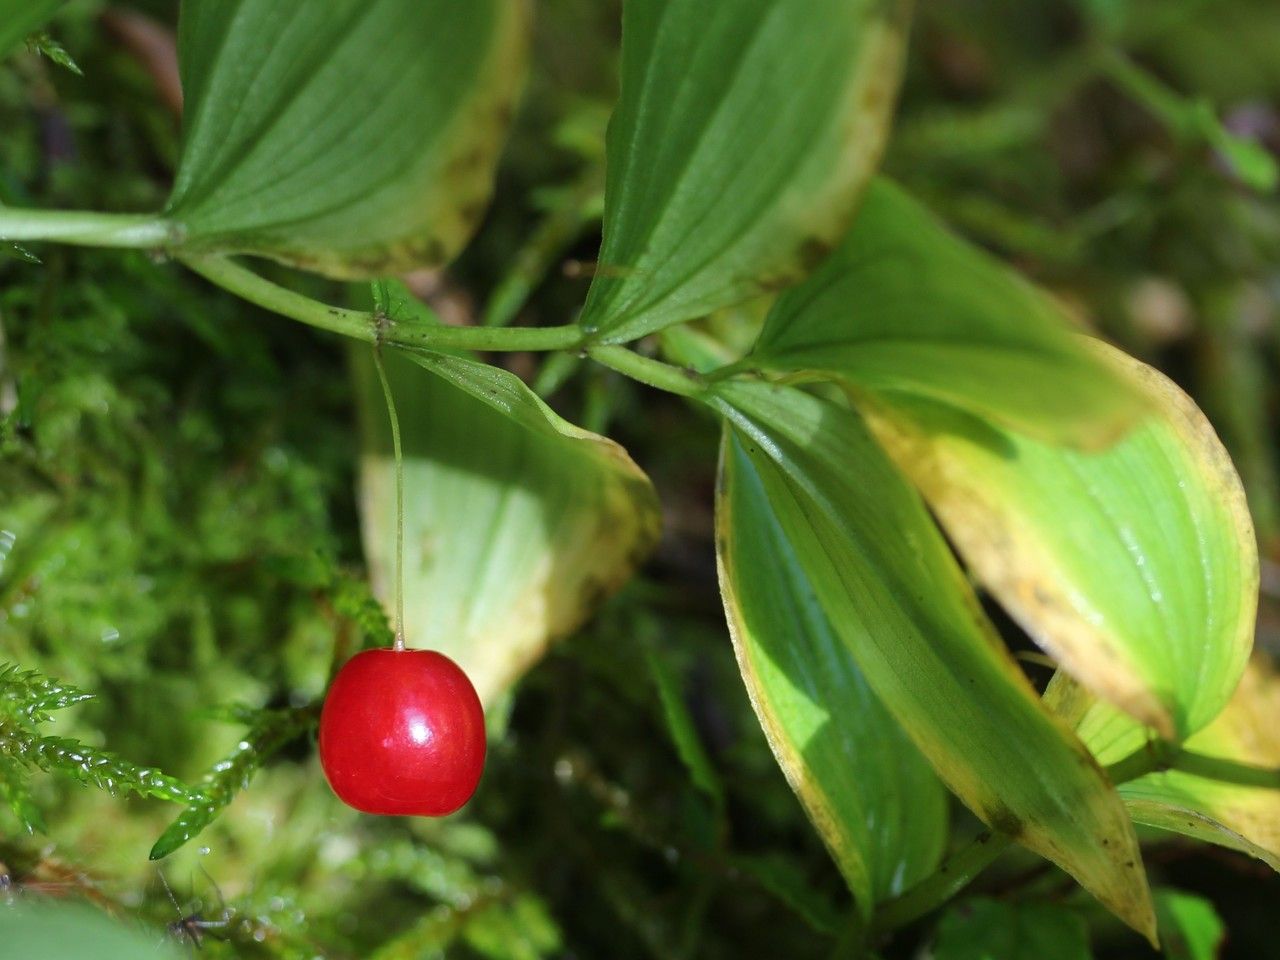
Oh, Streptopus streptopoides! If you’re dreaming of bringing more of those delicate, nodding flowers and lovely arching stems into your garden, you’re in for a treat. These woodland beauties, often called Twisted Stalk or even Clasping Twisted Stalk, have a quiet charm that really speaks to my soul. They’re not the flashiest plants, but their subtle elegance is something special. And yes, propagating them can be incredibly rewarding, giving you more of them to enjoy or to share with fellow plant lovers!
Now, for the scoop: Is it easy peasy or a bit of a puzzle? Honestly, I’d say Streptopus streptopoides falls into the moderately challenging category. It’s not one you can just snap a twig off and stick in the ground and expect miracles. But with a little patience and the right approach, you can absolutely be successful!
The Best Time to Start
My favorite time to get my hands dirty with Streptopus is in the early spring, just as the new shoots are starting to unfurl. You’ll see them pushing up from the soil, full of life and ready to grow. This is when the plant has maximum energy for division or taking cuttings. Late spring, after flowering, can also work for some methods, but early spring is definitely my go-to for the best chance of robust new plants.
Supplies You’ll Need
Gathering your tools before you begin always makes the process smoother. Here’s what I usually have on hand:
- Sharp, clean pruning shears or a sharp knife: Essential for making clean cuts.
- Well-draining potting mix: A good blend for woodland plants is key. I often use a mix of peat moss, perlite, and compost.
- Small pots or trays: For your cuttings or divisions.
- Rooting hormone (optional, but recommended): A powder or gel can really give your cuttings a boost.
- Perlite or coarse sand: To improve drainage in your potting mix.
- A watering can with a fine rose: For gentle watering.
- Labels: To remember what you planted and when!
Propagation Methods
For Streptopus streptopoides, division is generally the most successful and straightforward method. While stem cuttings are possible, they can be a bit more finicky.
Division: Bringing New Life to Existing Plants
This is where you physically split an established plant into smaller pieces, each with roots and a growing point.
- Gently Excavate: In early spring, carefully dig up your mature Streptopus plant. Try not to disturb the root ball too much.
- Clean the Roots: Gently brush away excess soil from the root system. You want to be able to see where the rhizomes (underground stems) and roots are dividing naturally.
- Identify Division Points: Look for natural breaks where you can see distinct sections of rhizomes with attached roots. You might need to gently tease them apart with your fingers or a blunt tool.
- Make the Cut (if necessary): If the rhizomes are tightly intertwined, use your clean knife or shears to make a cut. Ensure each section has healthy roots and at least one or two healthy buds or growing points.
- Pot Up Your Divisions: Plant each division in its own pot filled with your well-draining potting mix. Make sure the top of the rhizome is just at or slightly below the soil surface.
- Water Gently: Give your newly potted divisions a light watering.
- Find a Shady Spot: Place the pots in a cool, shaded location. Keep the soil consistently moist but not waterlogged.
The “Secret Sauce” (Pro Tips)
Here are a couple of things I’ve learned over the years that can make a real difference:
- Don’t Over-Complicate the Soil: While good drainage is crucial, remember these are woodland plants. They appreciate a bit of organic matter. A super-sterile, gritty mix might not give them the initial nutrients they need to get going. My go-to is about 50% good quality compost and 50% perlite or vermiculite.
- Patience, Young Grasshopper: Streptopus aren’t known for blazing fast root development, especially after division. Don’t be tempted to constantly dig them up to check for roots! If you see no signs of wilting and the soil stays consistently moist, trust that things are happening beneath the surface.
Aftercare & Troubleshooting
Once your divisions are potted up and settled, the ongoing care is pretty simple.
- Moisture is Key: Keep the soil consistently moist, like a wrung-out sponge. Avoid letting them dry out completely, as this can stress the new divisions. However, soggy soil is the enemy, leading to root rot.
- Shade, Shade, Shade: New divisions are vulnerable. Keep them out of direct sunlight. A bright, indirect light is perfect.
- Fertilizing Later: You can introduce a very dilute liquid fertilizer once you see good new growth appearing, usually after a few weeks.
Common Signs of Failure:
- Wilting that doesn’t recover after watering: This is a big red flag. It often indicates that the roots aren’t taking up water, which could be due to rot or the division being too weak.
- Mushy, dark, or foul-smelling roots: This is the tell-tale sign of root rot, usually caused by overwatering and poor drainage. If you see this, it’s hard to recover, but you can try to salvage any healthy-looking sections and repot them in fresh, dry mix.
A Encouraging Closing
So there you have it! Propagating your Streptopus streptopoides might take a little more attention than some of your other garden friends, but the satisfaction of nurturing new plants from an existing one is truly special. Be patient, trust the process, and don’t be discouraged if your first attempt isn’t perfect. Every gardener learns and grows, just like our plants. Enjoy every step of this rewarding journey!
Resource: