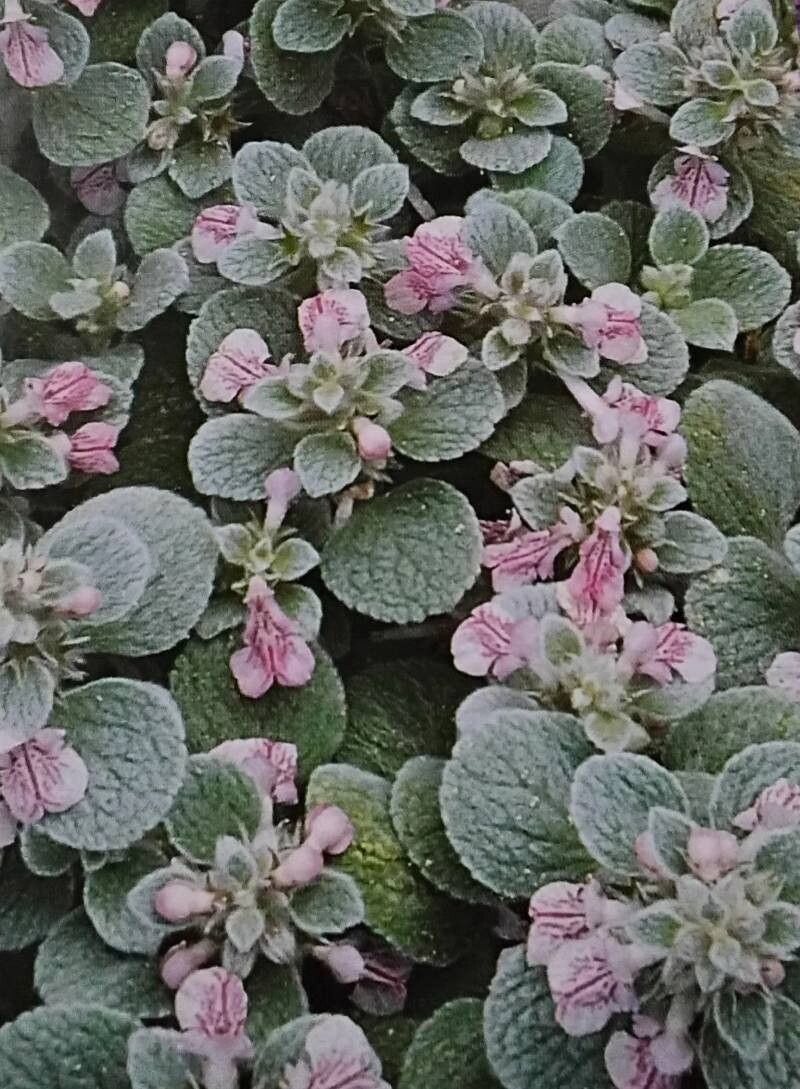
Oh, hello there! Come on in, pull up a chair. It’s lovely to chat about plants with you. Today, we’re diving into the wonderfully fuzzy world of Stachys candida, often called Lamb’s Ear. Now, I know some of you might have seen these beauties and immediately fallen for their soft, silvery foliage that feels just like velvet. They bring such a unique texture and brightness to any garden bed, spilling over the edges and shining even on a cloudy day.
Propagating Stachys candida is one of those gardening joys that just keeps on giving. There’s nothing quite like taking a little piece of a plant you already love and watching it grow into a whole new one. It’s a fantastic way to fill in gaps in your garden, share with green-thumbed friends, or just expand your collection. And the best part? For seasoned gardeners, it’s a delight. For beginners, I’d say Stachys candida is quite forgiving, making it a wonderfully rewarding plant to start your propagation journey with!
The Best Time to Start
My favorite time to get my hands dirty with Stachys candida propagation is generally in late spring to early summer. This is when the plant is in its active growing phase, usually after it has finished its initial spring flush and before things get too intensely hot. You’ll find the stem cuttings are usually plumper and more vigorous then, giving them a real head start.
Supplies You’ll Need
Let’s get our tools ready! Here’s what you’ll want to have on hand:
- Sharp Pruning Shears or a Clean Knife: For taking clean cuts without crushing stems.
- Small Pots or Seedling Trays: With drainage holes, of course!
- Rooting Hormone (Optional but Recommended): A powder or liquid that encourages faster and stronger root development.
- Well-Draining Potting Mix: A good general-purpose potting mix or a blend of equal parts peat moss and perlite works beautifully. You can also add a bit of sharp sand.
- Spray Bottle: For misting the cuttings.
- Plastic Bag or Propagator Lid: To create a humid environment.
- Gloves (Optional): If you prefer to keep your hands clean.
Propagation Methods
Stachys candida is pretty versatile, but my go-to method is stem cuttings. It’s straightforward and yields great results.
Taking Stem Cuttings:
- Select Healthy Growth: Look for healthy, non-flowering stems. You want stems that are firm but not woody. Think of the new growth that’s just getting sturdy.
- Make the Cut: Using your sharp shears or knife, take cuttings that are about 4-6 inches long. Make the cut just below a leaf node (where a leaf attaches to the stem). This is where the plant is most likely to sprout roots.
- Prepare the Cuttings: Gently remove the lower leaves from the cutting, leaving just a few at the top. This helps prevent rot and directs the plant’s energy towards rooting.
- Dip in Rooting Hormone (Optional): If you’re using rooting hormone, dip the cut end of the stem into the powder or liquid. Tap off any excess.
- Plant the Cuttings: Fill your small pots with your prepared potting mix. Make a small hole in the center of the soil with your finger or a pencil. Insert the cut end of the stem into the hole, ensuring that at least one leaf node is below the soil surface.
- Water Gently: Water the soil thoroughly until it’s moist but not waterlogged.
- Create Humidity: Cover the pots with a clear plastic bag, tucking the edges under the pot, or use a propagator lid. This traps moisture and creates the humid environment cuttings need to survive. Place the pots in a bright spot, but out of direct sunlight, which can scorch the delicate cuttings.
The “Secret Sauce” (Pro Tips)
Here are a few little tricks I’ve picked up over the years that really make a difference:
- Don’t Let Leaves Touch the Water: This might sound obvious, but when you’re misting or if the soil gets a bit too damp, ensure that any remaining leaves don’t sit in any standing water. This is a prime spot for fungal issues.
- Consider Bottom Heat: While Stachys candida can root without it, a gentle bottom heat source (like a seedling heat mat) can significantly speed up the rooting process. It mimics the warmth of spring and encourages those roots to get going faster.
- Be Patient with the “Wiggle Test”: Resist the urge to tug on your cuttings to see if they’ve rooted! Wait until you see new leaf growth appearing. If you gently tug and feel a slight resistance, that’s a good sign roots have formed.
Aftercare & Troubleshooting
Once you see signs of new growth, it’s a wonderful feeling! Continue to keep the soil consistently moist but not soggy, and maintain the humidity for a few more weeks. Gradually remove the plastic cover over a few days to acclimate your new plant to normal humidity levels. Once the new plant is clearly established and has a good root system (you’ll see it filling the pot), you can transplant it into a slightly larger pot or into its final garden spot according to usual planting guidelines.
Now, sometimes things don’t go as planned. The most common pitfalls are rot and wilting.
- Rot: This usually happens when the soil stays too wet, especially without enough air circulation. The stems can become mushy and black. If you see this, unfortunately, that cutting is likely lost. Prevention is key: ensure good drainage in your pots and avoid overwatering.
- Wilting: This can happen if the cutting dries out too much, or if it’s placed in too much direct sun before roots have formed to support it. Make sure to maintain that humidity and shade them from harsh light.
A Encouraging Closing
Remember, gardening is a journey, and propagation is an art form that takes a little practice and a lot of patience. Don’t be discouraged if your first few attempts aren’t perfect. Every cutting you try is a learning experience, and soon you’ll be a Stachys candida propagating pro! Enjoy the process, and cherish the new life you’re bringing forth. Happy gardening!
Resource:
https://identify.plantnet.org/k-world-flora/species/Stachys%20candida%20Bory%20&%20Chaub./data