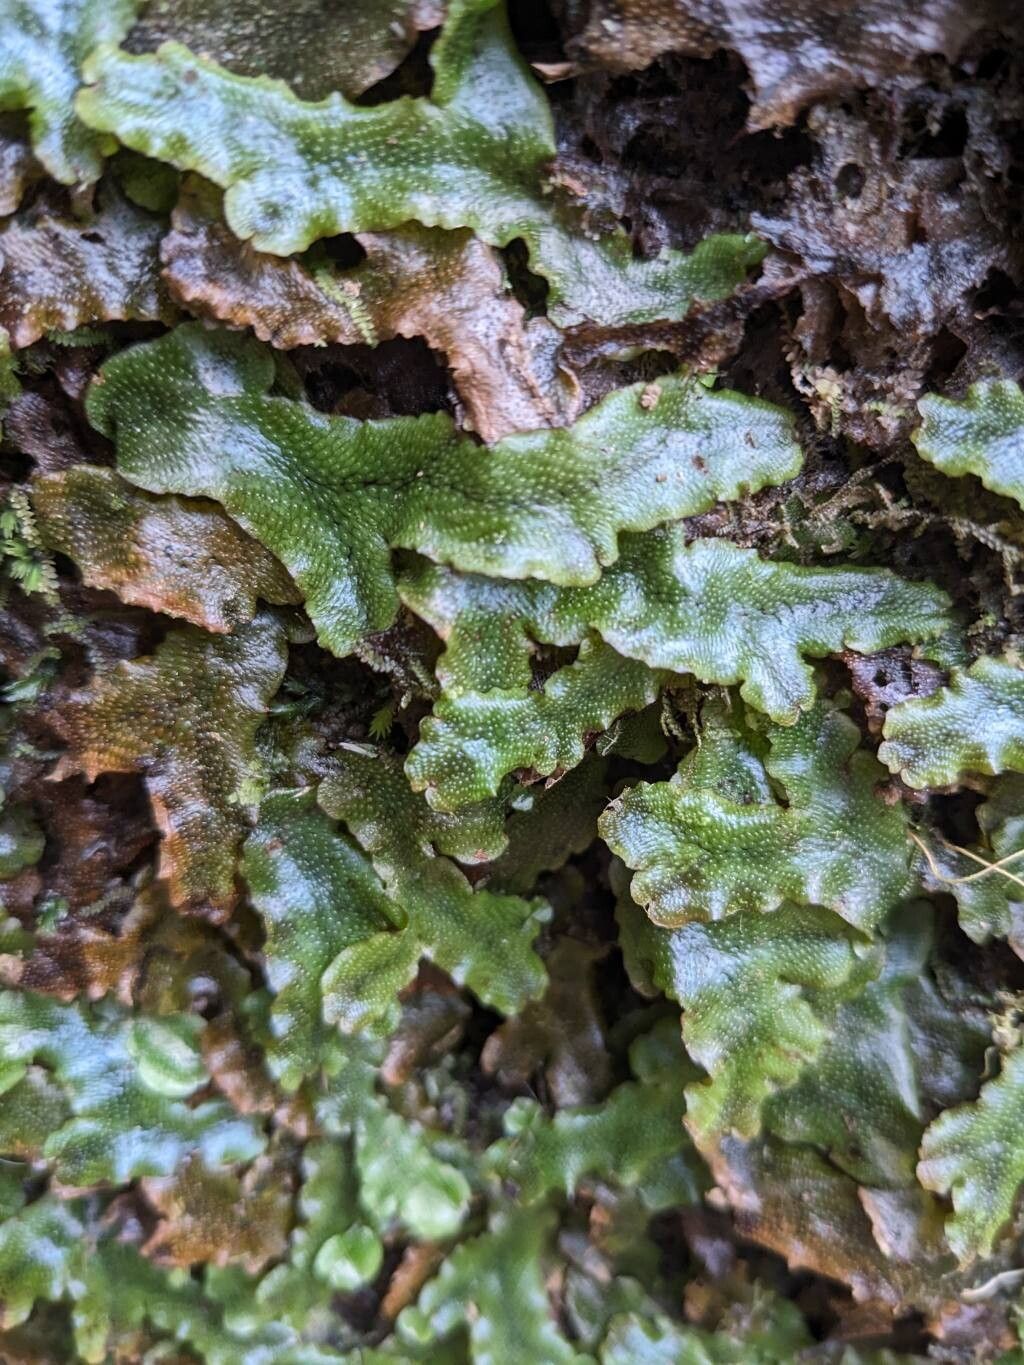
Hello fellow plant enthusiasts! I’m so excited to talk to you today about a truly special fern: Hymenophyllum neocaledonicum. If you love delicate, lacey foliage that brings a touch of the ancient rainforest into your home, you are going to adore this fern. Its fronds are like finely crafted emerald lace, incredibly ethereal and captivating.
Propagating Hymenophyllum neocaledonicum might sound a little daunting if you’re new to the plant world, but honestly, with a little care and attention, it’s quite achievable. It’s not quite a “stick it in the ground and forget it” kind of plant, but the reward of seeing your own little piece of this beauty unfurl is absolutely worth it.
The Best Time to Start
For the highest success rate with Hymenophyllum neocaledonicum, I’ve found spring is your best friend. This is when the plant is actively growing and has the most energy reserves. Warming temperatures and increasing daylight hours are just what those new propagations need to get going. Look for healthy, vigorous growth on your mature plant to select your propagation material from.
Supplies You’ll Need
Gathering your supplies upfront makes the whole process so much smoother. Here’s what I always have on hand:
- Sharp, sterile pruning shears or a clean knife: For making precise cuts.
- A good quality potting mix: I often use a blend of peat moss, perlite, and orchid bark for ferns. It needs to be moisture-retentive but well-draining.
- Small pots or propagation trays: With drainage holes, of course!
- Plastic bags or a propagation dome: To create a humid environment.
- Misting bottle: For keeping things moist.
- Rooting hormone (optional but helpful): Especially for cuttings that might take a bit longer to root.
- A tray or shallow dish: For bottom watering.
Propagation Methods
While there are a few ways to go about it, I find two methods work particularly well for Hymenophyllum neocaledonicum: division and stem cuttings.
Division
This is my go-to for a quick and reliable start, especially if your plant is getting a bit crowded.
- Gently remove the parent plant from its pot. You want to be careful not to damage the delicate root system too much.
- Inspect the rhizomes. These are the creeping stems that grow horizontally along the soil surface or just beneath it. You’re looking for natural breaks where you can separate sections.
- Using your fingers or a sterile knife, carefully divide the plant. Each division should have healthy rhizomes and some established fronds. Don’t try to pull apart every single root; focus on creating manageable sections.
- Pot up each division into its own small container. Use your prepared fern mix and plant them so the rhizomes are just covered with soil.
- Water gently and place them in a humid environment. Remember that plastic bag or dome? Now’s the time!
Stem Cuttings (Rhizome Cuttings)
This method requires a bit more patience, but you can get quite a few new plants from a single mature specimen.
- Identify healthy, mature rhizomes on your plant. These are the fleshy, creeping stems.
- Using your sterile shears or knife, take cuttings that are a few inches long. Each cutting should have at least one or two fronds and ideally a small section of rhizome.
- If you’re using rooting hormone, dip the cut end of the rhizome into it. Tap off any excess.
- Plant the cuttings shallowly in your fern mix. The rhizome should be just barely covered, and the fronds should be mostly above the surface. You can lay them flat on the soil surface, with the cut end gently pressed in.
- Mist the cuttings generously and cover them to create a mini greenhouse.
The “Secret Sauce” (Pro Tips)
Over the years, I’ve learned a few tricks that really boost my success rates.
- Humidity is king! Hymenophyllum neocaledonicum is a humidity lover. Those plastic bags or domes aren’t just for show; they are crucial for keeping the air around your new propagations consistently moist. If you notice the condensation reducing, give it another misting.
- Avoid direct sunlight. Ever. These delicate ferns burn easily. Place your propagations in bright, indirect light. Think of the understory of a dense forest – that’s the kind of light they crave.
- Bottom heat can be a game-changer. If you have any trouble with rooting or feel your propagation is sluggish, pop the pots onto a gentle seedling heat mat. This encourages root development without desiccating the fragile new growth. It’s like giving them a warm hug from below!
Aftercare & Troubleshooting
Once you see signs of new growth – tiny fronds unfurling or small roots poking through the drainage holes – you’re on the right track!
Continue to keep the soil consistently moist, but never waterlogged. You can start to gradually introduce more fresh air by opening the plastic bag or dome for longer periods each day. Avoid fertilizing until the plant is well-established and showing strong, consistent growth.
The most common issue you’ll encounter is rot. This usually happens when there’s too much moisture and not enough air circulation. If you see a cutting turning black and mushy, unfortunately, it’s likely not salvageable. Remove it immediately to prevent it from affecting other propagations. Another sign of trouble is wilting fronds that aren’t recovering after misting. This could indicate it’s too dry, or the roots haven’t established well yet.
A Encouraging Closing
Propagating plants is a journey, and sometimes it has its bumps. Don’t be discouraged if every single attempt isn’t a runaway success right away. Be patient with your new Hymenophyllum neocaledonicum babies. Give them time, the right conditions, and plenty of love, and you’ll be rewarded with these stunning ferns to share (or keep all to yourself!). Happy propagating!
Resource: