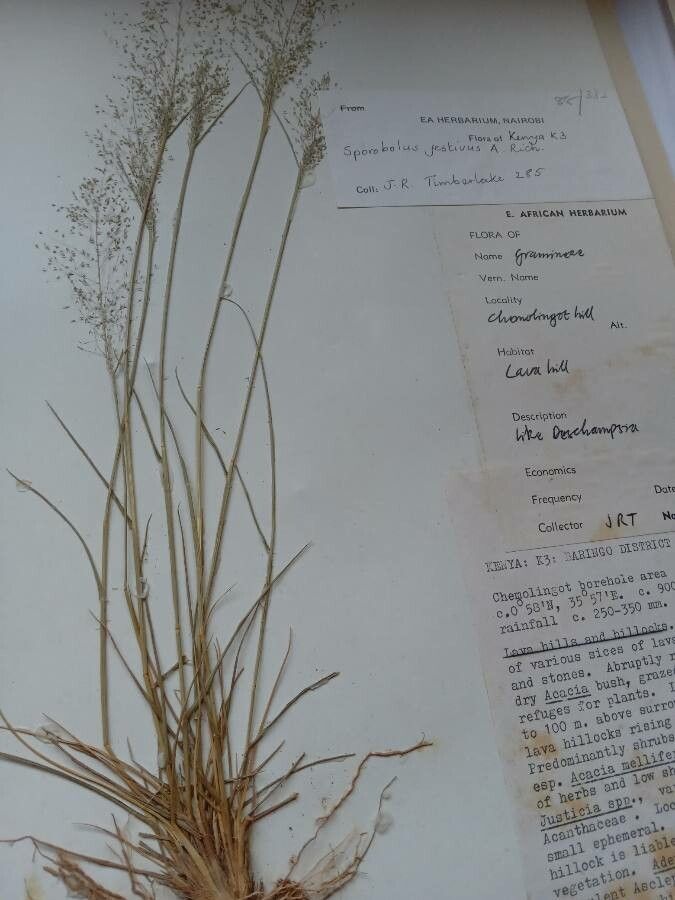
Hello, fellow plant lovers! Today, we’re diving into the wonderful world of Sporobolus festivus, also known as the Pinkerton grass or sometimes just “Sporobolus.” This elegant native grass brings such a charming, airy texture to the garden. Its delicate seed heads, often with a lovely pinkish hue, create a soft, flowing effect that just makes my heart sing. If you’ve admired its graceful presence, you’ll be delighted to know that propagating it is a truly rewarding endeavor. I’d say it’s generally quite forgiving, making it a great project for both seasoned gardeners and those just getting their hands dirty.
The Best Time to Start
My favorite time to get Sporobolus festivus going is in late spring to early summer. This is when the plant is actively growing, full of vigor, and has the best chance of establishing itself quickly. You want to start with healthy, well-established clumps.
Supplies You’ll Need
Here’s a little list to gather before we begin:
- Sharp pruning shears or a clean knife: For making clean cuts.
- Pots or trays: Small pots are perfect for young plants.
- Well-draining potting mix: I like to use a mix of peat moss, perlite, and a bit of compost. You can also find specific seed-starting mixes.
- Rooting hormone (optional but helpful): Especially if you’re trying stem cuttings.
- Watering can with a fine rose: To avoid disturbing your new cuttings.
- Plastic bag or cloche: To create a humid environment.
- Labels: To keep track of what you’ve planted!
Propagation Methods
There are a couple of ways we can get more Sporobolus, and division is my go-to.
1. Division (My Personal Favorite!)
This method is fantastic because you’re essentially working with a mini-version of the mature plant.
- Gently unpot or dig up your mature Sporobolus festivus clump in late spring or early summer.
- Carefully shake off excess soil to expose the root system.
- Inspect the root ball. You’ll likely see distinct sections or crowns.
- Using your hands or a sharp knife, gently pull or cut the clump apart into smaller sections. Each section should have roots and at least a few growing points or shoots. Don’t be afraid to be a little firm but also gentle with the roots.
- Pot up each division into its own pot filled with your well-draining potting mix.
- Water gently to settle the soil around the roots.
2. Stem Cuttings (A Bit More Patience Needed)
While division is easier, taking cuttings is also a great way to expand your collection.
- Select healthy stems that are a few inches long and have several nodes (those little bumps where leaves emerge).
- Using your clean shears, make a cut just below a node.
- Remove the lower leaves, leaving just a couple of leaves at the very top. This helps prevent rot.
- Dip the cut end into rooting hormone (if you’re using it).
- Insert the cutting into a pot filled with your moist potting mix. Make sure the nodes are buried.
- Water gently.
- Cover the pot with a plastic bag or cloche to maintain high humidity. You can prop the bag up with a stick or two so it doesn’t touch the leaves.
The “Secret Sauce” (Pro Tips)
Here are a couple of things I’ve learned over the years that really make a difference:
- Don’t overcrowd your pots. Give your new divisions or cuttings a little breathing room. This helps prevent fungal diseases and ensures they have access to nutrients.
- Bottom heat is your friend! If you’re struggling with cuttings, placing your pots on a seedling heat mat can significantly speed up root development. It mimics the warmth of spring.
Aftercare & Troubleshooting
Once your divisions are settled or your cuttings have rooted (you can check by giving them a very gentle tug – if there’s resistance, roots have formed!), you can start treating them like miniature versions of the parent plant.
- Water regularly but avoid soggy soil. Let the top inch of soil dry out between waterings.
- Provide bright, indirect light. Direct, scorching sun can be too much for tender new plants.
- Watch out for rot. The most common sign of failure is a mushy, black stem or root. This usually means it’s getting too much water and not enough air circulation. If you see this, trim away any affected parts and try again, ensuring better drainage and less frequent watering.
A Little Patience Goes a Long Way
Propagating plants is a wonderful journey of learning and growth. Don’t get discouraged if every single cutting doesn’t make it. Celebrate your successes, learn from any setbacks, and most importantly, enjoy the process of creating more beauty for your garden. Happy propagating!
Resource: