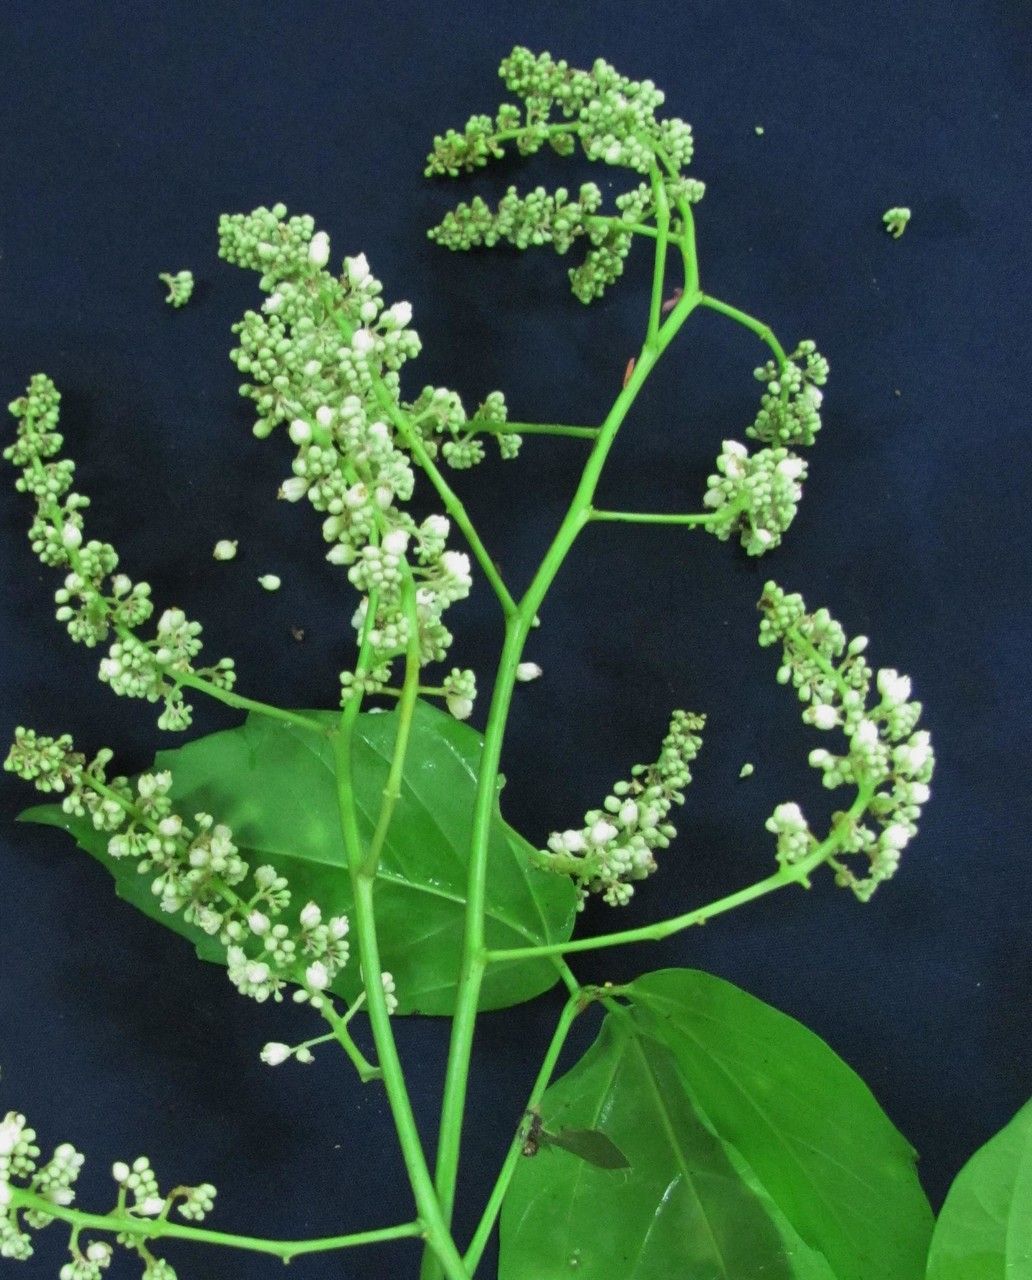
Oh, hello there, fellow green enthusiasts! Today, we’re diving into the wonderful world of Paullinia turbacensis. If you’re looking for a plant that brings a touch of the exotic to your home with its beautiful foliage and unique charm, you’ve come to the right place. And the best part? You can easily create more of these beauties yourself! Propagating Paullinia turbacensis is a deeply satisfying journey. It’s a plant that can be a tad bit challenging for absolute beginners, but with a little care and these straightforward steps, you’ll be well on your way. Think of it as a delightful project to hone your propagation skills.
The Best Time to Start
When it comes to getting new plants started, timing is everything. For Paullinia turbacensis, the spring and early summer are your golden windows. This is when the plant is actively growing, or at least waking up from its winter slumber. New growth is often more vigorous and adaptable, meaning your cuttings will have the best chance of rooting successfully. Look for stems that are not too woody but also not too soft and floppy. A nice, semi-hardwood stem is just perfect.
Supplies You’ll Need
Before we get our hands dirty, let’s gather our tools. Having everything ready makes the whole process much smoother:
- Sharp Pruning Shears or a Clean Knife: For taking clean cuts that heal well.
- Rooting Hormone (Optional but Recommended): This little powder or gel can give your cuttings a significant boost.
- Well-Draining Potting Mix: A good blend is key. I like to use a mix of peat moss, perlite, and a little bit of regular potting soil. You can also buy specific seed starting or propagation mixes.
- Small Pots or Seedling Trays: With drainage holes, of course!
- Plastic Bags or a Propagator: To create a humid environment for your cuttings.
- Watering Can or Spray Bottle: For gentle watering.
- Labels: To keep track of what you’ve planted and when!
Propagation Methods
There are a couple of ways we can coax new life from our Paullinia turbacensis, but my favorite and most successful method is through stem cuttings.
Stem Cuttings:
- Take Your Cuttings: In spring or early summer, select a healthy stem from your mature plant. Using your sharp pruning shears, make a cut just below a leaf node (where a leaf attaches to the stem). You’re aiming for cuttings that are about 4-6 inches long. Gently remove the lower leaves, leaving just a couple at the top. This helps prevent rot and encourages energy to go into root development.
- Apply Rooting Hormone: If you’re using rooting hormone, dip the cut end of the stem into the powder or gel. Tap off any excess. This step is truly a game-changer for discouraging damping off and encouraging robust root growth.
- Plant the Cuttings: Fill your small pots with your well-draining potting mix. Make a hole in the center with your finger or a pencil. Insert the prepared cutting into the hole, making sure the nodes where you removed the leaves are below the soil surface. Gently firm the soil around the cutting.
- Create Humidity: Water the soil lightly. Then, cover the pot with a clear plastic bag, creating a mini-greenhouse. You can use stakes to keep the bag from touching the leaves. Alternatively, place the pots in a propagator.
- Provide Light and Warmth: Place the pots in a bright spot with indirect sunlight. Avoid direct sun, which can scorch the delicate cuttings. A little bit of bottom heat can also speed up the process, so a heat mat is a great addition if you have one.
The “Secret Sauce” (Pro Tips)
Now, as your gardening mentor, I’ve got a few little tricks up my sleeve that have really helped me out over the years:
- Don’t Drown Your Dreams: While humidity is crucial, you don’t want your cuttings sitting in soggy soil. Allow the top inch of soil to dry out slightly between waterings. Overwatering is a common killer of cuttings, so err on the side of caution.
- The Power of Observation: Check your cuttings regularly. Look for signs of new growth emerging from the leaf nodes or at the base of the stem. This is your cue! Gently tugging on a cutting – if there’s resistance, it means roots have formed.
- Cleanliness is Key: Always use sterilized tools and pots. This goes a long way in preventing fungal diseases and ensuring your cuttings have the best possible start.
Aftercare & Troubleshooting
Once you see tiny roots peeking out from the drainage holes or feel that tell-tale resistance when you gently tug, congratulations! Your cutting has successfully rooted. Now it’s time for gentle aftercare.
Gradually acclimate your new plant to room conditions by opening the plastic bag or propagator for increasing periods each day over a week. Once it’s fully used to it, you can remove the covering. Continue to water it lightly when the topsoil feels dry. You can begin to feed it with a diluted liquid fertilizer once you see consistent new leafy growth.
Now, about troubleshooting. The most common issue you’ll likely face is rot. If you see your cutting turning mushy, blackening, or developing mold, it’s usually a sign of too much moisture or poor air circulation. Unfortunately, if rot sets in deeply, it’s often impossible to save. Discard the affected cutting and try again, perhaps with slightly less water or better ventilation next time. Yellowing leaves on a cutting that hasn’t rooted yet can sometimes indicate it needs a bit more light.
A Encouraging Closing
Propagating plants is such a rewarding hobby. It’s a chance to connect with nature on a deeper level and to share the joy of gardening by growing more plants. Don’t be discouraged if your first few attempts aren’t perfect. Every gardener has “lost” a few cuttings along the way – it’s part of the learning process! Be patient, observe your plants, and most importantly, enjoy the wonderful journey of bringing new life into your home. Happy propagating!
Resource:
https://identify.plantnet.org/k-world-flora/species/Paullinia%20turbacensis%20Kunth/data