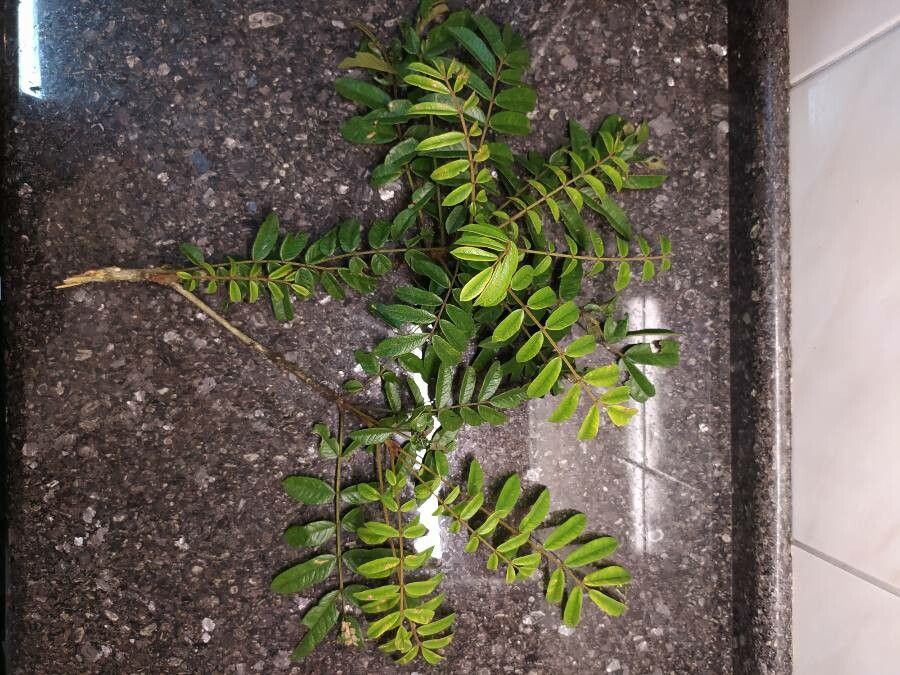
Oh, Spondias expeditionaria! If you’ve seen these beauties, you know their charm. They’re not just plants; they’re little pieces of the tropics, bringing a touch of the exotic to our gardens and homes. Their lush foliage and, for some varieties, delightful fruit make them a real joy to cultivate. And the best part? Propagating them is a wonderfully rewarding experience. It’s like giving the gift of life, creating new plants from an existing one. For many gardeners, this plant is surprisingly beginner-friendly, especially when you know a few simple tricks.
The Best Time to Start
When it comes to getting your Spondias expeditionaria off to a good start, spring or early summer is your golden ticket. This is when the plant is in an active growth phase, meaning it has the energy to put into developing new roots. Harvesting cuttings when the stems are somewhat mature but still pliable – often called “semi-hardwood” – tends to yield the best results. You want stems that aren’t brand new and soft, but also not old and woody.
Supplies You’ll Need
To give your Spondias expeditionaria cuttings the best chance, it’s good to have your tools ready. Here’s what I usually gather:
- Sharp pruning shears or a clean knife: For making clean cuts.
- Rooting hormone powder or gel: This is optional but can really speed things up.
- A well-draining potting mix: A good blend of peat moss, perlite, and a bit of compost works wonders. Even a commercial cactus or succulent mix can be a good starting point.
- Small pots or trays: With drainage holes, of course!
- A clear plastic bag or dome: To create a humid environment.
- Water: For your cuttings and for misting.
- Optional: A heat mat: For gentle bottom warmth.
Propagation Methods
Let’s get our hands dirty! I find two methods work particularly well for Spondias expeditionaria, and you can pick the one that feels right for you.
Stem Cuttings
This is my go-to method. It’s straightforward and highly successful.
- Select your parent plant. Choose a healthy, vigorous specimen.
- Take your cuttings. Using your sharp shears or knife, cut sections of stem about 4-6 inches long. Make your cut just below a leaf node (where a leaf attaches to the stem). Remove the lower leaves, leaving just a couple of sets at the top.
- Dip in rooting hormone (optional). If you’re using rooting hormone, dip the cut end into the powder or gel. Tap off any excess.
- Pot them up. Insert the bottom 1-2 inches of the cutting into your prepared potting mix. Make sure the soil is firm around the stem to provide support.
- Create humidity. Water the soil gently. Then, cover the pot with a clear plastic bag, propped up with stakes so it doesn’t touch the leaves, or place it under a clear dome. This traps moisture around the cutting.
- Place in bright, indirect light. Find a spot that gets plenty of light but no direct sun, which can scorch the delicate cuttings.
Water Propagation
This method is a bit more visual, and it’s fun to watch the roots develop.
- Prepare your cuttings. Similar to stem cuttings, take 4-6 inch sections. Remove all but the top two to three leaves.
- Place in water. Put your cuttings in a clean jar or vase filled with fresh water.
- Manage the leaves. This is crucial: ensure no leaves are submerged in the water. Only the bare stem should be in contact. Leaves in the water tend to rot and can kill the cutting.
- Change the water regularly. Every few days, refresh the water to keep it clean and oxygenated.
- Position for light. Like the soil method, place your jar in a spot with bright, indirect light.
The “Secret Sauce” – Pro Tips
Here are a few things I’ve learned over the years that can make all the difference:
- Bottom Heat is Your Friend: If you’re using the soil method, gentle bottom heat from a seedling heat mat can significantly speed up root development. It mimics the warmth of spring soil and encourages those roots to form faster.
- Don’t Rush the Transplant: Be patient! Even when you see tiny roots starting to peek out, it’s best to give them a little more time to establish themselves. For water propagation, wait until you have a decent cluster of roots, at least an inch long, before considering potting them up.
- Heeling to High Humidity: For water propagation, if you notice the leaves starting to droop slightly, a quick mist of water or even just popping a plastic bag over the whole setup for a short while can perk them right back up. It’s about maintaining that lush, tropical environment they love.
Aftercare & Troubleshooting
Once you see signs of new growth – tiny leaves unfurling or, if you’re looking, new roots pushing through the drainage holes – you’re on the right track!
- Gradual Acclimation: If you used the plastic bag method, gradually introduce your new plant to normal room humidity by opening the bag a little more each day for a week. For water-propagated plants, water them thoroughly after potting up, and then follow your regular watering schedule.
- Watering: Keep the soil consistently moist but not waterlogged. Overwatering is one of the most common culprits for failure. Let the top inch of soil dry out slightly between waterings.
- Common Pitfalls:
- Rot: If the stem turns mushy and dark, or if there’s an unpleasant smell, that’s rot. This is usually due to too much moisture and poor air circulation. Unfortunately, a rotted cutting is usually a goner.
- No Roots: If after several weeks there’s no sign of roots (and no rot), it might be that the cutting wasn’t viable, or the conditions weren’t quite right. Sometimes, older or weaker stems just don’t have the energy to root.
A Final Thought
Propagating Spondias expeditionaria is a journey, and like any good journey, it’s about the experience. Don’t be discouraged if your first attempt isn’t perfect. Nature has its own rhythm, and with a little patience and these tips, you’ll be rewarded with beautiful new plants to share or enjoy. Happy growing!
Resource: