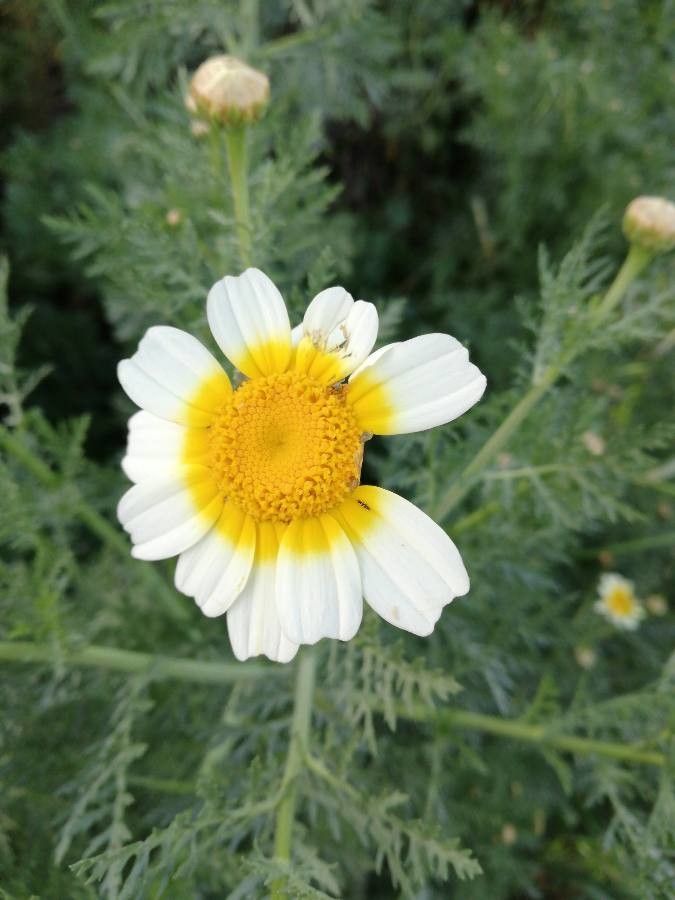
Oh, hello there! Pull up a chair and let’s chat about one of my favorite cheerful blooms: Glebionis coronaria, or as many of us lovingly call it, Crown Daisy. Isn’t it just the daintiest? With its bright, sunny petals and the way it bobs its head in the breeze, it brings such a delightful splash of color to any garden. And the best part? You can easily grow more of these beauties yourself! Propagating Glebionis coronaria is wonderfully rewarding, and I’m so happy to share how I do it. If you’re new to the gardening game, you’re in luck – this is a really forgiving plant to start with.
The Best Time to Start
For the highest chances of success, I find the sweet spot for propagating Crown Daisies is in the late spring or early summer. This is when the plant is actively growing, and the stems are young and flexible. You want to catch them at a time when they’re full of life and energy, ready to sprout roots. Waiting until after your last frost is crucial, of course.
Supplies You’ll Need
Here’s what I like to have on hand before I get started:
- Sharp pruning shears or a clean, sharp knife: For making nice, clean cuts.
- A well-draining potting mix: I often use a mix of equal parts peat moss, perlite, and compost. For seedlings, a seed-starting mix works wonders.
- Small pots or trays: Clean ones, please! I usually opt for 3-4 inch pots.
- Rooting hormone (optional but helpful): A powdered or gel version.
- A watering can with a fine rose: For gentle watering.
- A clear plastic bag or propagator lid: To create a humid environment.
- Filtered water or rainwater: Plants are picky!
Propagation Methods
There are a couple of ways to get more Glebionis coronaria, but my go-to for this particular plant is stem cuttings. It’s straightforward and yields great results.
Stem Cuttings:
- Select your parent plant: Choose a healthy, vigorous Crown Daisy that’s not currently flowering.
- Take your cuttings: Using your clean shears, cut stems that are 4-6 inches long. Make your cut just below a leaf node (where the leaves attach to the stem). This is where the magic happens for rooting!
- Prepare the cuttings: Gently remove the lower leaves from the cutting, leaving just a few at the top. This prevents them from rotting in the soil.
- Apply rooting hormone (optional): Dip the cut end of each stem into your rooting hormone. Tap off any excess.
- Plant your cuttings: Fill your clean pots with your moistened potting mix. Make a small hole in the center of the soil with your finger or a pencil. Carefully insert the cut end of the stem into the hole, ensuring at least one leaf node is under the soil surface. Gently firm the soil around the stem.
- Water gently: Give the soil a light watering. You want it moist, not soggy.
- Create humidity: Place the potted cuttings into a larger tray and cover the whole setup with a clear plastic bag or a propagator lid. This traps moisture and creates that essential humid environment. If using a bag, prop it up with stakes so it doesn’t touch the leaves.
- Find a bright spot: Place your propagator in a bright location, but out of direct, harsh sunlight. A bright windowsill is usually perfect.
Another simple method for this plant, if you’re feeling extra adventurous, is growing from seed! They germinate quite readily in spring, just sprinkle them onto well-draining soil and keep them consistently moist.
The “Secret Sauce” (Pro Tips)
Now, for a couple of little tricks I’ve picked up over the years:
- Don’t let the leaves touch the water: When rooting in water (which you can do with Glebionis coronaria, but I find cuttings in soil more reliable), make sure no leaves are submerged. Limp, decaying leaves will prevent your cutting from rooting.
- Bottom heat is your friend: While not strictly necessary for Glebionis coronaria if you’re doing it in warmer months, placing your propagator on a gentle heat mat can significantly speed up root development. It mimics warmer soil temperatures and gives those roots a real boost.
Aftercare & Troubleshooting
Once your cuttings have been in their humid environment for a few weeks, you’ll start to see tiny roots poking out of the drainage holes. Hooray! At this point, you can gradually introduce them to less humid conditions by opening the bag or lid a little each day. Once they seem sturdy, you can remove the cover entirely.
Keep them watered, ensuring the soil stays consistently moist. When the new plants have developed a good root system and you see new leaf growth, they are ready to be transplanted into their own pots or their final garden spot.
The most common problem you’ll encounter is rot. If a cutting turns mushy and black, it’s usually a sign of too much moisture and not enough air circulation. This is why using well-draining soil and ensuring your cuttings aren’t sitting in water is so crucial. Yellowing leaves can sometimes mean they’re not getting enough light, or the soil is too wet.
A Encouraging Closing
Growing more of these delightful Crown Daisies is a joy, an absolutely achievable goal for any gardener. Be patient with the process; sometimes it takes a little longer than you expect. Watch for those first little signs of life, celebrate the small victories, and most importantly, have fun with it! Happy gardening!
Resource: