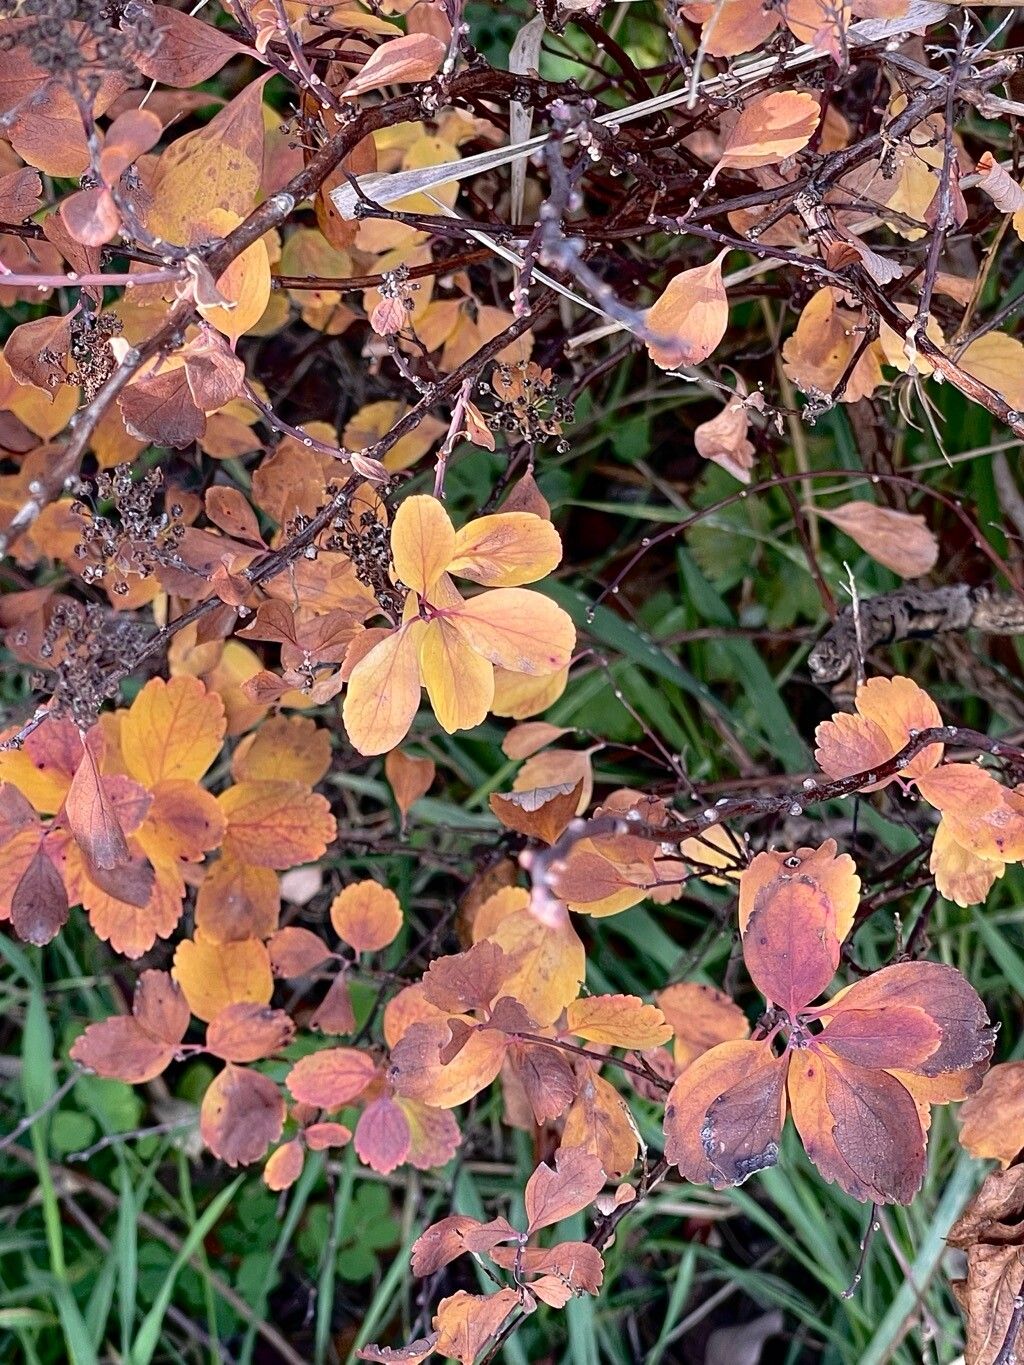
Oh, hello there! It’s so good to have you join me for a bit of green-thumb chat. Today, we’re diving into the delightful world of Spiraea betulifolia, or as I affectionately call it, Bouncing Betula Spirea, because of its lovely, birch-like leaves. This little shrub is such a darling in the garden, offering those delightful clusters of pinkish-white flowers and beautiful foliage that stays appealing right through the seasons. What truly makes propagating it special is that it’s a wonderfully rewarding process, a chance to fill your garden – or share with friends! – without costing a thing. And for beginners? I’d say it’s definitely on the easier side, which is fantastic news for anyone just starting to explore the magic of making more plants.
The Best Time to Start
When it comes to Spiraea, timing is everything for getting those roots to happily form. I find the late spring to early summer is absolutely prime time. Aim for when the new growth on the shrub has started to firm up just a bit, but isn’t yet woody. Think of it as the “softwood” stage – flexible but not floppy. This is when cuttings have the best chance of striking roots quickly.
Supplies You’ll Need
Before we get our hands dirty, let’s gather our essentials. It’s always good to have everything ready to go!
- Sharp Pruning Shears or a Clean Knife: For making clean cuts. We don’t want to crush those precious stems.
- Rooting Hormone: This is a gentle nudge for your cuttings, encouraging them to develop roots faster. Gel or powder works just fine.
- Potting Mix: A well-draining, sterile mix is key. I often use a blend of peat moss or coco coir and perlite. Some growers swear by a mix of half peat and half perlite, which I find works beautifully for Spiraea.
- Small Pots or Trays: With drainage holes, of course!
- Plastic Bags or a Propagator: To create a humid environment for your cuttings.
- Watering Can with a Fine Rose: To water gently.
- Labels: To clearly mark what you’ve propagated and when!
Propagation Methods
We’re going to focus on the most reliable way to multiply your Spiraea: stem cuttings. It’s straightforward and yields fantastic results.
- Take Your Cuttings: This is where the timing we discussed comes in. Head out to your Bouncing Betula Spirea and select healthy stems that are about 4-6 inches long. Make a clean cut just below a leaf node. A leaf node is that little bump where a leaf attaches to the stem. This is where the magic of root formation tends to happen. Remove the lower leaves from the stem, leaving just a few at the top.
- Dip in Rooting Hormone: Lightly dampen the cut end of your stem cutting. Then, dip the cut end into your rooting hormone, tapping off any excess. This helps create a good seal and encourages root development.
- Plant Your Cuttings: Fill your small pots or trays with your prepared potting mix. Make a small hole in the center of the mix using a pencil or your finger. Gently insert the cut end of the Spiraea cutting into this hole. Firm the soil gently around the stem to ensure good contact.
- Water and Cover: Water your cuttings thoroughly but gently. You want the soil to be moist, not waterlogged. Now, the crucial step for humidity: cover your pots with a plastic bag or place them in a propagator. This creates a mini-greenhouse effect that prevents the cuttings from drying out. If you’re using a bag, you can support it with a few stakes so it doesn’t touch the leaves.
The “Secret Sauce” (Pro Tips)
Now, let’s talk about a couple of little tricks that have made all the difference in my propagation success.
- Bottom Heat is Your Friend: If you can, pop your pots onto a heated propagator mat. Spiraea cuttings absolutely love a little warmth from below – it really speeds up root formation. You’ll see results much faster.
- Be Ruthless with Lower Leaves: I can’t stress this enough – remove all leaves that would be below the soil line. Any leaves dipping into the mix are just inviting rot and disease. It’s better to have fewer leaves on top than a slimy mess at the bottom.
- Don’t Overwater: It’s tempting to keep them super wet, but consistently damp soil is the goal, not soggy. Too much water will drown those developing roots before they even have a chance to grow.
Aftercare & Troubleshooting
Once your cuttings have started to show signs of life – usually, a little new growth appearing at the top means roots have formed – it’s time for a change!
Allow them to get a few good leaves and a bit of height. Then, gradually acclimate them to normal garden conditions by opening the bag or propagator for increasing periods each day over a week. Once they’re looking happy and robust, you can transplant them into their own individual pots of regular potting soil. Continue to keep them moist and in a bright spot out of direct, scorching sun until they are well-established.
The most common issue you’ll encounter is rot. If you see your cuttings turning black and mushy, it’s a sign of too much moisture and a lack of air circulation. If this happens, you might need to start again with fresh cuttings, ensuring your mix is well-draining and you’re not overwatering. A bit of mould can also appear; often, just improving air circulation solves this.
A Encouraging Closing
Growing new plants from cuttings is such a deeply satisfying part of gardening. It’s a little act of faith, nurturing those tiny stems, and then witnessing them transform into healthy, new plants. Be patient with your Spiraea cuttings, my friend. Some might take a little longer than others, but the joy of seeing those roots sprout and a new life begin is truly unmatched. Happy propagating!
Resource:
https://identify.plantnet.org/k-world-flora/species/Spiraea%20betulifolia%20Pall./data