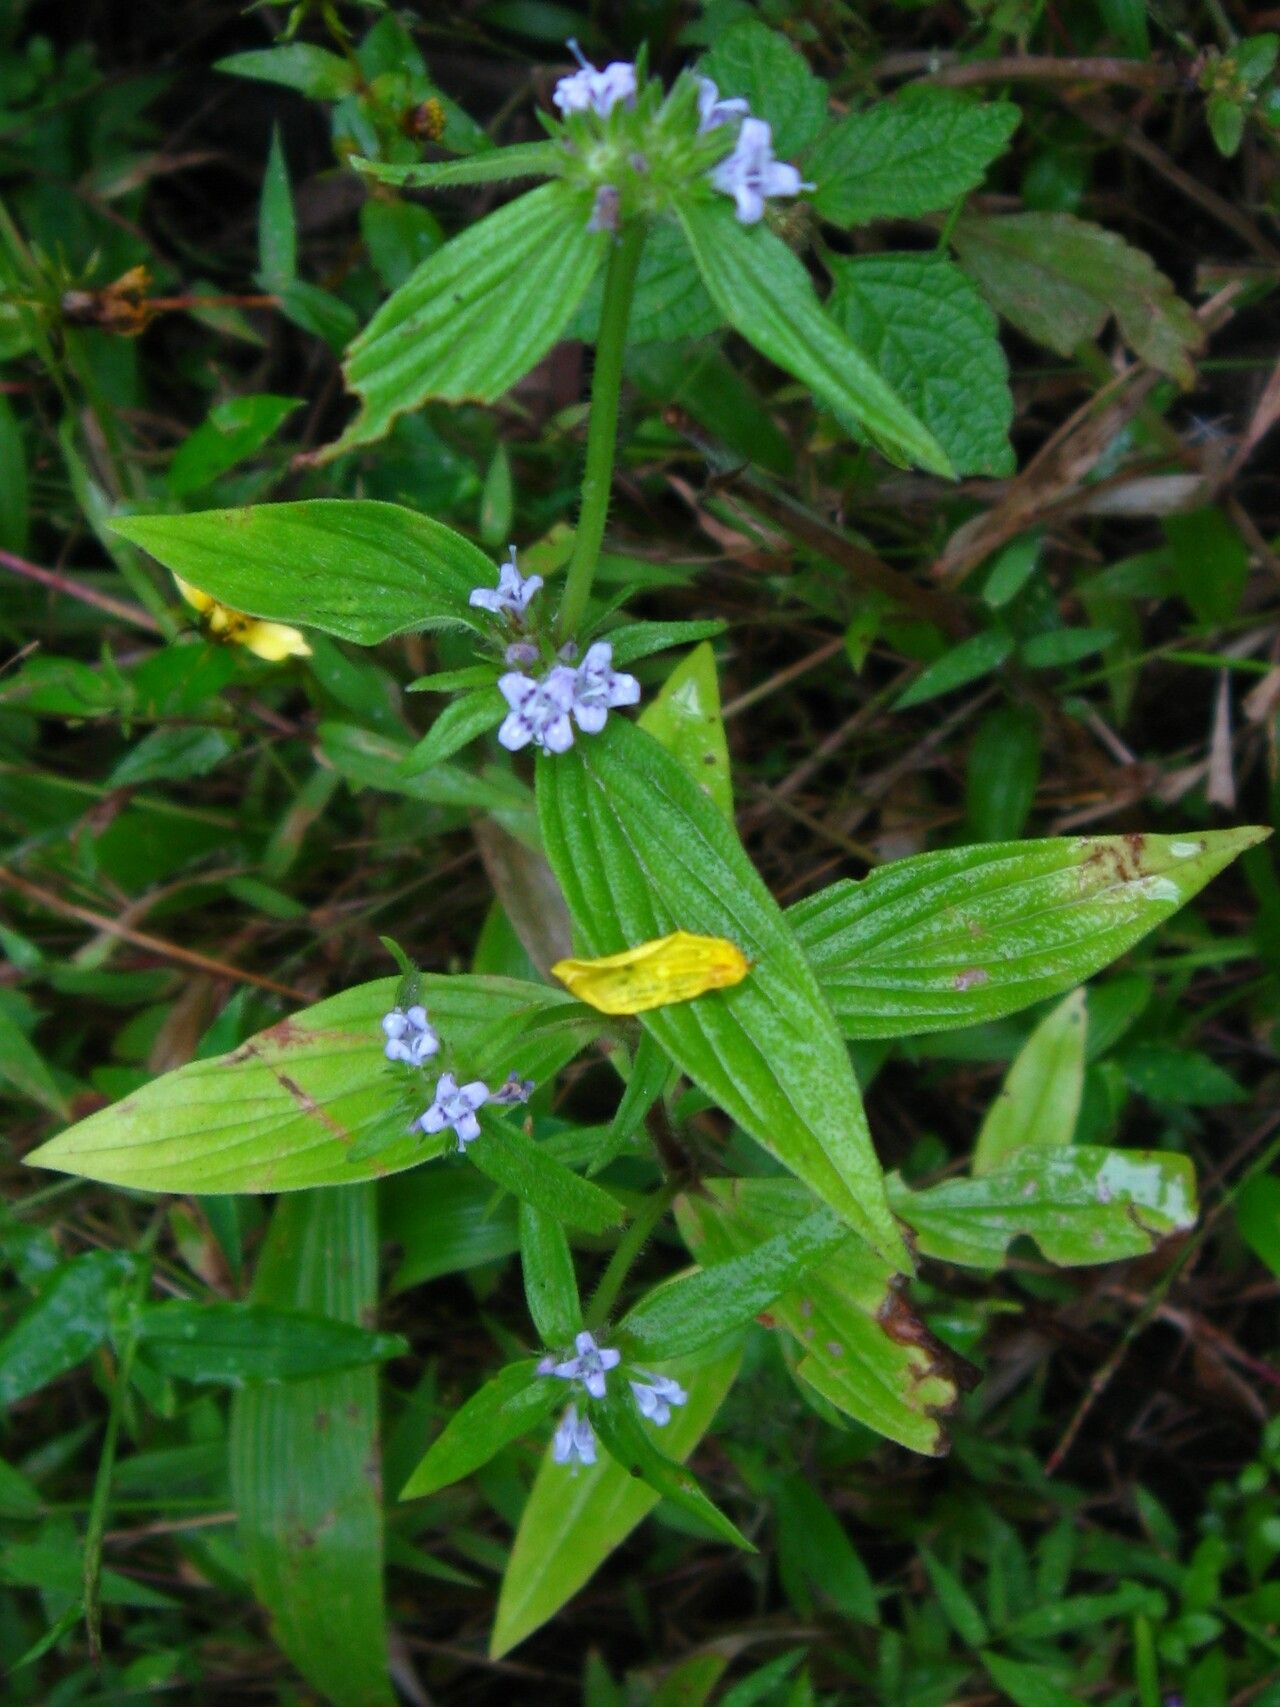
Hello fellow garden enthusiasts! Today, I want to chat about a plant that’s brought a vibrant splash of color and interesting texture to my own garden spaces: Spermacoce ruelliae, often called Brazilian Button or False Buttonweed. Its lovely little button-like flowers are a magnet for pollinators, and it has a delightful shrubby habit that fills out garden beds beautifully.
Now, I know the thought of propagating new plants can sometimes feel a little intimidating, especially if you’re just starting out. But I’m happy to tell you that Spermacoce ruelliae is actually quite forgiving! It’s a plant that can bring a lot of joy for a relatively low learning curve when it comes to making more of it. Trust me, the satisfaction of watching a tiny cutting transform into a thriving new plant is unbeatable.
The Best Time to Start
For the highest success rate with Spermacoce ruelliae, spring and early summer are your golden windows. This is when the plant is in its most vigorous growth phase, meaning cuttings will have the best energy reserves to establish roots. You want to take cuttings when the plant is actively growing, not during a lull in its flowering or when it’s stressed by extreme heat or drought.
Supplies You’ll Need
Gathering your supplies beforehand makes the whole process so much smoother. Here’s what I typically have on hand:
- Sharp Pruning Shears or a Clean Knife: For making clean cuts.
- Rooting Hormone (Optional but Recommended): A powder or liquid to encourage root development.
- Well-Draining Potting Mix: A good blend of peat moss, perlite, and a bit of compost works wonders. You can also use a commercial seed-starting mix.
- Small Pots or Seedling Trays: Clean containers with drainage holes are a must.
- Plastic Bags or a Propagator: To create a humid environment.
- Watering Can with a Fine Rose: For gentle watering.
- Labels and a Marker: To keep track of what you’ve planted!
Propagation Methods
My favorite ways to propagate Spermacoce ruelliae are through stem cuttings and sometimes division, depending on the plant’s established size.
Stem Cuttings
This is usually my go-to method. It’s straightforward and very effective.
- Take Your Cuttings: Look for healthy, non-flowering stems. Using your sharp shears, take cuttings that are about 4-6 inches long. Try to get a section that has several leaf nodes (where leaves attach to the stem). Snip just below a node – this is where roots are most likely to form.
- Prepare the Cuttings: Gently remove the lower leaves from the cutting, leaving just a few at the top. This prevents them from rotting in the soil and encourages the plant to focus its energy on root production. If the remaining leaves are very large, you can even snip them in half to reduce water loss.
- Apply Rooting Hormone (Optional): Dip the cut end of each stem into a rooting hormone powder or liquid. Tap off any excess.
- Potting Up: Fill your small pots with your prepared, moistened potting mix. Make a hole in the center with your finger or a pencil.
- Planting: Insert the cut end of the stem into the hole, ensuring the nodes where you removed the leaves are buried. Gently firm the soil around the stem.
- Create Humidity: Water the soil gently after planting. Then, cover the pot with a clear plastic bag or place it in a propagator. This creates a mini-greenhouse effect, keeping humidity high, which is crucial for cuttings to root. You can prop the bag up with sticks or stakes so it doesn’t touch the leaves.
Division
If you have a larger, more established clump of Spermacoce ruelliae, division is a quick way to get multiple plants.
- Dig Up the Plant: Gently excavate the entire plant from its pot or garden bed.
- Separate the Divisions: Loosen the soil and carefully pull or cut the root ball into sections. Each section should have healthy roots and at least a few stems.
- Replant: Immediately replant each division into its own pot filled with fresh potting mix, or back into the garden, giving them enough space. Water them in well.
The “Secret Sauce” (Pro Tips)
Here are a few little tricks I’ve picked up over the years that can really boost your success:
- Don’t let the leaves touch the water in the propagator: If you’re not using a humidity dome and are just covering with a bag, make sure the leaves are not sitting in pooled condensation. This is a fast-track to rot!
- Bottom heat is your friend: If you have a chance, especially if you’re propagating in cooler weather, placing your pots on a seedling heat mat can dramatically speed up root formation. The warmth encourages the plant to start sending out roots from the base.
- Start with healthy parent plants: This sounds obvious, but it’s worth repeating. You’ll have the best luck propagating from strong, healthy specimens that are clearly thriving. Avoid cuttings from stressed or unhealthy plants.
Aftercare & Troubleshooting
Once your cuttings are potted up, keep them in a bright, indirect light location. Avoid direct sun, which can scorch delicate new growth. Keep the soil consistently moist but not waterlogged. You’ll know your cutting is rooting when you see new leaf growth emerge. This can take anywhere from a few weeks to a couple of months.
The most common issue you might encounter is rot. If you see your cutting turning black and mushy at the soil line, or the leaves rapidly wilting with no signs of new growth after several weeks, it’s likely rotted. This is usually due to too much moisture and not enough air circulation. If you catch it early, you might be able to salvage a healthy part of the cutting.
Once your roots have developed and the plant is actively growing, you can gradually introduce it to brighter light and eventually transplant it into a larger pot or your garden bed.
A Little Patience Goes a Long Way
Propagating plants is a journey, not a race. There will be times when things don’t quite work out as planned, and that’s perfectly okay. Every gardener, even after twenty years, has had cuttings fail. Just learn from it, try again, and most importantly, enjoy the process of nurturing new life. Happy propagating!
Resource:
https://identify.plantnet.org/k-world-flora/species/Spermacoce%20ruelliae%20DC./data