Hello there, fellow garden enthusiasts! Have you ever admired the delicate charm of Soroseris pumila and dreamt of having more of these beauties gracing your space? I certainly have. There’s something truly special about coaxing new life from a single plant, and Soroseris pumila offers a wonderful opportunity to do just that. It’s not the most difficult plant to propagate, but it does require a little attention to detail. Still, I believe even beginners can achieve success with a bit of guidance. Let’s dive in!
The Best Time to Start
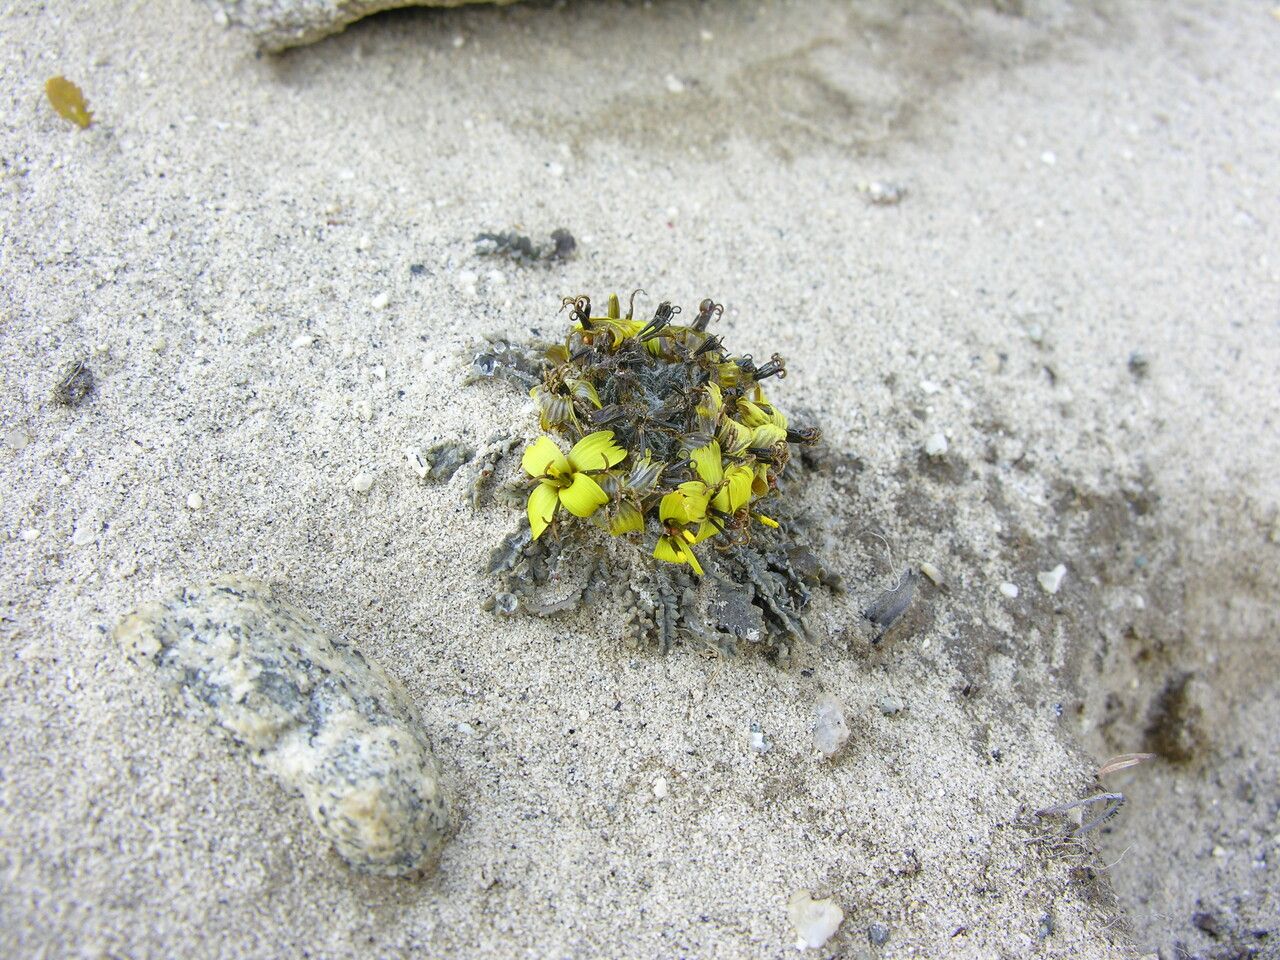
When it comes to Soroseris pumila, late spring or early summer is your golden window. This is when the plant is actively growing and has plenty of vigor to spare. You’ll want to take cuttings from healthy, non-flowering stems. These pieces will have the best chance of rooting quickly and reliably for you.
Supplies You’ll Need
Here’s what you’ll want to have on hand before you begin:
- A clean, sharp pair of pruning shears or a sharp knife. Sterilize them with rubbing alcohol to prevent disease.
- A well-draining potting mix. I like a blend of equal parts perlite, peat moss, or coco coir, and a bit of coarse sand.
- Small pots or trays with drainage holes.
- Rooting hormone (optional, but can give your cuttings a nice boost).
- A plastic bag or humidity dome to create a mini-greenhouse effect.
- A spray bottle filled with water.
Propagation Methods
Soroseris pumila can be successfully propagated through stem cuttings. It’s my go-to method, offering reliable results.
Stem Cuttings
- Select Your Cuttings: Find healthy, two-to-four-inch long stem tips that are not flowering. Look for stems that are firm but not woody.
- Make the Cut: Using your sterilized shears or knife, make a clean cut just below a leaf node. A leaf node is where a leaf attaches to the stem.
- Prepare the Cutting: Gently remove the lower leaves, leaving just one or two at the very top. This prevents them from rotting in the soil. If you’re using rooting hormone, dip the cut end into it now, tapping off any excess.
- Plant Your Cuttings: Gently insert the cut end into your prepared potting mix. Make sure at least one leaf node is buried in the soil, as this is where roots will form.
- Provide Moisture and Humidity: Lightly water the soil. Then, cover the pot with a plastic bag or a humidity dome to keep the humidity high. You can prop the bag up with a skewer or two so it doesn’t touch the leaves.
- Place in Bright, Indirect Light: Find a spot that gets bright, indirect light. Avoid direct sunlight, which can scorch your new cuttings.
The “Secret Sauce” (Pro Tips)
Now for a couple of little tricks I’ve picked up over the years.
- Don’t Let Leaves Touch the Water (If Doing Hydroponics): While I’ve focused on soil propagation here, if you dabble in water propagation for other plants, remember: no leaves should be submerged. Only the stem node that will root should be in the water. This is crucial to prevent rot before roots even have a chance to form.
- Bottom Heat is Your Friend: If you can, placing your pots on a gentle heating mat can significantly speed up root development. It mimics the warmth of spring and encourages those little root cells to get busy. Don’t make it too hot, just a gentle warmth is perfect.
Aftercare & Troubleshooting
Once your cuttings have been potted, mist them lightly every few days and check the soil moisture. You’re aiming for consistently damp, but not waterlogged, soil.
You’ll know your cuttings are rooted when you see new growth appearing or feel a slight resistance when you gently tug on the stem. This usually takes anywhere from 3 to 6 weeks.
The biggest challenge you might face is rot. If you see your cuttings turning mushy or black, it’s a sign of too much moisture and not enough air circulation. Unfortunately, once rot sets in, it’s usually irreversible. Remove any affected cuttings to prevent it from spreading.
A Big Green Hug
Propagating plants is a journey, and it’s so much fun to watch the magic happen. Be patient with your Soroseris pumila cuttings. Not every single one will make it, and that’s perfectly normal. Just enjoy the process of nurturing them and celebrating each success. Happy propagating!
Resource:
https://identify.plantnet.org/k-world-flora/species/Soroseris%20pumila%20Stebbins/data