Hey there, fellow plant enthusiasts! Today, we’re diving into the wonderful world of propagating Ipomoea conzattii. If you’ve ever been captivated by its vibrant blooms and lush foliage, you’re in for a treat. Growing your own from scratch is incredibly rewarding, and I’m here to guide you through it.
Your New Leafy Friend: Why Propagate Ipomoea conzattii?
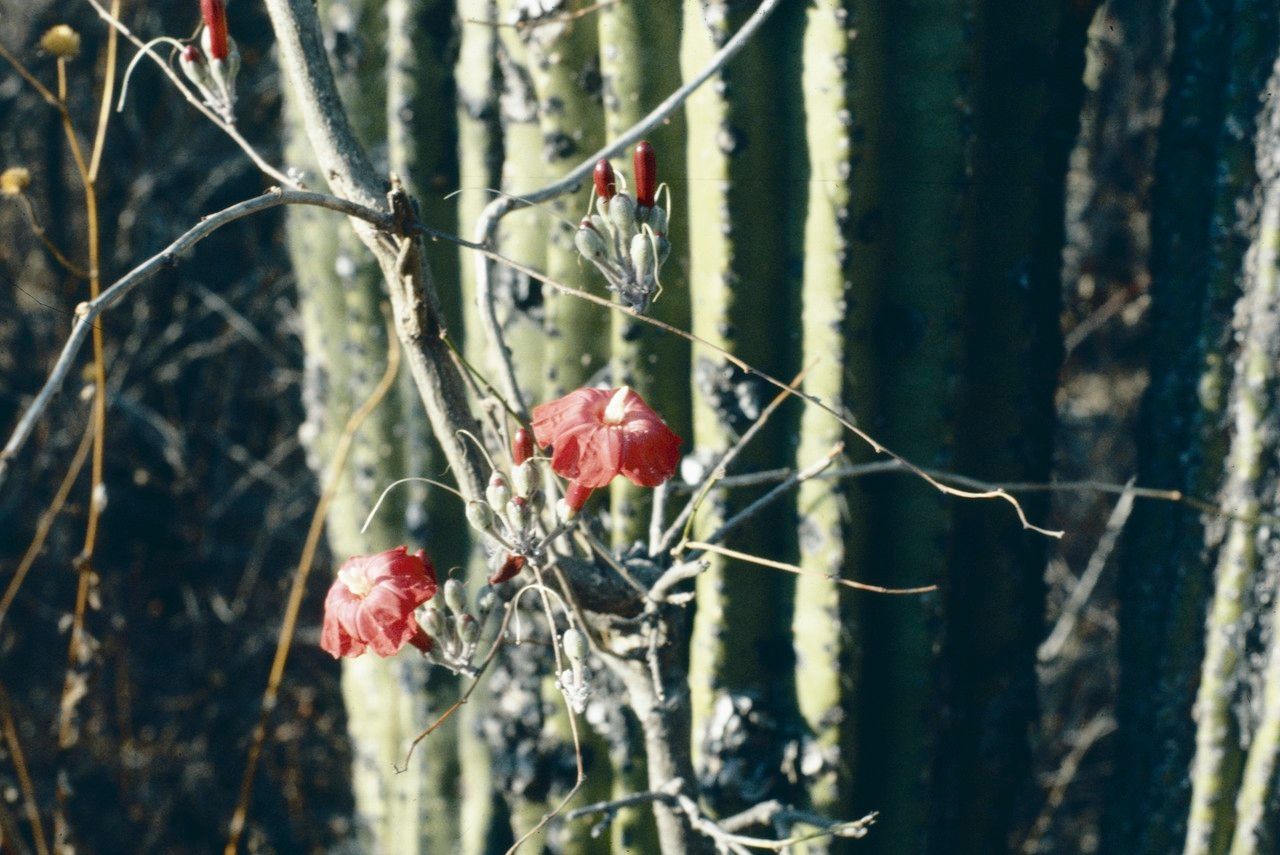
Ipomoea conzattii, also known as the “Mexican Morning Glory” or “Conzatt’s Morning Glory,” is a real showstopper. Its beautiful, trumpet-shaped flowers, often in shades of purple and pink speckled with darker tones, can transform any garden space. These vines are vigorous growers and prolific bloomers, giving you a lot of bang for your buck.
Now, about beginners: If you’re just starting your propagation journey, Ipomoea conzattii is moderately easy to propagate. It’s not as foolproof as a pothos, but with a little care and attention, you can absolutely achieve success! It’s a fantastic plant to practice on and learn from.
When the Stars Align: The Best Time to Start
For the highest success rates with Ipomoea conzattii, you’ll want to aim for late spring or early summer. This is when the plant is in its active growth phase. The warmer temperatures and longer daylight hours really encourage rooting. Starting new plants at this time gives them ample opportunity to establish a strong root system before cooler weather arrives.
Your Propagation Toolkit: What You’ll Need
Having the right tools on hand makes the whole process smoother. Here’s what I usually gather:
- Sharp Pruning Shears or Scissors: Clean cuts are crucial for preventing disease.
- Clean Containers or Pots: Small pots, seed trays, or even repurposed containers work well. Make sure they have drainage holes!
- Well-Draining Potting Mix: A good blend of peat moss, perlite, and vermiculite is ideal. You can also find specialized propagation mixes.
- Rooting Hormone (Optional but Recommended): This powder or gel helps cuttings develop roots faster and can increase your success rate.
- Water Mister: For keeping humidity levels up.
- Plastic Bag or Dome: To create a humid environment for cuttings.
- Small Pebbles or Perlite: For water propagation if you choose that method.
Bringing New Life Forth: Propagation Methods
There are a couple of great ways to get new Ipomoea conzattii plants going. My favorites are stem cuttings and water propagation.
Method 1: Stem Cuttings – The Classic Approach
This is my go-to method for many vining plants, and Ipomoea conzattii is no exception.
- Take Your Cuttings: With your clean shears, select a healthy, non-flowering stem from your mature plant. Look for stems that are about 6-8 inches long. Make a cut just below a leaf node (where a leaf attaches to the stem). This is where roots are most likely to emerge.
- Prepare the Cuttings: Gently remove the lower leaves from the cutting, leaving just 2-3 leaves at the top. This prevents leaves from rotting in the soil or water. If the remaining leaves are very large, you can even cut them in half to reduce water loss.
- Apply Rooting Hormone (Optional): Dip the cut end of the stem into your rooting hormone powder or gel, tapping off any excess.
- Plant Your Cuttings: Fill your small pots with your well-draining potting mix. Make a small hole in the center of the soil with your finger or a pencil. Insert the cutting into the hole, ensuring the node where you removed the leaves is buried. Gently firm the soil around the stem.
- Water and Cover: Water the soil thoroughly, allowing excess to drain away. Place a clear plastic bag or a propagation dome over the pot to create a humid microclimate. Poke a few holes in the bag for ventilation, or lift the dome daily for a few minutes.
- Provide Light and Warmth: Place the pots in a bright location with indirect sunlight. Avoid direct sun, which can scorch the tender cuttings. Some gentle bottom heat from a seed-starting mat can also speed things up, but it’s not essential.
Method 2: Water Propagation – Seeing is Believing!
This method is incredibly satisfying because you get to watch the roots grow!
- Take and Prepare Cuttings: Follow steps 1 and 2 from the stem cuttings method.
- Place in Water: Find a clean jar or glass and fill it with fresh water. Place your prepared cuttings into the water, ensuring that no leaves are submerged. This is really important to prevent rot. You can use a few small pebbles or perlite at the bottom of the jar to help hold the cuttings upright if needed.
- Location and Water Changes: Place the jar in a bright location with indirect light. Change the water every few days to keep it fresh and prevent bacterial growth.
- Watch for Roots: You should start to see tiny white roots emerging from the leaf nodes within a few weeks.
The “Secret Sauce”: My Insider Pro Tips
After years of coaxing new plants to life, I’ve picked up a few tricks that often make a difference.
- The “Sacrificial Stem” Trick: If you’re taking a lot of cuttings, sometimes a slightly older, more mature stem that’s already a bit woody will root more reliably than a brand-new, super-soft shoot. Don’t be afraid to experiment with slightly different stem maturities.
- Bottom Heat is Your Friend: While not strictly mandatory, placing your pots on a gentle heat mat can dramatically speed up root development. It mimics the warmth of spring soil and really encourages those dormant root buds to get going. If you don’t have a mat, find a warm spot in your house, away from drafts.
- Don’t Overcrowd: When you’re planting multiple cuttings in one pot, give them a little space. Overcrowding can lead to poor air circulation and encourage fungal diseases.
Nursing Your New Arrivals: Aftercare & Troubleshooting
Once your cuttings have developed a good root system – you’ll see roots about an inch long in water, or feel gentle resistance when you lightly tug on a soil-grown cutting – it’s time for their next step.
- For Soil-Grown Cuttings: If you didn’t use a humidity dome, gradually acclimate your cuttings to lower humidity for a few days before removing it completely. Continue to water them, keeping the soil consistently moist but not waterlogged.
- For Water-Propagated Cuttings: Carefully transplant them into pots filled with your well-draining potting mix. Water them in gently. The initial days after transplanting can be a bit stressful, so keep the soil evenly moist.
Common Pitfalls to Watch For:
- Stem Rot: This is often caused by too much moisture and poor air circulation. The stem will turn mushy and black. If you see this, sadly, that cutting is likely lost. Discard it and try again, ensuring better drainage and ventilation next time.
- Yellowing Leaves: This can be a sign of a few things. Too much water can cause root rot, leading to yellowing. Not enough light can also be an issue. Assess your watering and light conditions.
- No Rooting: Patience is key! Some cuttings take longer than others. Discard a cutting only after several weeks to a couple of months with absolutely no signs of root development.
Happy Propagating!
There you have it! Propagating Ipomoea conzattii is a deeply satisfying way to multiply your garden’s beauty. Don’t be discouraged if your first few attempts aren’t perfect. Each time you try, you learn a little more. Embrace the process, enjoy watching those tiny roots emerge, and soon you’ll have a whole legion of gorgeous morning glories to share! Happy gardening!
Resource:
https://identify.plantnet.org/k-world-flora/species/Ipomoea%20conzattii%20Greenm./data