Hello there, fellow plant enthusiasts! It’s so lovely to have you join me today. We’re going to talk about a plant that has really captured my heart over the years: Sonchus brassicifolius.
Why You’ll Love Propagating Sonchus brassicifolius
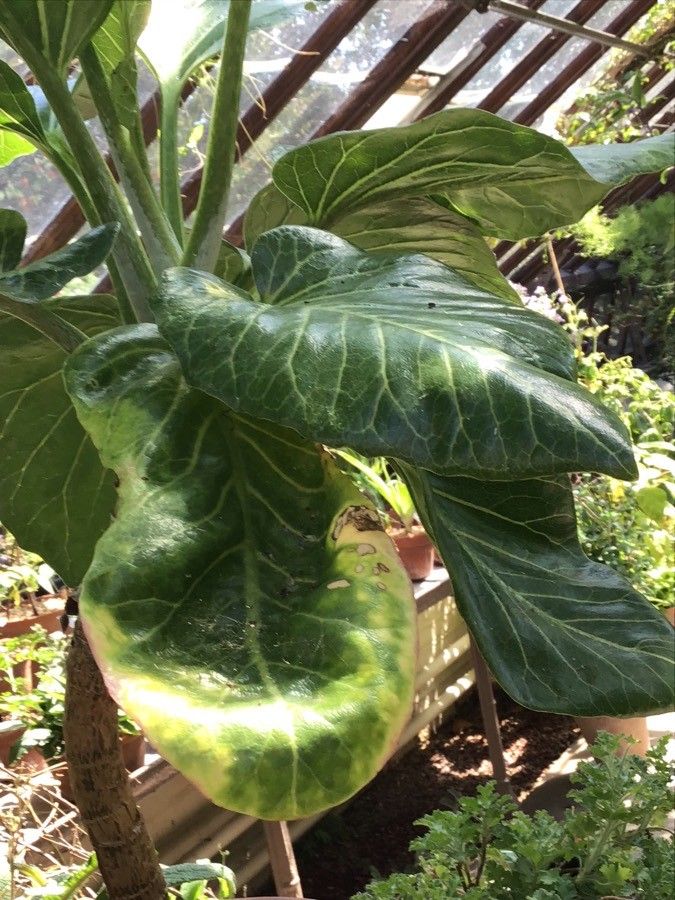
This charming plant, with its often wonderfully textured foliage, brings such a unique architectural element to the garden. Whether it’s a soft, fuzzy texture or a more dramatic, jagged leaf, it’s a real conversation starter. And the best part? Being able to share this beauty by propagating it yourself is incredibly rewarding. It’s like having a little piece of your garden to gift, or to simply expand your own collection. For beginners, I’d say Sonchus brassicifolius falls into the moderately easy category. A little care and attention will go a long way!
The Best Time to Start
Timing is everything in the garden, and for propagating Sonchus brassicifolius, spring is your golden ticket. When the plant is actively growing after its winter rest, it’s brimming with energy. Look for new, tender growth – that’s your signal that it’s ready to be multiplied. You can often get away with it in early summer too, as long as you provide adequate moisture.
Supplies You’ll Need
Gathering your tools beforehand makes the whole process so much smoother. Here’s what I usually have on hand:
- Sharp pruning shears or a clean knife: For making precise cuts.
- Well-draining potting mix: A blend of peat moss, perlite, and a bit of compost works wonderfully. Alternatively, a specialist succulent or cacti mix is often perfect.
- Small pots or trays: With drainage holes, of course!
- Rooting hormone (optional but recommended): This really gives your cuttings a boost.
- Watering can or spray bottle: For gentle hydration.
- Labels: To keep track of what you’ve propagated and when.
- Plastic bag or propagator: To create a humid environment.
Propagation Methods: Let’s Get Our Hands Dirty!
There are a couple of reliable ways to propagate Sonchus brassicifolius. I’ll walk you through my favorites.
Stem Cuttings
This is my go-to method for this plant. It’s quite straightforward and often yields great results.
- Take the cuttings: Using your sharp shears or knife, select healthy, non-flowering stems. Aim for pieces that are about 4-6 inches long. Make your cut just below a leaf node.
- Prepare the cuttings: Gently remove the lower leaves. You want to expose a few nodes where roots will form.
- Apply rooting hormone: If you’re using rooting hormone, dip the cut end of the stem into it. Tap off any excess.
- Plant the cuttings: Fill your small pots with the prepared potting mix. Make a small hole with your finger or a pencil and gently insert the cutting. Firm the soil around it.
- Water gently: Water the soil thoroughly but avoid waterlogging.
Division
If your Sonchus brassicifolius has grown into a clump, division is another excellent option.
- Gently remove the plant: Carefully lift the entire plant from its pot or from the ground.
- Inspect the root ball: You’ll see where the plant naturally wants to separate. You might have several smaller plants already forming.
- Divide the roots: Use your hands or a clean knife to gently pull or cut the root ball into sections. Make sure each section has a good amount of roots and some healthy foliage.
- Pot up the divisions: Pot each new section into its own container with fresh, well-draining soil, just as you would with stem cuttings. Water them in well.
The “Secret Sauce” (Insider Tips to Success!)
After years of trial and error, I’ve picked up a few tricks that really make a difference.
- Callusing is Key: Before planting stem cuttings, let them sit out for a day or two in a cool, dry place. This allows the cut end to callus over. This little step significantly reduces the risk of rot, which is something we definitely want to avoid!
- Bottom Heat for a Boost: If you can, place your pots on a heat mat designed for seedlings. This gentle warmth encourages root development from below, speeding up the process and increasing your success rate. It’s like a little spa treatment for your cuttings!
- Embrace Humidity: Once your cuttings are planted, pop them into a plastic bag or a propagator. This creates a humid microclimate, which is crucial for preventing the leaves from drying out while the roots are trying to establish. Just make sure there’s good air circulation to prevent mold.
Aftercare & Troubleshooting
Once you see those first signs of new growth – tiny leaves unfurling or a root poking through the drainage hole – it’s time for a little shift in care. You can gradually introduce your new plants to more direct light, but do this slowly to avoid shocking them. Continue to water them when the top inch of soil feels dry.
The most common pitfall you might encounter is rot. If a cutting turns mushy or black, it’s succumbed to rot. This is often due to overwatering or a lack of drainage. If you see this happening, remove the affected cutting immediately to prevent it from spreading. Sometimes, a cutting might just fail to root. Don’t be discouraged! It happens to all of us. Just try again with a fresh batch.
Happy Propagating!
Growing more Sonchus brassicifolius is such a rewarding journey. Be patient with your new plants, enjoy the process of nurturing them, and don’t be afraid to experiment a little. Happy gardening, and I hope your propagation efforts are bountiful!
Resource: