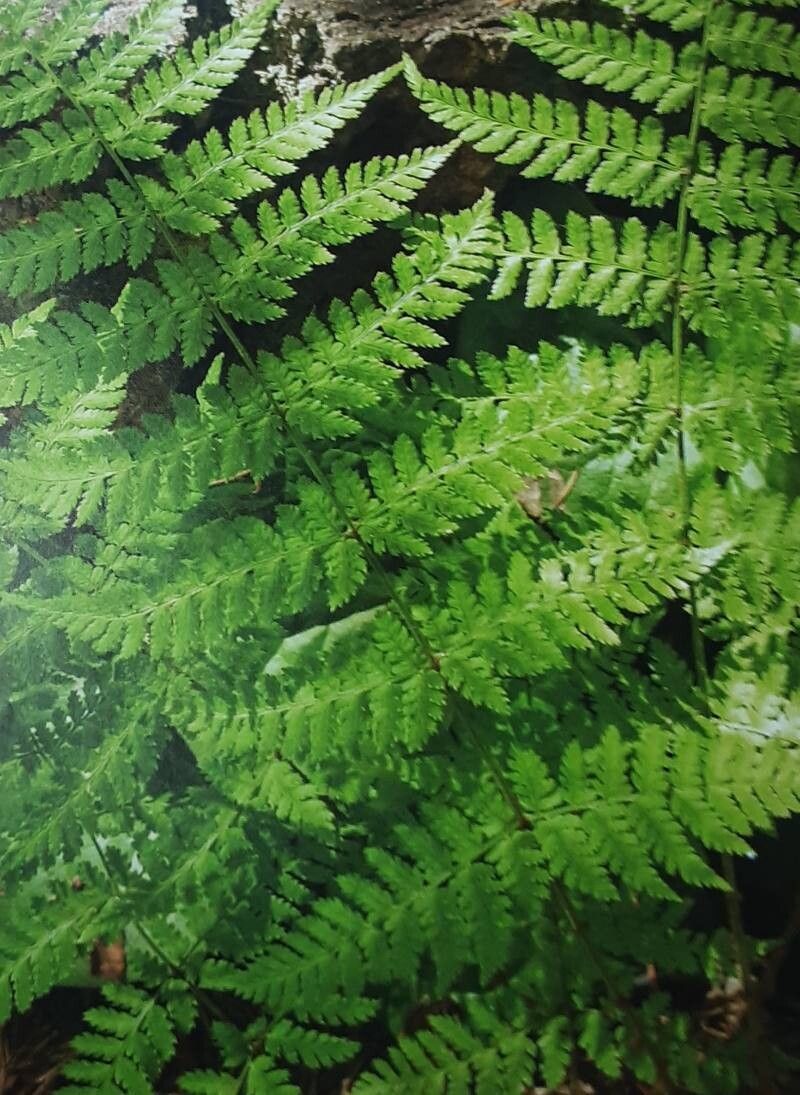
Ah, the intermediate wood fern, Dryopteris intermedia! It’s one of those plants that just brings a quiet elegance to a shady spot. With its lacy, evergreen fronds, it adds texture and life even when the rest of the garden is winding down. And you know what’s even more rewarding than enjoying its beauty? Creating more of it yourself! Propagating Dryopteris intermedia is a wonderful way to expand your collection or share these lovely ferns with friends. For beginners, I’d say it’s moderately easy. You won’t be pulling your hair out, but a little patience and a few good practices go a long way.
The Best Time to Start
My personal favorite time to get down and dirty with Dryopteris intermedia propagation is in the spring, just as new fronds are beginning to unfurl. This is when the plant is bursting with energy and has the best chance of successfully establishing new growth. Another good window is in the fall, after the intense heat of summer has passed. You’re essentially coaxing a plant to make more of itself, so giving it healthy, active growth to work with makes all the difference.
Supplies You’ll Need
Here’s what I usually have on hand when I’m ready to propagate:
- Sharp, clean pruning shears or a sturdy knife: For making clean cuts.
- Good quality propagation mix or a blend of peat moss and perlite (50/50): This provides excellent drainage and aeration, which ferns absolutely adore.
- Small pots or seed trays: Clean ones are key to preventing diseases.
- Plastic bags or a clear dome: To maintain humidity around your cuttings.
- Watering can with a fine rose: For gentle watering.
- Labels and a permanent marker: You’ll thank yourself later!
- (Optional) Rooting hormone: While not always strictly necessary for Dryopteris intermedia, it can give certain methods an extra boost.
Propagation Methods
There are a couple of tried-and-true ways to multiply your Dryopteris intermedia.
Division
This is by far the easiest and most straightforward method for this particular fern. Ferns, as they mature, naturally form clumps.
- Gently dig up the entire plant. You want to disturb the root ball as little as possible.
- Examine the root ball. Look for natural divisions where the fern has grown into separate sections, each with its own crown and roots.
- Using your hands or a sharp trowel, carefully separate these sections. If a section is particularly tough to pull apart, a clean knife or even your pruning shears can help make the cut. Just be sure you’re separating into pieces that have a good amount of roots and at least one active growing point (crown).
- Replant your divisions immediately. Place them in their new pots with your prepared propagation mix, ensuring the crown is at soil level. Water them in well.
Spore Propagation (For the patient gardener!)
While division is quick, propagating from spores is an entirely different, almost scientific, endeavor. It takes time and a very specific environment.
- Collect Spores: Look for mature spore-bearing structures, called sori, on the underside of healthy fronds in late summer or fall. They usually look like little brown dots. Gently scrape these into a small paper envelope and let them dry completely.
- Prepare Spore Substrate: Sterilize a shallow tray or pot. Fill it with a fine mix of sterilized peat moss and sand. Dampen this thoroughly.
- Sow Spores: Sprinkle the dried spores thinly over the surface of the moist substrate. Do not cover them.
- Incubation: Cover the tray with a clear lid or plastic wrap to maintain high humidity. Place it in a bright, indirect light location, away from drafts. Keep the substrate consistently moist but not waterlogged.
- Patience is Key: You’re looking for tiny, green, heart-shaped structures called prothallia to appear, which can take weeks or even months. These are the gametophyte stage.
- Fertilization: The prothallia need to “cross-pollinate” (usually with moisture in the air). You’ll eventually see tiny new fernlets emerge from the prothallia.
- Transplanting: Once the fernlets are large enough to handle, carefully transplant them to individual pots with a standard fern mix. This is a long process, and I usually only attempt it when I have plenty of time and curiosity!
The “Secret Sauce” (Pro Tips)
Here are a few things I’ve learned that really make a difference:
- Think “Humid Haven”: Ferns love humidity. After dividing or planting cuttings, make sure your new plants are in a consistently moist environment. If you’re using plastic bags, gently lift them daily to allow for some air circulation, preventing fungal issues.
- Bottom Heat Power: For any cuttings that aren’t divisions (though Dryopteris intermedia isn’t usually propagated by simple stem cuttings), a little warmth from below can work wonders. A seedling heat mat placed under your trays can significantly speed up root development. Just make sure it’s not too hot – we’re aiming for gentle encouragement, not a sauna!
- Don’t Over-Water: This is crucial. While ferns like moisture, soggy soil is a death sentence. The propagation mix should be damp to the touch but not saturated. If water is pooling, you’ve gone too far.
Aftercare & Troubleshooting
Once your divisions are planted, water them gently and keep them in a shady, protected spot. Avoid direct sunlight, which can scorch their delicate new growth. For sporelings, as mentioned, keep that humidity high.
The most common issue you might encounter is rot, which is almost always a sign of overwatering or poor drainage. If you see a cutting start to turn mushy and black, it’s likely beyond saving. Remove it immediately to prevent it from spreading. Another sign to watch for is wilting. This could mean too much heat or not enough humidity. Adjust your environment accordingly.
Root development can take a few weeks to a couple of months, depending on the method and conditions. You’ll know your new Dryopteris intermedia is establishing itself when you see new frond growth appearing.
A Small Bit of Encouragement
Growing new plants is such a joy, isn’t it? Propagation can sometimes feel a bit like a science experiment, but with Dryopteris intermedia, it’s mostly about understanding its needs for moisture and shade. Be patient with yourself and your new ferns. Even if a few don’t make it, the ones that do will be a testament to your efforts. Happy gardening, friends!
Resource:
https://identify.plantnet.org/k-world-flora/species/Dryopteris%20intermedia%20A.Gray/data