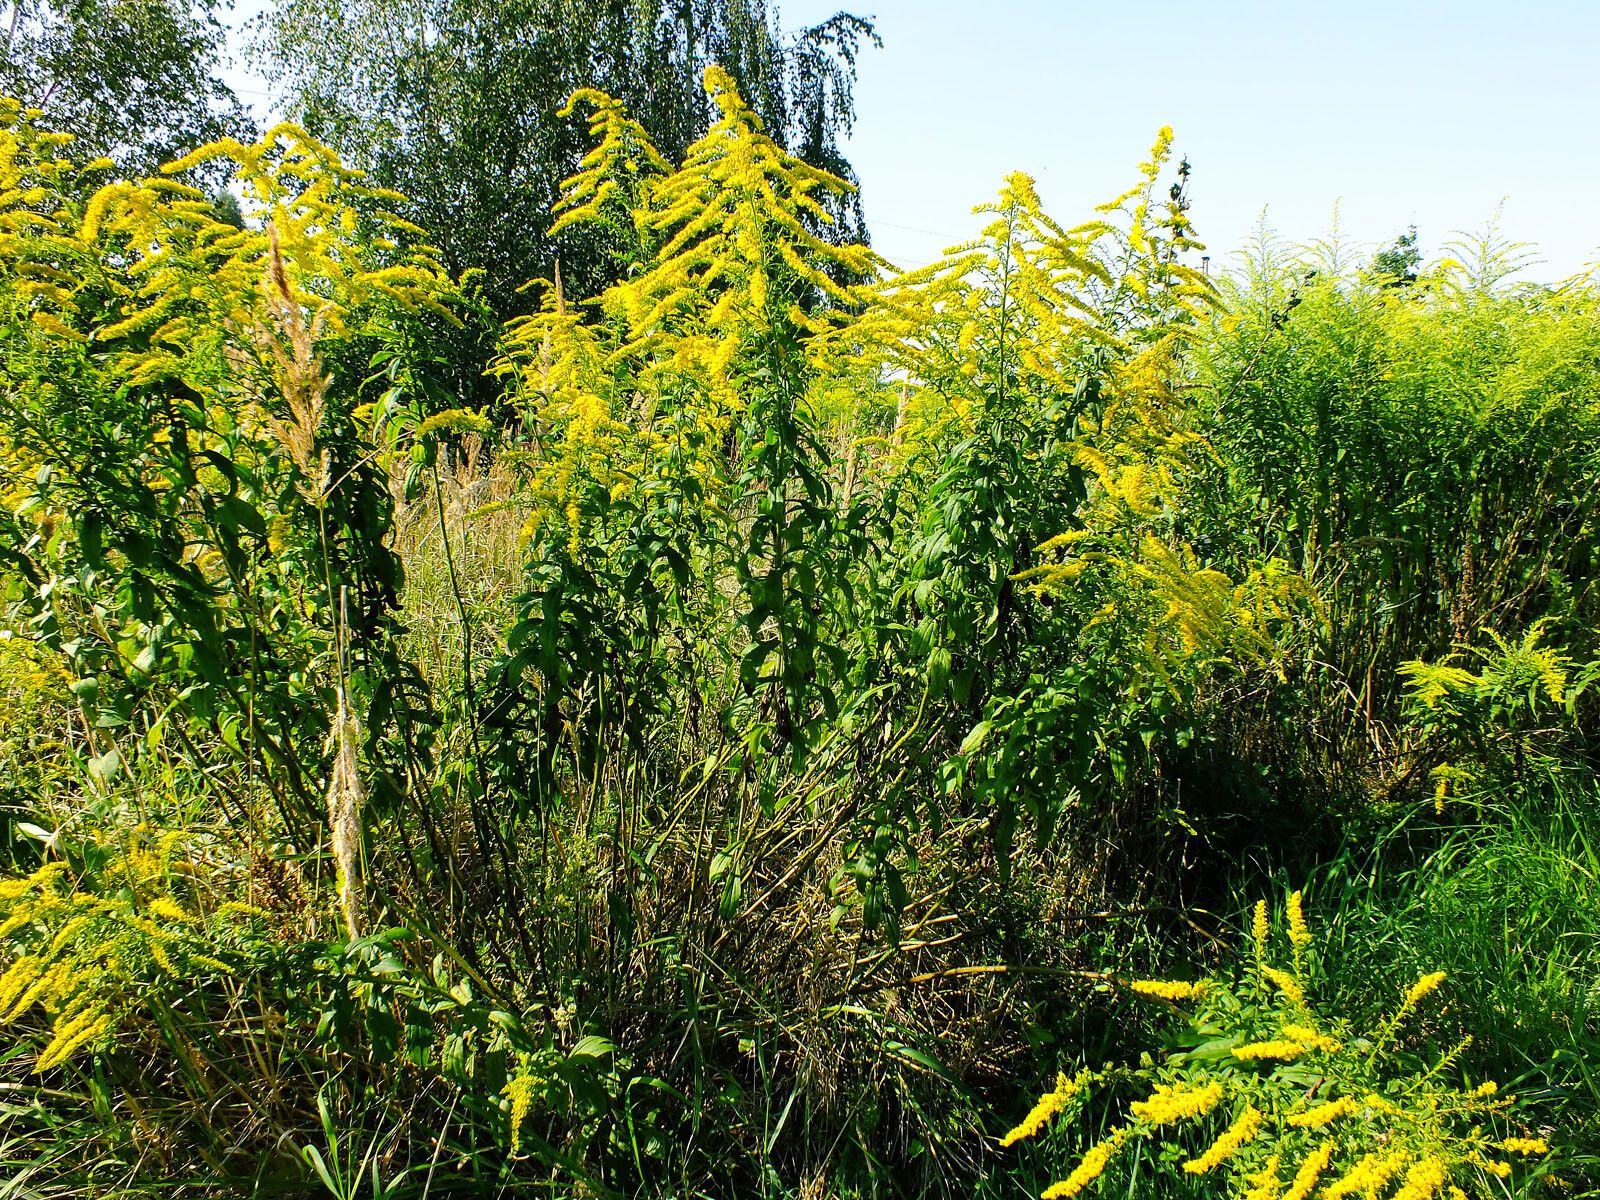
Oh, hello there! Grab a mug, let’s chat about Solidago canadensis, or as most of us know it, Canada goldenrod. It’s one of those cheerful plants that just radiates sunshine, especially when other garden plants are starting to fade. Those cheerful yellow blooms are like a final burst of summer energy, aren’t they? And sharing that beauty? Well, that’s where propagation comes in! It’s incredibly rewarding, and I’m happy to say, Solidago is a truly beginner-friendly plant to multiply. You’ll be sharing little bits of sunshine with friends in no time.
The Best Time to Start
For Canada goldenrod, timing is key to giving your new babies the best start. I find the absolute best windows for propagation are late spring to early summer, just as the plant is really getting going and putting on new growth. Alternatively, fall planting after the blooming season is over can also work well, especially for division. This gives the plant time to settle in before the harshness of winter or the intense heat of mid-summer.
Supplies You’ll Need
Gathering your supplies beforehand makes the whole process much smoother. Here’s a little list to get you started:
- Pruning shears or snips: Clean and sharp ones are a must to avoid damaging the plant.
- Potting mix: A well-draining mix is crucial. I like to use a blend of equal parts peat moss, perlite, and compost.
- Small pots or containers: Seedling trays or even yogurt cups with drainage holes will do the trick for cuttings.
- Rooting hormone (optional but helpful): This can give your cuttings an extra boost.
- Watering can or spray bottle: For gentle watering.
- Marker and labels: Don’t forget to label your treasures!
- A sunny spot or grow light: For optimal growth.
- A sharp spade or garden fork (if dividing): For separating established clumps.
Propagation Methods
Solidago is quite versatile, and you can use a few different methods to increase your stock.
1. Stem Cuttings (My Favorite for Beginners!)
This is my go-to for goldenrod. It’s simple and usually yields great results.
- Step 1: In late spring or early summer, select a healthy, non-flowering stem from your mature goldenrod. Look for stems that are bright green and vigorous.
- Step 2: Using your clean pruners, cut a section of the stem that is about 4-6 inches long. Make the cut just below a leaf node (where a leaf attaches to the stem).
- Step 3: Gently remove the lower leaves, leaving just the top couple of sets. This prevents them from rotting when buried or submerged.
- Step 4: If you’re using rooting hormone, dip the cut end of the stem into the powder.
- Step 5: Fill your small pots with the well-draining potting mix. Make a small hole in the center with your finger or a pencil.
- Step 6: Insert the cutting into the hole, ensuring the leaf nodes are buried. Gently firm the soil around it.
- Step 7: Water gently to settle the soil.
- Step 8: Place the pots in a bright location, out of direct, scorching sun. Keeping them lightly moist is key. You can even cover them loosely with a plastic bag to create a mini-greenhouse effect, but make sure some air can circulate.
2. Division (Perfect in Fall)
This method is best for established clumps and is a fantastic way to rejuvenate your existing plants.
- Step 1: In the fall, after the plant has finished flowering, dig around the base of the clump with a spade or garden fork.
- Step 2: Gently lift the entire clump from the ground.
- Step 3: With your spade or by hand, carefully divide the clump into smaller sections. Aim for sections that have at least a few healthy shoots and some root structure.
- Step 4: Replant these divisions immediately in their new locations or in pots with fresh soil.
- Step 5: Water thoroughly and keep them moist during dry spells.
The “Secret Sauce” (Pro Tips)
Here are a couple of little tricks I’ve learned over the years that really help boost success:
- For stem cuttings, use bottem heat! If you have a “heat mat” for seedlings, place your pots on it. This gentle warmth encourages root development from below, which is incredibly effective for Solidago. If you don’t have a mat, simply placing them on top of a refrigerator can provide a similar subtle warmth.
- Don’t let those lower leaves touch the soil! I know I mentioned removing them, but it bears repeating. If leaves rest directly on the potting mix, they can easily rot, which is the perfect invitation for fungal diseases to set in before your cutting even has a chance to root. Keep the soil surface clear!
Aftercare & Troubleshooting
Once your cuttings or divisions have been planted, gentle care is all they need.
- Keep them moist, but not waterlogged. The soil should feel like a wrung-out sponge. Overwatering is the quickest way to invite rot, which looks like the stem turning mushy and black. If you see this, sadly, that cutting is likely lost.
- After a few weeks, you can gently tug on a cutting. If there’s resistance, it means new roots have formed! Congratulations! At this stage, you can transplant them into slightly larger pots or their permanent garden spots.
- If you’re dividing, ensure the divided sections are watered well. You might see a little bit of wilting initially as they adjust, but they should perk up within a few days.
- Yellowing leaves on cuttings can sometimes be a sign of too much direct sun or inconsistent watering. Move them to a shadier spot or adjust your watering routine.
A Encouraging Closing
Growing new plants from your existing ones is such a fulfilling part of gardening. It’s a chance to appreciate the resilience of nature and to keep spreading those pockets of golden loveliness. Be patient with your new goldenrod babies; some will take a little longer to show signs of life than others. Just keep tending to them with a gentle hand, and soon you’ll have a garden full of that irresistible golden glow. Happy propagating!
Resource:
https://identify.plantnet.org/k-world-flora/species/Solidago%20canadensis%20L./data