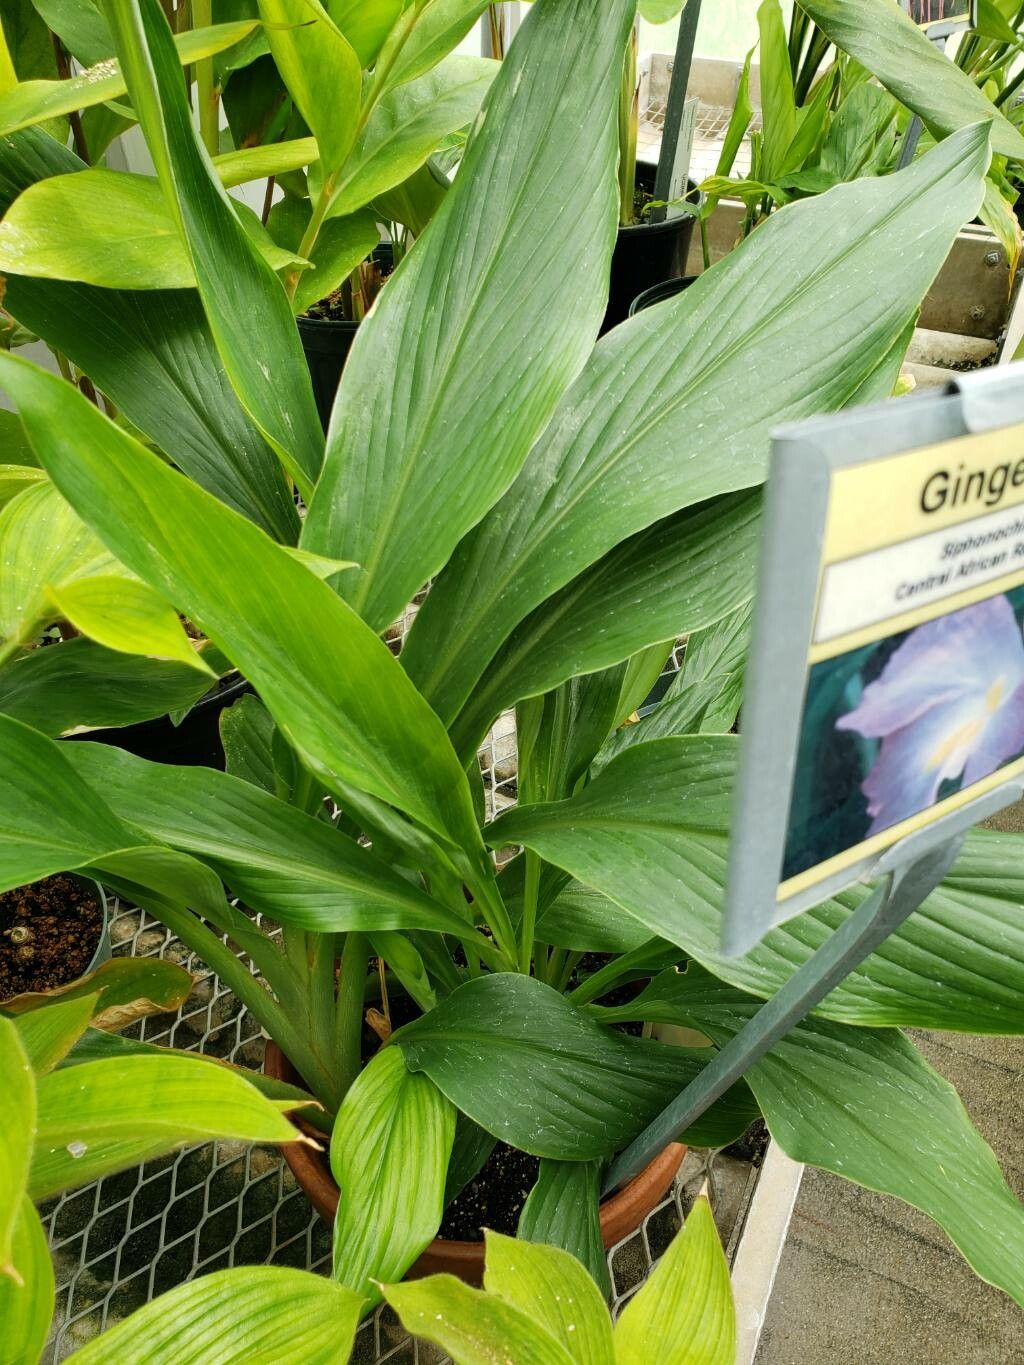
Oh, Siphonochilus kirkii! Just the name conjures up images of lush, tropical foliage and perhaps a whiff of its fascinating aroma. Those broad, glossy leaves are a real statement piece in any garden, and for those of us who appreciate a touch of the unusual, it’s a true gem. Propagating this beauty is a wonderful way to share its charm or simply to fill your own space with more of its magic. Now, I’ll be honest, Siphonochilus can be a tad more demanding than your average pothos, but with a little care and understanding, it’s absolutely achievable. Don’t let that deter you; the reward of watching a new plant unfurl is always worth it!
The Best Time to Start
For Siphonochilus kirkii, timing is key. The absolute best time to begin propagating is during its active growing season. This generally means spring and early summer. You’re looking for healthy, actively growing stems. Avoid trying to propagate when the plant is dormant or stressed. A vigorous plant is much more likely to produce roots!
Supplies You’ll Need
Gathering your supplies beforehand makes the whole process much smoother. Here’s what I usually have on hand:
- Sharp, clean pruning shears or a knife: Sanitation is crucial to prevent disease.
- Well-draining potting mix: A mix specifically for aroids or a blend of peat moss, perlite, and compost works wonders.
- Small pots or propagation trays: Ensure they have drainage holes.
- Rooting hormone (optional but helpful): A powder or gel formula.
- Plastic bags or a clear propagation dome: To maintain humidity.
- Water (for specific methods): Use filtered or distilled water if your tap water is very hard.
- Gloves (optional): Some people find Siphonochilus sap a bit sticky.
Propagation Methods
There are a couple of reliable ways to get Siphonochilus kirkii to produce new life. I find division to be the most straightforward for this particular plant.
Division: The Surest Bet
Siphonochilus kirkii often grows from rhizomes, which are essentially underground stems. As the plant matures, these rhizomes can sprout new shoots, creating a clumping effect.
- Gently unpot your Siphonochilus: Turn the pot on its side and ease the plant out. If it’s a bit stuck, you can tap the sides of the pot or run a knife around the inner edge.
- Examine the root ball: Look for natural separation points along the rhizomes. You’re aiming for sections that have at least one healthy growing point (a small bud or shoot) and some associated roots.
- Carefully separate the sections: You can often pull them apart with your hands. If they are tightly knit, use a clean, sharp knife or spade to cut through the rhizome.
- Inspect for damage: Trim away any mushy or damaged parts of the rhizome.
- Pot up the divisions: Plant each division in its own pot filled with your well-draining potting mix. The top of the rhizome should be just at or slightly below the soil surface.
- Water lightly: Don’t drench the soil; just moisten it thoroughly.
Stem Cuttings: A Bit More Patience
While division is my go-to, you can also try stem cuttings. This method requires a bit more attention to humidity.
- Take a cutting: Select a healthy stem that has at least two or three nodes (the points where leaves emerge). Make a clean cut just below a node. Remove the lower leaves, leaving one or two at the top.
- Apply rooting hormone (optional): Dip the cut end into rooting hormone, tapping off any excess.
- Plant the cutting: Insert the cut end about an inch or two deep into a pot filled with your well-draining mix. Firm the soil gently around the stem.
- Create a humid environment: Water lightly, then cover the pot with a clear plastic bag (making sure the leaves don’t touch the plastic) or place it under a clear propagation dome.
- Provide indirect light: Place the pot in a bright spot but out of direct sunlight.
The “Secret Sauce”
Here are a couple of little tricks I’ve learned over the years that can make a big difference:
- Warmth is Key: Siphonochilus thrives in warmth, especially when trying to root. If your home tends to be on the cooler side, I highly recommend using a heat mat under your propagation pots. This gentle bottom heat encourages root development.
- Patience with Cuttings: When propagating by stem cuttings, don’t be tempted to pull them out to check for roots too early! It can take several weeks, sometimes even a couple of months, for cuttings to establish themselves. Resist the urge!
Aftercare & Troubleshooting
Once you see signs of new growth – a tiny leaf peeking out or new roots showing through the drainage holes – you’re on the right track!
- Gradually Acclimate: If you used a plastic bag or dome for cuttings, start to gradually remove it over a week or so to allow the new plant to adjust to the regular humidity levels.
- Watering: Continue to water when the top inch of soil feels dry. Avoid overwatering, as this is the quickest way to invite root rot, which will manifest as mushy stems and wilting leaves.
- Light: Move your new Siphonochilus to a spot with bright, indirect light.
If you notice yellowing leaves, mushy stems, or a general wilting that doesn’t improve with watering, it’s likely a sign of overwatering and potential rot. In this case, you might need to unpot it, carefully trim away any rotted parts of the rhizome or stem, and repot into fresh, dry soil.
A Encouraging Closing
Growing plants is a journey, and propagating Siphonochilus kirkii is a wonderfully rewarding part of that journey. Be patient with yourself and with your new plants. Embrace the learning process, and don’t be discouraged by the occasional setback. Before you know it, you’ll be surrounded by your own little Siphonochilus family! Happy growing!
Resource: