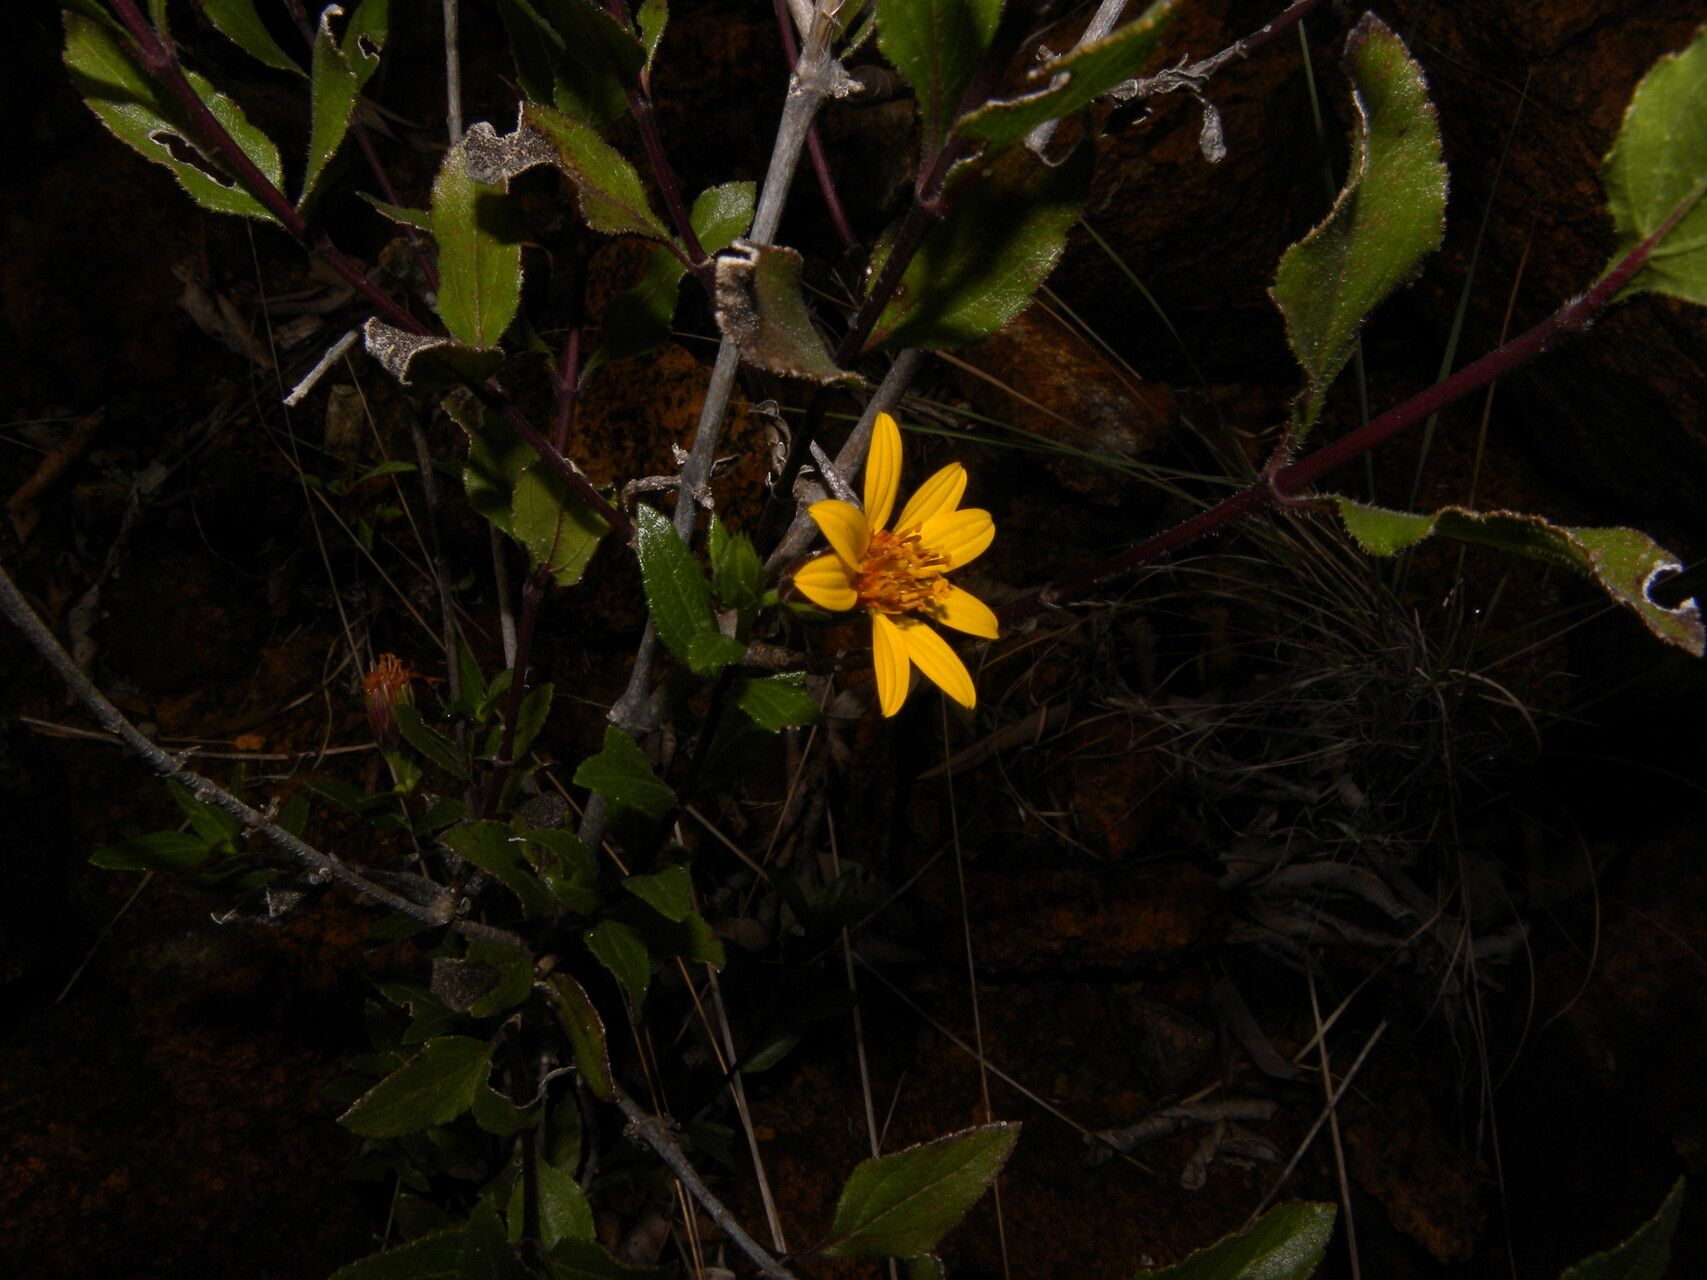
Oh, it’s so good to chat with you today about Simsia santarosensis! This little beauty, with its cheerful daisy-like flowers and lovely foliage, is such a joy to have in the garden. And the best part? You can easily bring that joy into more corners of your yard—or even share it with friends! Propagating this plant is incredibly rewarding, and I’m happy to say it’s quite beginner-friendly. You’ll be amazed at how simple it can be.
The Best Time to Start
My favorite time to get propagating Simsia santarosensis is in late spring or early summer. This is when the plant is actively growing after the initial spring flush. The stems are firm but still pliable, and the days are getting longer and warmer, which is just what new cuttings need to root. You want to catch it before the intense heat of mid-summer makes things too stressful for delicate new growth.
Supplies You’ll Need
Here’s a little kit to get you started. You likely have most of these already!
- Clean, sharp pruning shears or a small knife: For making clean cuts.
- Small pots or seed trays: With drainage holes, of course!
- Rooting hormone (optional, but helpful): A little dip can speed things up.
- Well-draining potting mix: A good blend of peat moss, perlite, and a bit of compost works wonders. I often use a 50/50 mix of potting soil and perlite for cuttings.
- Small plastic bags or a propagation dome: To create a humid environment.
- Watering can with a fine rose attachment: For gentle watering.
Propagation Methods
There are a couple of lovely ways to get more Simsia santarosensis plants. I usually go for stem cuttings because it’s so reliable.
Propagation by Stem Cuttings:
- Select your parent plant: Look for a healthy, vigorous stem on your mature Simsia santarosensis.
- Make the cut: Using your clean shears, take a cutting that is about 4-6 inches long. Aim for a piece that has at least two sets of leaves. Make the cut just below a leaf node (where a leaf attaches to the stem). This is where the magic happens for rooting.
- Prepare the cutting: Gently remove the lower leaves from the cutting, leaving just the top two sets. If your cutting has any flowers, I’d pinch those off too. Flowering takes energy away from root development.
- Apply rooting hormone (if using): Dip the cut end of the stem into your rooting hormone powder. Tap off any excess.
- Plant your cuttings: Stick the prepared cutting into your potting mix, pushing it in deep enough so that the nodes where you removed the leaves are buried. Make sure the soil is firm around the stem.
- Create humidity: Water the pot gently. Then, cover the pot with a plastic bag or place a propagation dome over it. This will create a mini-greenhouse effect, keeping the humidity high, which is crucial for cuttings that can’t yet absorb water through roots.
- Location, location, location: Place your pots in a warm spot with bright, indirect light. Avoid direct sun, which can scorch the young cuttings.
The “Secret Sauce” (Pro Tips)
Here are a couple of little tricks I’ve learned over the years that really make a difference:
- Bottom heat is your friend: If you have a seedling heat mat, placing your pots on it can significantly speed up rooting. It mimics the warmth of the soil that the plant loves in its natural environment.
- Don’t let leaves touch the water: If you decide to try water propagation (which is a bit trickier with Simsia as they can be prone to rot), make absolutely sure no leaves are submerged. Roots can rot if they are constantly wet. For stem cuttings in soil, this isn’t an issue, but it’s a good principle to remember for other plants.
- Air circulation is key: While humidity is vital, stale air can encourage fungal diseases. If you’re using a plastic bag, open it up for a few minutes each day to let fresh air circulate.
Aftercare & Troubleshooting
Once your cuttings have started to show signs of life – usually new leaf growth – that’s a good indicator they’ve rooted. This can take anywhere from 3-8 weeks, so be patient!
- Transition them slowly: Once they look robust, gradually remove the plastic bag or dome over a few days to let them acclimate to lower humidity.
- Watering: Keep the soil consistently moist but not soggy. You’ll notice the new plants will drink more as they grow.
- Repotting: When the roots are filling the pot (you can check by gently tipping a pot out or looking for drainage), it’s time to move them into slightly larger pots with fresh potting mix.
Troubleshooting can happen, of course. The most common issue you might face is rot. If a cutting turns mushy and black, it’s usually a sign of too much moisture or not enough air circulation. Don’t be discouraged! Just toss the rotted cutting and try again. Sometimes, they just don’t take, and that’s part of the gardening adventure.
A Little Encouragement
Watching a tiny cutting transform into a flourishing new plant is one of the most magical parts of gardening. It’s a testament to nature’s resilience and your own green thumb skills! Enjoy the process, celebrate your successes, and remember that every gardener, no matter how experienced, has had cuttings that didn’t make it. Happy propagating!
Resource:
https://identify.plantnet.org/k-world-flora/species/Simsia%20santarosensis%20D.M.Spooner/data