Hello fellow plant lovers!
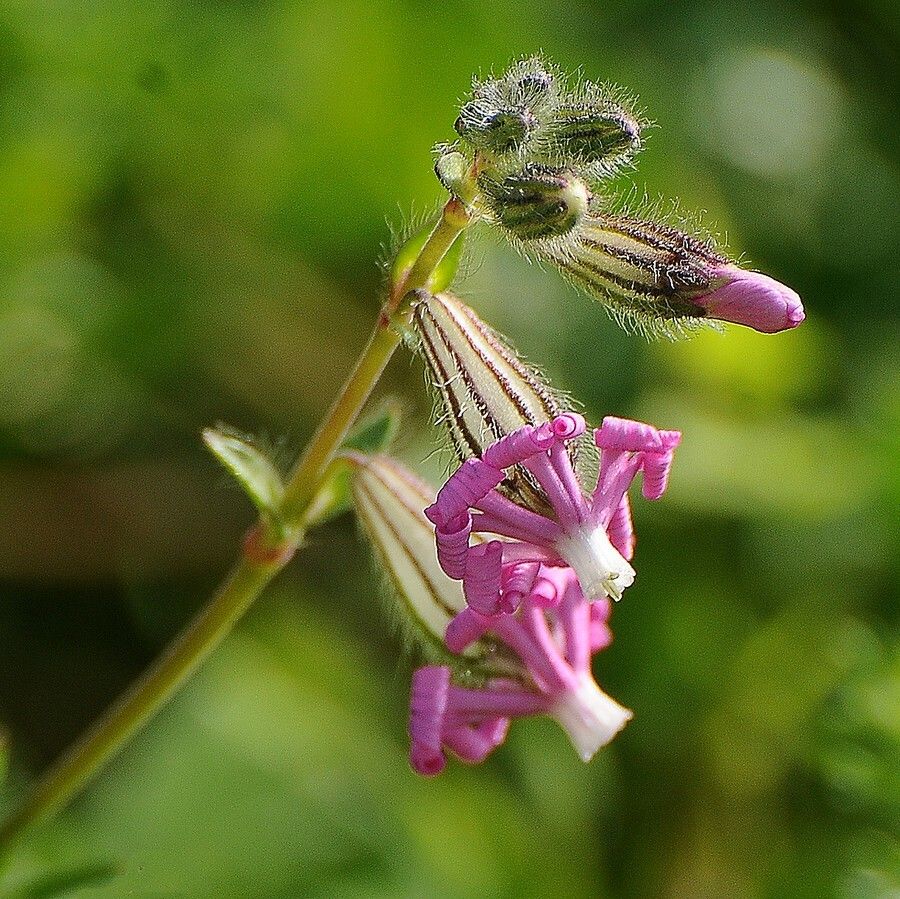
There’s something truly special about nurturing a new life from a piece of an existing one, isn’t there? Today, we’re diving into the delightful world of Silene bellidifolia, a charming little bloom that often goes by the common name of Spanish Catchfly. Its delicate, starry flowers are an absolute joy in the garden, and propagating it yourself is incredibly rewarding. If you’re new to the gardening scene, I think you’ll find Silene bellidifolia to be a pretty encouraging plant to start with. It’s not overly fussy, which means you’re likely to have success!
The Best Time to Start
For the absolute highest success rate with Silene bellidifolia, I like to start my propagation efforts in late spring or early summer. This is when the plant is actively growing and has plenty of energy to put into developing new roots. You’ll be looking for young, healthy shoots that are not yet flowering.
Supplies You’ll Need
Here’s a quick rundown of what will make your propagation journey smoother:
- A clean, sharp pair of pruning shears or a knife.
- Seed-starting mix or a well-draining potting mix. A good blend often includes peat moss, perlite, and vermiculite.
- Small pots or trays with drainage holes.
- Optional: Rooting hormone (powder or gel). While not strictly necessary for Silene bellidifolia, it can give your cuttings a little boost.
- A spray bottle for misting.
- A plastic bag or clear dome to create a humid environment.
Propagation Methods
Silene bellidifolia is wonderfully adaptable, and you can have success with a couple of different methods. Let’s get our hands dirty!
Stem Cuttings
This is my go-to method for Silene bellidifolia.
- Select your parent plant: Find a healthy, vigorous Silene bellidifolia that isn’t flowering.
- Take your cuttings: Using your clean shears, snip off young, non-flowering stems that are about 3-4 inches long. Make your cut just below a leaf node (where a leaf attaches to the stem).
- Prepare the cuttings: Gently remove the lower leaves, leaving just a couple at the very top. This prevents leaves from rotting when they’re in the soil.
- Apply rooting hormone (optional): If you’re using rooting hormone, dip the cut end of each stem into the powder or gel.
- Plant the cuttings: Fill your small pots with your moistened seed-starting mix. Make a small hole in the center of the soil with a pencil or your finger. Insert the cut end of each Silene bellidifolia stem into the hole. Gently firm the soil around the base of the cutting.
- Water and cover: Water gently to settle the soil. Then, cover the pot with a plastic bag or place it under a clear dome. This creates a mini-greenhouse.
Division
If you have an established clump of Silene bellidifolia, division is a great way to get new plants and also help the parent plant thrive.
- Gently dig up the plant: In early spring before it gets too vigorous, carefully dig around the base of your Silene bellidifolia.
- Separate the root ball: Gently shake off excess soil. You should be able to see natural divisions in the root system and crown. Use your hands or a clean trowel to carefully pull the plant apart into smaller sections. Each section should have roots and a few healthy shoots.
- Replant immediately: Plant each division in its new location or in pots as you would a young plant. Make sure the crown is at soil level. Water thoroughly.
The “Secret Sauce” (Pro Tips)
Here are a few little tricks I’ve learned over the years that can make a big difference:
- Don’t let the leaves touch the water: If you opt for water propagation (though I find cuttings in soil easier for this one), make sure the leaves of your Silene bellidifolia cuttings don’t sit in the water. Only the cut stem should be submerged. This prevents rot.
- Bottom heat is your friend: If you’re serious about propagation, investing in a small heat mat for seedlings can significantly speed up root development, especially for cuttings. Place your pots on top of it. This extra warmth mimics springtime soil temperatures.
- Patience with the misting: While you want to keep the humidity high with cuttings, avoid waterlogging the soil. A light misting with your spray bottle a couple of times a day is usually enough. You’ll get a feel for it!
Aftercare & Troubleshooting
Once your Silene bellidifolia cuttings have started to root, you can begin to gradually acclimate them to drier air. Remove the plastic bag or dome for longer periods each day. You’ll know they’ve rooted when you see new growth appearing and feel a gentle tug when you very carefully try to lift a cutting.
The main thing to watch out for is rot. If your cuttings look mushy or black at the base, it’s usually a sign of too much moisture and not enough air circulation. If this happens, try to take new cuttings from a healthier part of the stem, ensure your soil drains well, and adjust your watering. For divisions, ensure they are planted at the correct depth and watered consistently until established.
A Encouraging Closing
Propagating plants is a journey, and with Silene bellidifolia, it’s a particularly charming one. Don’t get discouraged if your first attempt isn’t perfect. Each time you try, you’ll learn something new. Be patient, enjoy the process of watching these little plants grow, and soon you’ll have a garden full of these delightful blooms to share! Happy gardening!
Resource:
https://identify.plantnet.org/k-world-flora/species/Silene%20bellidifolia%20Juss.%20ex%20Jacq./data