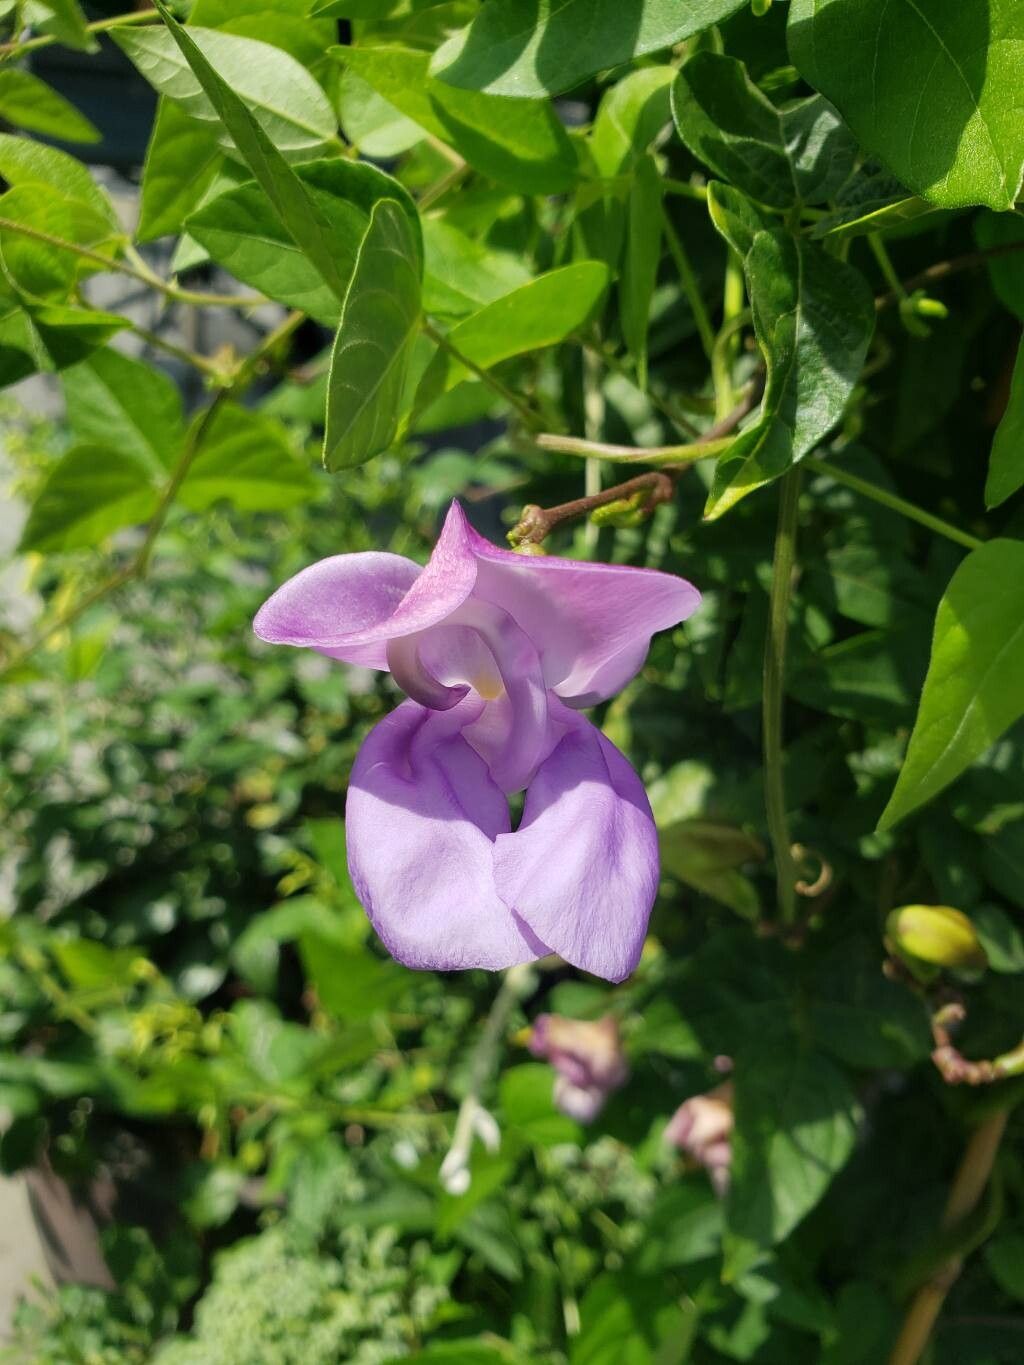
Oh, Sigmoidotropis speciosa! Isn’t she a beauty? With those gorgeous, often vibrant, and uniquely shaped blooms, it’s no wonder this plant captures our hearts. I’ve been growing and propagating them for years, and let me tell you, watching a tiny cutting unfurl its first new leaves is a special kind of magic. If you’re new to gardening, this one might have a slight learning curve, but don’t let that deter you! With a little patience and the right approach, creating more of these stunners is incredibly rewarding.
The Best Time to Start
My general rule of thumb for Sigmoidotropis speciosa is mid-spring to early summer. This is when the plant is actively growing and has plenty of energy to put into developing new roots. You’re looking for new, but not overly soft, growth. Think of it as growth that’s sturdy enough to hold its shape but hasn’t hardened off completely. Avoid taking cuttings from flowering stems; we want the plant’s energy focused on roots, not blooms right now.
Supplies You’ll Need
Here’s a little kit that will set you up for success:
- Clean, sharp pruning shears or a sharp knife: Essential for making clean cuts to prevent disease.
- Rooting hormone powder or gel: This isn’t strictly required for every cutting, but it can significantly boost your success rate.
- A well-draining potting mix: I prefer a mix of equal parts perlite, peat moss (or coco coir), and a good quality potting soil. You can also buy a commercial seed-starting or propagation mix.
- Small pots or seed trays: Clean pots are a must!
- Plastic bags or a humidity dome: For creating a mini-greenhouse effect.
- Watering can with a fine rose: For gentle watering.
- Optional: A heat mat: This can really speed up root development.
Propagation Methods
For Sigmoidotropis speciosa, I find stem cuttings to be the most reliable and straightforward method.
Stem Cuttings:
- Select your cutting: Look for a healthy stem that has at least two to three sets of leaves. Using your clean shears or knife, make a clean cut just below a leaf node (where a leaf attaches to the stem). This node is where roots are most likely to form.
- Prepare the cutting: Gently remove the lower leaves, leaving at least one set of leaves at the top. If the leaves are very large, you can even cut them in half horizontally to reduce water loss.
- Apply rooting hormone: Dip the cut end of the stem into your rooting hormone, tapping off any excess.
- Plant the cutting: Make a small hole in your prepared potting mix with a pencil or your finger. Insert the cutting, ensuring the node where you removed the leaves is buried in the soil. Gently firm the soil around the base of the cutting.
- Water gently: Water the soil thoroughly but gently, so you don’t dislodge the cutting.
- Create humidity: Cover the pot with a plastic bag (propping it up with stakes so it doesn’t touch the leaves) or place it under a humidity dome. This is crucial for preventing the cutting from drying out.
Water Propagation (Use with Caution):
While some plants root beautifully in water, Sigmoidotropis speciosa can be a bit finicky with this method. If you do try it:
- Prepare the cutting as above, removing lower leaves.
- Place the cutting in a small vase or jar of clean water, ensuring the nodes are submerged but no leaves are touching the water. Roots forming underwater can rot easily.
- Change the water every few days to keep it fresh.
- Be patient! It can take a while, and you’ll need to transplant to soil as soon as you see small, healthy roots forming (about ¼-½ inch long).
The “Secret Sauce” (Pro Tips)
Here are a couple of things I’ve learned over the years that really seem to help:
- Cleanliness is King: I can’t stress this enough. Always use clean tools and clean pots. Most propagation failures come down to fungal issues or rot, and a clean start is your best defense.
- Bottom Heat is Your Friend: If you’re serious about getting things going quickly, especially if you don’t have a super sunny windowsill, a seedling heat mat can work wonders. It mimics the warmth of spring soil and signals those roots to get growing. Just place your pots on top of it!
Aftercare & Troubleshooting
Once your cuttings have been planted, keep them in a bright spot with indirect light. Avoid direct, harsh sun, which can scorch those tender new leaves. Keep the soil consistently moist but not waterlogged. You should start to see signs of new growth within a few weeks. A good indication that you have roots is when the cutting is a little more resistant when you gently tug on it.
Troubleshooting:
- Wilting: This is often a sign of not enough humidity or the soil drying out. Check your cover and watering.
- Yellowing Leaves: Could be too much water (root rot setting in) or not enough light.
- Rotting Stems: This is the tough one. It usually means too much moisture and not enough air circulation. If you see mushy, black stems, it’s sadly time to discard that cutting and start fresh with precautions.
Happy Propagating!
Growing more of your favorite plants is such a wonderful journey. Be patient with your Sigmoidotropis speciosa cuttings. They’ll let you know when they’re ready to unfurl their new leaves. Enjoy the process, learn from each attempt, and soon you’ll have a whole collection of these botanical treasures!
Resource: