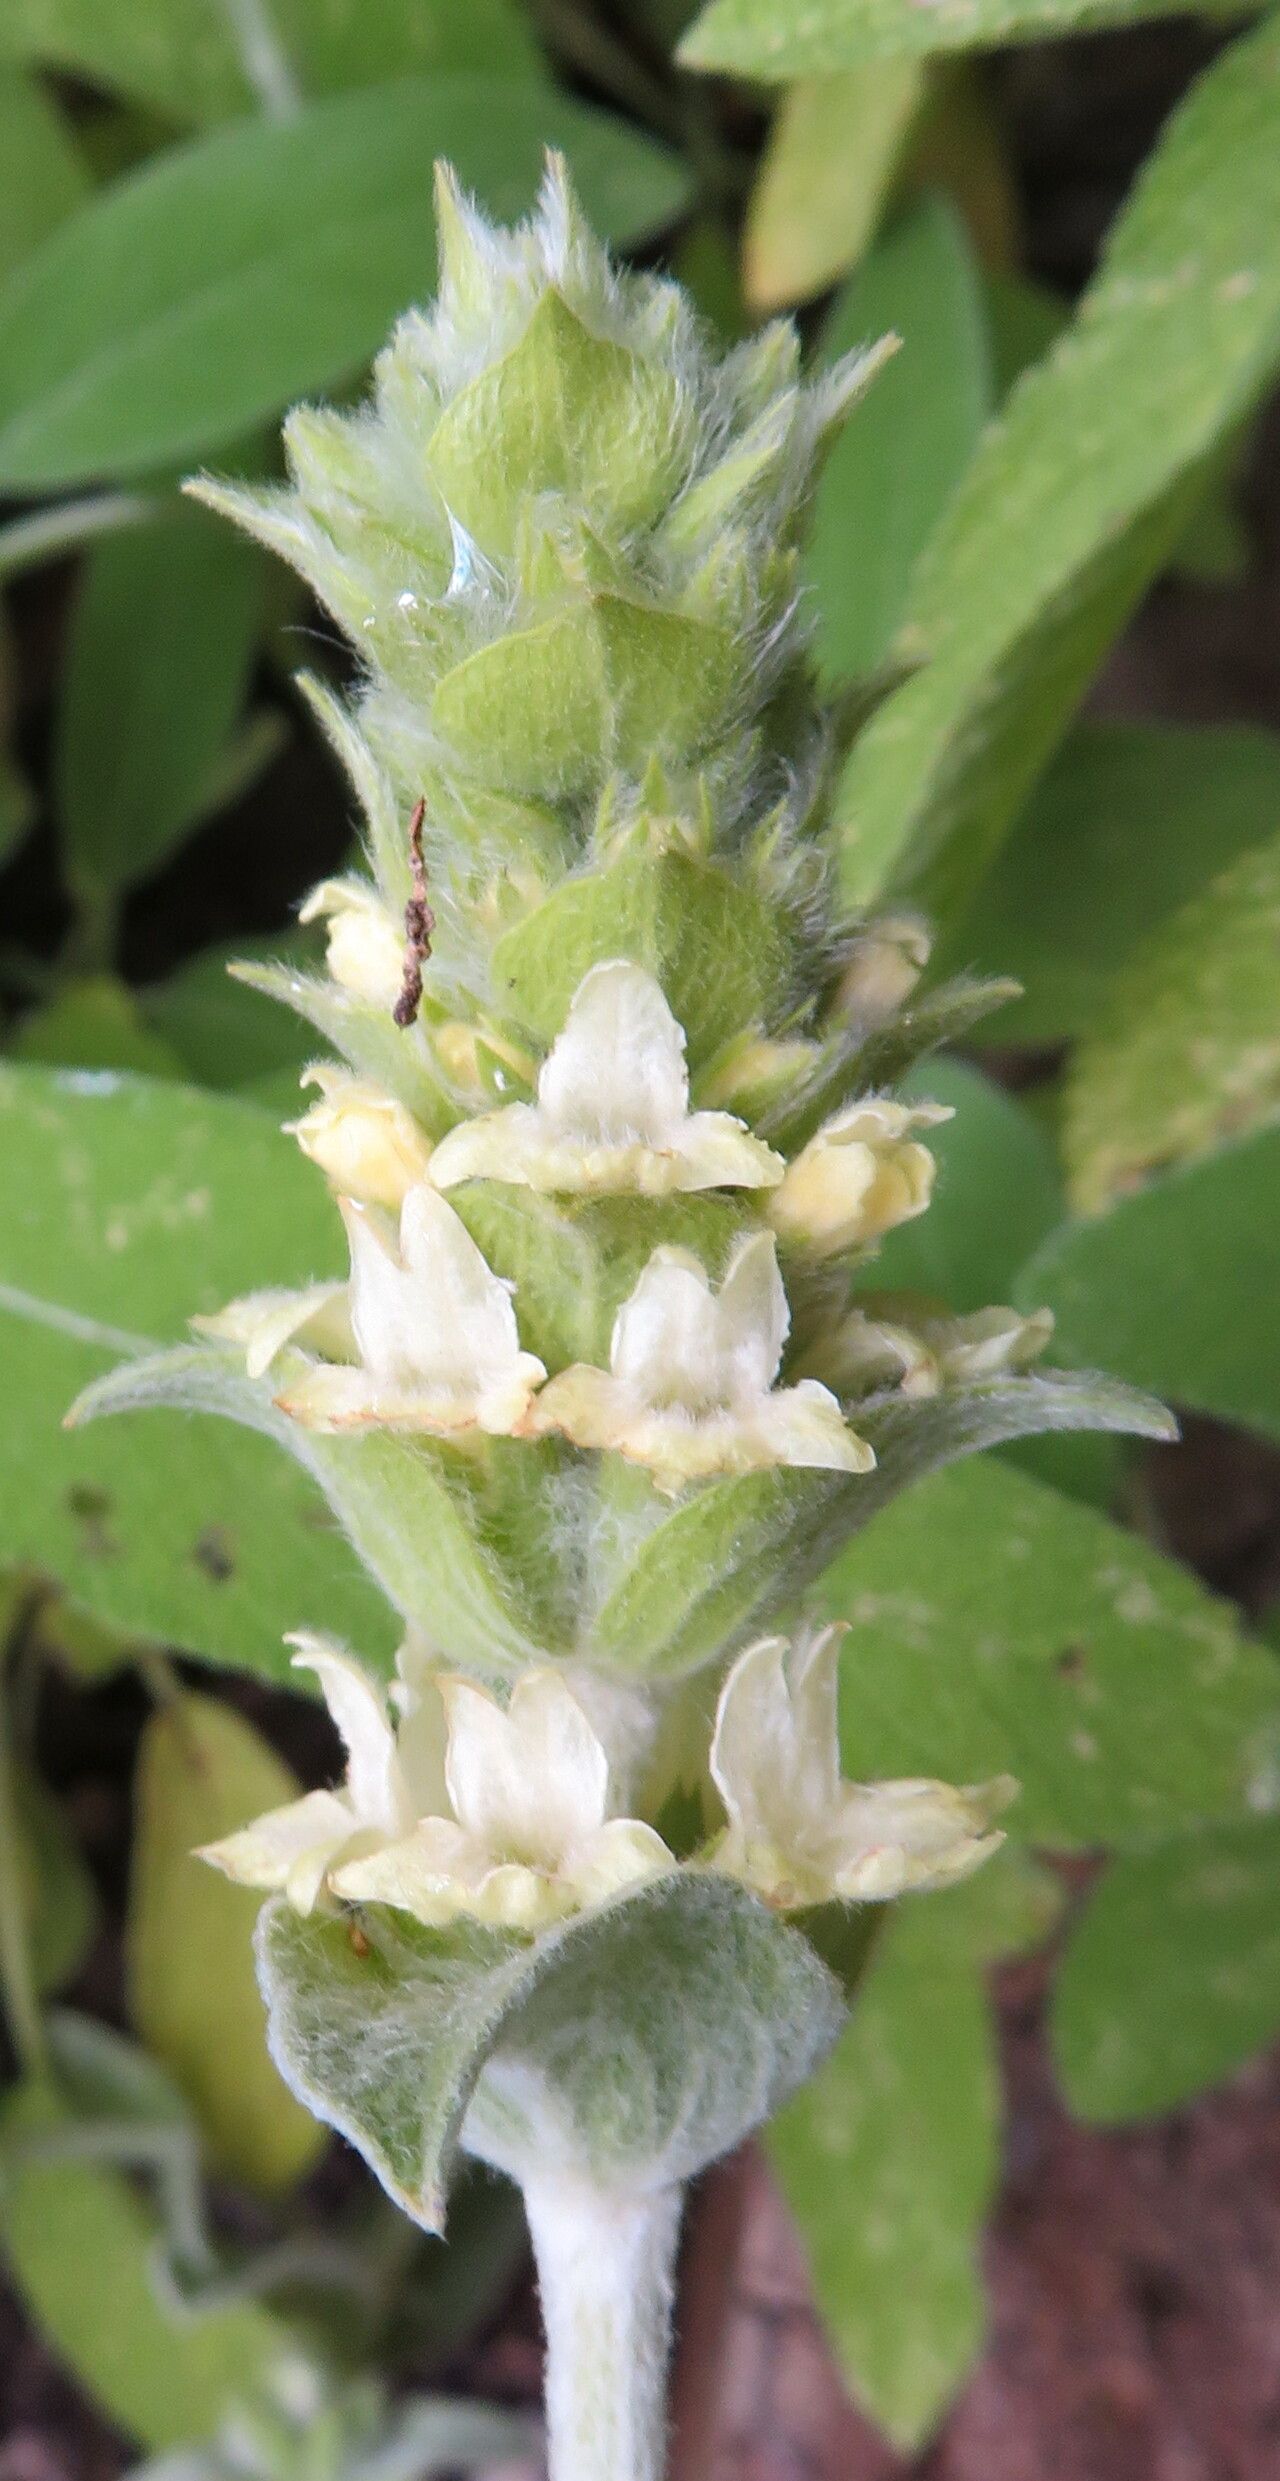
Oh, hello there! Come on in and grab a mug. I’m so glad you’re interested in propagating Sideritis syriaca. It’s a real gem of a plant, isn’t it? That lovely silver foliage, the delicate, almost ethereal flowers – it’s a Mediterranean beauty that brings such a calm, rustic vibe to any garden. And honestly, multiplying this plant is a wonderfully rewarding endeavor. You’ll end up with more of that gorgeous greenery to fill your beds or share with friends! For beginners, I’d say Sideritis syriaca is moderately easy to propagate. It’s not as quick as a succulent, but with a little patience and the right approach, you’ll be successful.
The Best Time to Start
For the highest success rate with Sideritis syriaca, I always lean towards late spring to early summer. This is when the plant is actively growing after its winter rest and has plenty of vigorous, semi-hardwood stems to offer. You’re looking for stems that are firm but still have a bit of flexibility – not the brand new, bright green, soft shoots, and definitely not the stiff, old woody growth. Think of it as the plant being in its prime, full of life and ready to burst forth with new possibilities.
Supplies You’ll Need
Gathering your tools beforehand makes the whole process smoother. Here’s what I keep handy when I’m propagating:
- Sharp Pruning Shears or a Craft Knife: Clean cuts are essential.
- Potting Mix: A well-draining mix is crucial. I often use a blend of perlite, coarse sand, and a good quality potting soil, about a 1:1:1 ratio. Some growers like to add a bit of coco coir too.
- Rooting Hormone: This is optional but highly recommended for Sideritis syriaca. A powder or gel rooting hormone specifically for stem cuttings works wonderfully.
- Small Pots or Seed Trays: Clean containers with drainage holes are a must.
- Plastic Bags or a Mini Greenhouse: To create a humid environment.
- Watering Can or Spray Bottle: For gentle watering.
- Labels and a Marker: To keep track of your projects!
Propagation Methods
My go-to method for Sideritis syriaca is stem cuttings. It’s reliable and gives you a good chance of success.
Stem Cuttings:
- Take Your Cuttings: In late spring or early summer, select healthy, non-flowering stems. Using your sharp pruning shears or knife, take cuttings that are about 4-6 inches long. Make a clean cut just below a leaf node (where a leaf meets the stem).
- Prepare the Cuttings: Gently remove the lower leaves from the cutting, leaving only a few at the very top. This helps prevent leaves from rotting in the soil and encourages the plant to focus its energy on root development.
- Apply Rooting Hormone (Optional but Recommended): Dip the cut end of the stem into your rooting hormone, tapping off any excess. This little boost can significantly improve your success rate.
- Plant Your Cuttings: Fill your clean pots with your well-draining potting mix. Create a small hole in the center with your finger or a pencil. Insert the prepared cuttings into the hole, ensuring the bottom leaf scars are buried, and gently firm the soil around them.
- Water Gently: Water thoroughly but gently. You want the soil to be evenly moist, not soggy. A spray bottle is excellent for this initial watering to avoid disturbing the cuttings.
- Create a Humid Environment: Cover the pots with a clear plastic bag or place them in a mini greenhouse. Make sure the plastic doesn’t directly touch the leaves of the cuttings – you can use stakes to prop it up. This humidity is crucial for preventing the cuttings from drying out before they can form roots.
- Provide Light and Warmth: Place your cuttings in a bright location out of direct, harsh sunlight. A north-facing windowsill or a spot with bright, indirect light is ideal. If you have a heated propagator or can place them on a heat mat, you’ll find that bottom heat can really speed things up.
The “Secret Sauce” (Pro Tips)
Here are a couple of things I’ve learned over the years that make a big difference:
- Don’t Let Those Leaves Touch the Water (or Soil!): This is paramount, especially if you’re tempted to try water propagation for Sideritis syriaca. While some plants root beautifully in water, this one can be prone to rot if the leaves sit in standing water. For cuttings in soil, ensure no leaves are buried in the potting mix or sitting on the soil surface where they can hold too much moisture.
- Bottom Heat is Your Friend: As I mentioned, Sideritis syriaca cuttings really appreciate a little warmth from below. It encourages root formation much faster than just ambient room temperature. A dedicated seedling heat mat is a wonderful investment if you plan on propagating a lot.
- Air Circulation is Key (When They’re Rooted): Once you start seeing roots and new growth, it’s time to gradually introduce your new plants to normal conditions. Ventilate the plastic covering daily for a week or two. This helps them get used to lower humidity and prevents fungal issues.
Aftercare & Troubleshooting
Once you see signs of new growth – tiny leaves appearing at the tip or even between the existing leaves – you know your cuttings have started to root! You can gently tug on a cutting; if there’s resistance, roots have formed.
- Gradually Acclimatize: As I mentioned, slowly remove the plastic cover over a period of a week or two to harden them off.
- Watering: Continue to keep the soil consistently moist but not waterlogged. Water when the top inch of soil feels dry to the touch.
- Repotting: Once your new plants have a solid root system and are robust enough to handle, you can pot them up into larger individual pots.
What if things go wrong? The most common issue you’ll face is rot. If your stem cuttings turn mushy, black, or fall apart, it’s usually a sign of too much moisture and not enough air circulation. This is why that well-draining mix and good ventilation are so important. If you see legginess and no roots, it could be a lack of light or warmth. Don’t get discouraged; sometimes it just takes a few tries to get it right.
A Encouraging Closing
Propagating Sideritis syriaca is a journey, not a race. Be patient with your little green hopefuls. Watch them, nurture them, and celebrate every tiny sign of progress. There’s a special kind of magic in taking a piece of a plant you love and coaxing it into a new life. Enjoy the process – it’s all part of the wonderful world of gardening!
Resource:
https://identify.plantnet.org/k-world-flora/species/Sideritis%20syriaca%20L./data