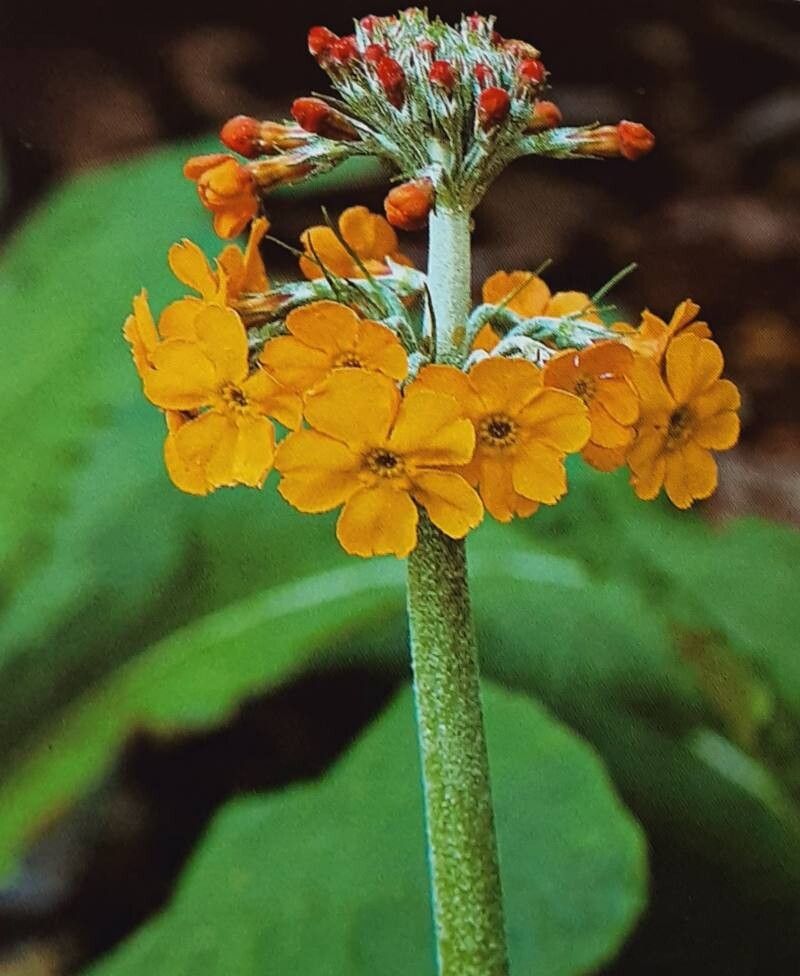
Hello, fellow garden enthusiasts! If you’re anything like me, you’ve probably fallen in love with the vibrant, cascading blooms of Primula bulleyana. These beauties, with their tiered whorls of soft apricot and rose-pink flowers, truly bring a touch of magic to shady corners. And guess what? Growing more of them is easier than you might think! Propagating them is a wonderfully rewarding way to fill your garden with these cheerful plants, and I’m here to walk you through it. Don’t worry if you’re new to propagation; Primula bulleyana is quite forgiving, making it a delightful project for beginners and seasoned gardeners alike.
The Best Time to Start
For the highest success rate, spring is your golden ticket for propagating Primula bulleyana. This is when the plant is actively growing, full of energy, and ready to put down new roots. Look for plants that have finished their main flowering push. You can also propagate them in late summer or early autumn, but you’ll want to give them a bit more time to establish before winter sets in.
Supplies You’ll Need
Here’s what I like to have on hand:
- Sharp pruning shears or a clean, sharp knife: For clean cuts.
- Well-draining potting mix: A blend of peat moss, perlite, and garden soil works wonders. You can also use a mix specifically for seedlings.
- Small pots or seed trays: Clean and with drainage holes, of course!
- Plastic bags or a propagator lid: To create a humid environment.
- Watering can with a fine rose: For gentle watering.
- Rooting hormone (optional but helpful): Especially if you’re propagation from cuttings.
- Labels and a marker: To keep track of your precious new plants.
Propagation Methods
There are a couple of ways we can go about this. For Primula bulleyana, division is often the most straightforward and successful method.
Division
This is best done in early spring when you can see new growth emerging.
- Gently dig up the established clump of your Primula bulleyana. I like to loosen the soil around it first.
- Carefully shake off excess soil to get a good look at the root system.
- Identify natural divisions within the clump. You’ll see where new shoots are emerging from the parent plant.
- Using your hands or a clean trowel, carefully pull the clump apart into smaller sections. Each section should have at least one good shoot and a decent amount of healthy roots. If the roots are tangled, a gentle tug should separate them.
- Immediately replant the divisions into pots filled with your prepared potting mix, or directly into their new garden spots.
- Water gently and thoroughly.
Seed Propagation
While division is my preferred method for speed and reliability, you can also grow Primula bulleyana from seed. It’s a bit more of a waiting game, but incredibly satisfying.
- Sow seeds in late winter or early spring. You can do this indoors or in a cold frame.
- Fill shallow trays with a fine, seed-starting mix.
- Sow the seeds thinly on the surface and gently press them into the soil – don’t bury them too deeply.
- Moisten the soil from the bottom by placing the tray in a shallow dish of water until the surface is damp.
- Cover the tray with a clear lid or plastic wrap to maintain humidity.
- Place the tray in a cool, bright spot, but out of direct sunlight. Primula seeds often benefit from cold stratification if you can provide it (a period of cold, moist conditions).
- Expect germination in 2-4 weeks, sometimes longer.
- Once the seedlings have a few true leaves, you can transplant them into individual pots.
The “Secret Sauce” (Pro Tips)
Here are a few tricks I’ve learned over the years that can make a real difference:
- When dividing, don’t be afraid to gently tease apart the roots. Sometimes they get a bit intertwined, but usually, they’ll separate with a bit of patience. If a division looks a bit sad, it’s okay to trim back any damaged roots before replanting.
- For any new plantings (divisions or transplanted seedlings), using a little bit of my favorite compost tea as their first drink can give them a fantastic boost. It’s like a healthy smoothie for your plants!
- If you’re replanting divisions, don’t plant them too deep. You want the crown of the plant to be right at soil level or just slightly above. Burying it can lead to rot.
Aftercare & Troubleshooting
Once your new Primula bulleyana have been planted, keep them consistently moist, but not waterlogged. This is crucial. In the first few weeks, they’ll be a bit delicate, so protect them from harsh sun and strong winds. You can mist them occasionally if it’s particularly dry.
The most common issue you might encounter is rot, which is usually a sign of overwatering or poor drainage. If you see stems turning mushy or leaves wilting despite being in moist soil, it could be rot. In this case, you might need to gently dig up the plant, trim away any rotten parts, and replant in fresh, drier soil.
A Encouraging Closing
And there you have it! Propagating Primula bulleyana is a journey that connects you even more deeply with your garden. Remember, gardening is all about observation and a little bit of patience. Each new plant you grow is a testament to your care and a wonderful addition to your green haven. So, go ahead, get your hands dirty, and enjoy the process of bringing more of these delightful blooms into your life! Happy gardening!
Resource:
https://identify.plantnet.org/k-world-flora/species/Primula%20bulleyana%20Forrest/data