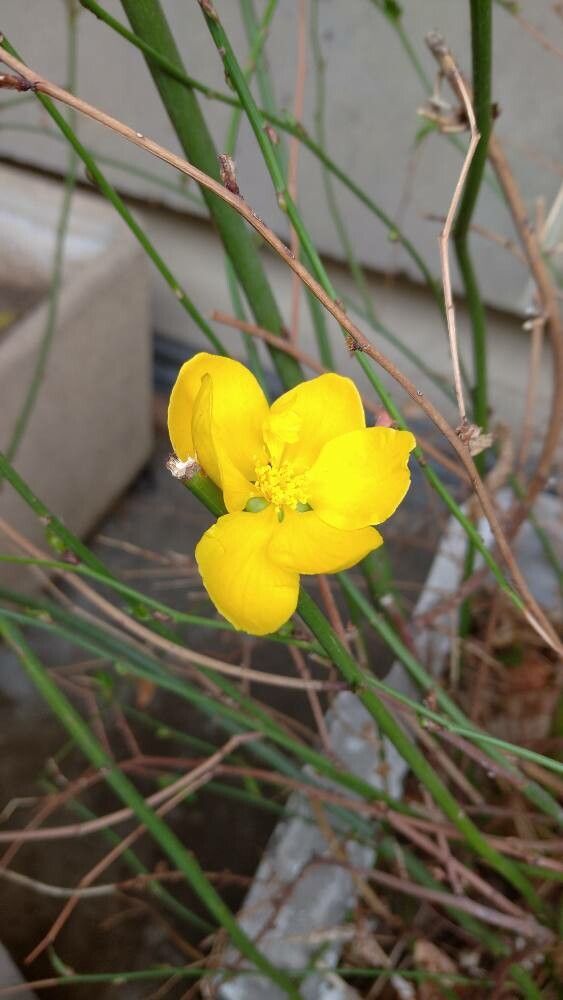
Hello fellow plant lovers! Today, we’re diving into the world of Senna aphylla, that gorgeous plant with its delicate, feathery leaves and cheerful yellow blooms. I’ve always been captivated by its airy beauty and the way it brings a touch of the tropics to even the most temperate garden. And the best part? It’s surprisingly rewarding to multiply this beauty yourself. Don’t let its exotic look fool you; propagating Senna aphylla is a journey I believe most gardeners, even those just starting out, can truly enjoy.
The Best Time to Start
For the highest chance of success, I like to get my Senna aphylla propagation underway in late spring or early summer. This is when the plant is actively growing, producing lots of fresh, pliable stems that are packed with energy. You’re essentially giving your cuttings the best possible head start by working with a vigorous, happy plant.
Supplies You’ll Need
Here’s what I always have on hand when I’m propagating Senna aphylla:
- Sharp, clean pruning shears or a sharp knife: Essential for making clean cuts.
- Rooting hormone (optional but recommended): This stuff really gives young cuttings a boost. I like one that contains IBA.
- A light, well-draining potting mix: I usually go for a blend of perlite, peat moss, and a bit of coarse sand. You want good aeration!
- Small pots or propagation trays: Make sure they have drainage holes.
- Plastic bags or a propagation dome: To keep humidity high around your cuttings.
- Watering can or spray bottle: For gentle watering.
- A warm location: A windowsill that gets bright, indirect light is perfect.
Propagation Methods
There are a couple of ways to go about this, and I find stem cuttings to be the most reliable for Senna aphylla.
Stem Cuttings: My Go-To
- Select your stem: Look for a healthy, non-flowering stem that’s about 4-6 inches long. It should be firm, not woody or overly soft.
- Make the cut: Using your clean shears or knife, make a clean cut just below a leaf node. This is where new roots love to form.
- Prepare the cutting: Gently remove the lower leaves, leaving just a few at the top. This prevents them from rotting in the soil and encourages the plant to focus its energy on root development.
- Apply rooting hormone: Dip the cut end of the stem into your rooting hormone, tapping off any excess. This step is like giving your cutting a superpower.
- Planting: Fill your small pots with your prepared potting mix. Make a small hole with your finger or a pencil, and gently insert the cutting, making sure the nodes where you removed the leaves are buried. Firm the soil around it.
- Water and cover: Water the soil thoroughly but gently. Then, cover the pot with a plastic bag or place it under a propagation dome. This creates a mini-greenhouse effect, keeping humidity high, which is crucial for cuttings to root.
Water Propagation (with a caveat)
While I usually lean towards soil for Senna aphylla, you can try water propagation.
- Follow steps 1-3 above for preparing your cutting.
- Place the cutting in a jar or glass of clean water, ensuring that none of the leaves are submerged.
- Change the water every few days to keep it fresh and prevent bacteria from building up.
- Once you see decent roots forming (usually a few inches long), you can carefully transition them to soil. This can be a bit tricky as the roots are accustomed to water.
The “Secret Sauce” (Pro Tips)
Over the years, I’ve learned a few tricks that seem to make all the difference:
- Bottom Heat is Your Friend: If you have a heat mat, placing your pots on it can significantly speed up the rooting process. Senna aphylla roots really appreciate that gentle warmth from below.
- Don’t Go Overboard with Watering: It’s so tempting to keep the soil constantly soggy, but that’s a fast track to rot. Aim for consistently moist, but not waterlogged. Let the very top layer of soil dry out slightly between waterings.
- Patience with the ‘Wiggle Test’: When you think your cuttings might be rooted, resist the urge to yank them out to check. Instead, give them a gentle tug. If you feel resistance, that’s a good sign roots are developing.
Aftercare & Troubleshooting
Once you start seeing new leaf growth, that’s a good indicator your Senna aphylla has rooted!
- Acclimate gradually: Slowly remove the plastic bag or dome over a few days. You want to get them used to the ambient humidity.
- Move to a slightly larger pot: Once they have a good root system, you can repot them into slightly larger containers.
- Watering: Continue to keep the soil moist but not soggy.
- What if it turns black or mushy? This is usually a sign of rot, often caused by overwatering or poor drainage. Unfortunately, once rot sets in, it’s hard to recover. Start again with a fresh cutting and adjust your watering habits.
- If nothing happens: Don’t despair! Sometimes it just takes longer. Keep the conditions consistent and be patient.
Growing new plants is such a magical part of gardening. It’s about nurturing life and sharing the beauty that surrounds us. So, gather your supplies, snip those stems, and give propagation a try. Embrace the process, learn from each attempt, and soon you’ll have a whole collection of stunning Senna aphylla to admire and even share with friends. Happy gardening!
Resource: