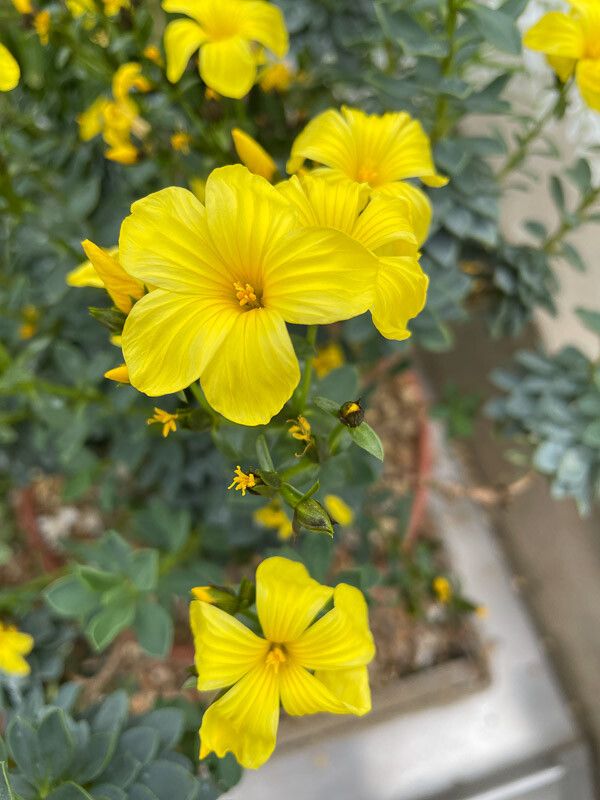
Oh, hello there! Pull up a chair. Let’s chat about a little gem that has brought me so much joy over the years: Linum doerfleri, or as I like to call it, the “Flax Fairy.” It’s just utterly charming with its delicate, sapphire-blue flowers that seem to twinkle in the sunlight. If you’re looking for a plant that’s a bit of a showstopper but doesn’t demand a degree in botany to grow, this is it.
Now, about propagating it. For the average home gardener, I’d say Linum doerfleri is moderately easy. It’s not quite a “stick it in the ground and forget it” kind of plant, but with a little attention and care, you’ll be rewarded with loads of new little flax fairies to share or fill your own garden. The satisfaction of seeing those tiny roots emerge and grow into their own plants? Well, that’s just pure gardening magic.
The Best Time to Start
For the highest chance of success with Linum doerfleri, I always lean towards late spring or early summer. This is when the plant is actively growing, full of vigor, and ready to produce lovely new shoots. Think about it – the days are getting longer, the sun is warm, and everything just feels alive. Starting then gives your cuttings plenty of time to establish before the cooler weather sets in.
Supplies You’ll Need
Let’s get our toolkit ready! You don’t need anything too fancy.
- Sharp pruning shears or a clean knife: For making nice, clean cuts.
- Small pots or seed trays: Anything that drains well. Recycled yogurt cups with holes poked in the bottom work in a pinch!
- A good quality potting mix: I like a blend that’s light and airy. A mix of peat moss or coco coir, perlite, and a bit of compost is perfect. You want it to drain well but still hold some moisture.
- Rooting hormone (optional but recommended): This really gives your cuttings a boost.
- Plastic bags or propagation domes: To create a mini-greenhouse effect.
- Water: For misting and watering.
Propagation Methods
There are a couple of ways we can go about this. I find stem cuttings to be the most reliable for Linum doerfleri.
Stem Cuttings
- Select healthy stems: Look for new, vibrant growth that hasn’t flowered yet. These are the most pliable and full of life. Aim for stems that are about 3-4 inches long.
- Make the cut: Just below a leaf node (where a leaf attaches to the stem), make a clean cut with your sharp shears or knife. This is where roots are most likely to form.
- Prepare your cuttings: Gently remove the lower leaves from your cuttings. You want to leave just a few at the top. This prevents them from rotting in the soil and redirects the plant’s energy into root development.
- Dip in rooting hormone (if using): Lightly dip the cut end into your rooting hormone powder, tapping off any excess.
- Plant your cuttings: Create a small hole in your potting mix with a pencil or your finger. Gently insert the cut end of the stem into the hole, and firm the soil around it.
- Water gently: Give your cuttings a light watering to settle the soil.
- Create a humid environment: Cover your pots with a plastic bag or a propagation dome. Make sure the plastic doesn’t touch the leaves too much. You can use little stakes to keep it propped up. Place them in a bright spot, but out of direct, harsh sunlight.
Water Propagation
While stem cuttings in soil are my go-to, some folks have good luck with water propagation.
- Prepare your cuttings: Follow steps 1-3 from the stem cuttings method.
- Place in water: Put your prepared cuttings in a clean jar or glass of water. Make sure no leaves are submerged. If they are, trim them off. The nodes where you removed the leaves should be submerged.
- Change water regularly: Change the water every few days to keep it fresh and prevent bacterial growth.
- Wait for roots: Keep them in bright, indirect light. You should start to see tiny roots emerge from the nodes in a few weeks.
- Plant when roots are substantial: Once the roots are about an inch long, you can carefully transplant them into your potting mix.
The “Secret Sauce” (Pro Tips)
Alright, let’s get a little more advanced. Here are a few things I’ve learned over the years that really make a difference:
- Bottom heat is your friend: If you have a seedling heat mat, pop your pots on it. This provides gentle warmth to the soil, encouraging root development much faster. It’s like a cozy little spa for your cuttings!
- Don’t overwater!: This is probably the biggest mistake beginners make. Cuttings sitting in soggy soil will rot before they can root. The soil should be consistently moist but not waterlogged. Think of a wrung-out sponge.
- Patience is key, and a little fresh air helps: Once you’ve got your cuttings covered, resist the urge to lift the lid every five minutes. Let them be! After a week or two, you can start to gradually increase ventilation by opening the plastic bag or dome for short periods each day. This helps them acclimatize to normal humidity before you remove the cover completely.
Aftercare & Troubleshooting
Once you start seeing new growth emerging from your cuttings, that’s your signal! It means roots have formed. At this point, you can slowly acclimate them to normal conditions. Gradually remove the plastic bag or dome over a few days. Continue to keep the soil moist but well-drained. Once they look strong, you can transplant them into slightly larger pots.
Now, what if things go wrong? The most common culprit is rot. If your cuttings turn mushy, black, or develop a funky smell, it’s usually a sign of too much moisture and not enough air circulation. Unfortunately, these are usually a lost cause. Another sign of stress is wilting. If you’ve ensured consistent moisture and good light, it might just be that the cutting wasn’t strong enough to begin with. Don’t get discouraged! Just grab a few more stems and try again.
A Warm Closing
There you have it! Propagating Linum doerfleri is a wonderful way to multiply the beauty in your garden and share it with others. It takes a little care, a touch of patience, and a whole lot of optimism. So grab those shears, get your hands in the soil, and enjoy the rewarding journey of growing your own little flax fairies. Happy gardening!
Resource:
https://identify.plantnet.org/k-world-flora/species/Linum%20doerfleri%20Rech.f./data