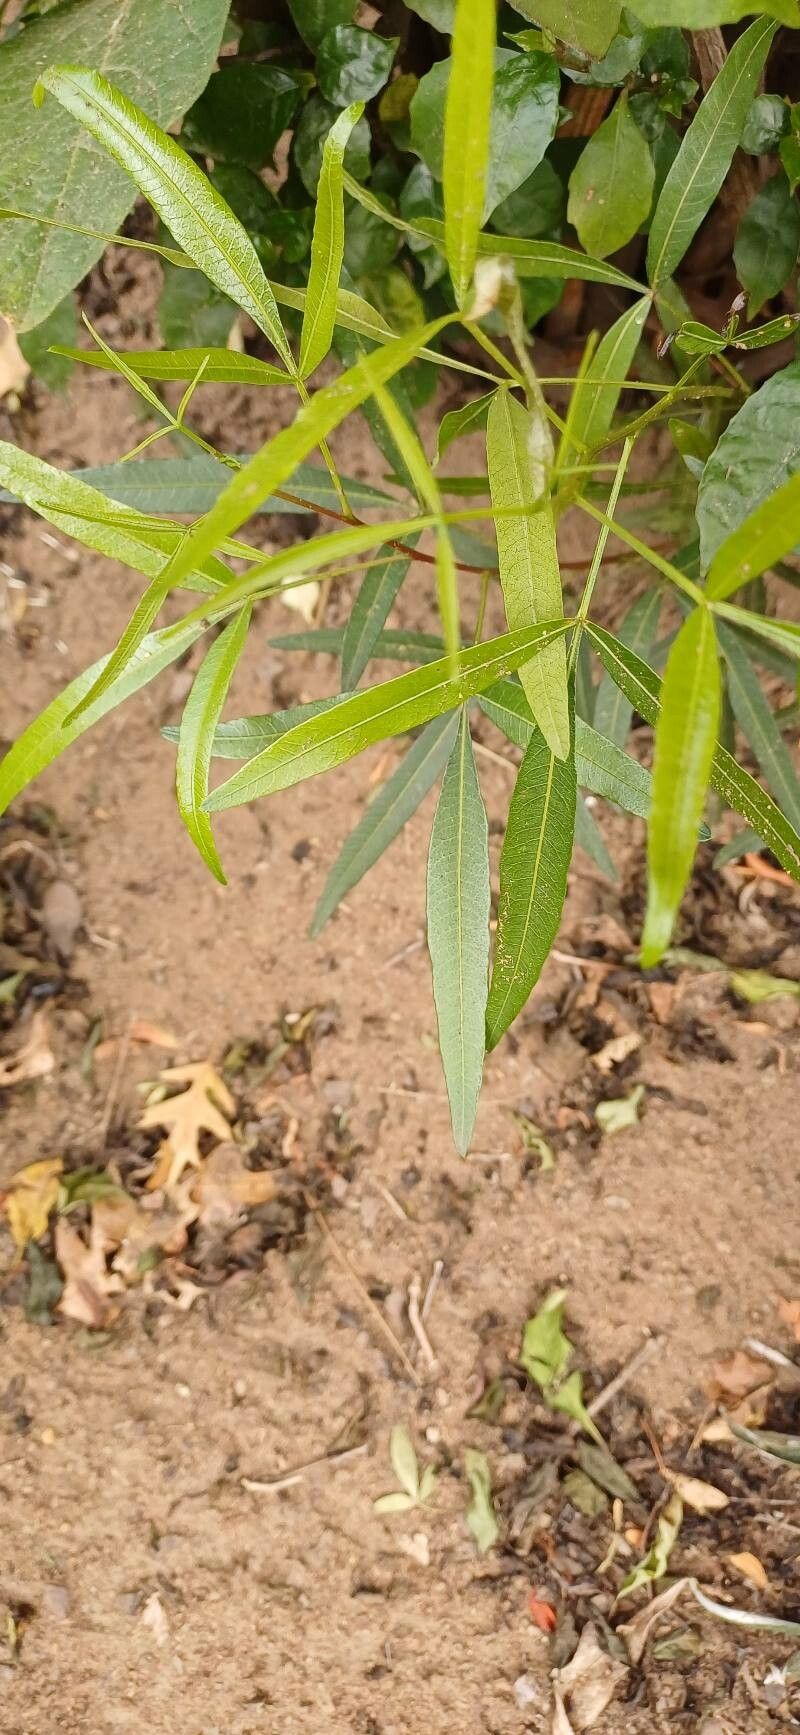
Hello, fellow garden enthusiasts! It’s so good to be back with you all. Today, we’re diving into the wonderful world of propagating Searsia lancea, also known as Karee or Common Hairbrush. If you’ve ever admired those beautiful, hardy trees with their silvery-green foliage, a scent that’s just divine after a rain, and their ability to attract all sorts of beneficial critters, you’re in for a treat.
Why Propagate Your Own Karee?
There’s a special kind of joy that comes from nurturing a plant from a tiny cutting or a division. It’s seeing a piece of something healthy and vibrant transform into its own independent life. Searsia lancea is a fantastic specimen to get to know because it’s remarkably resilient once established, tolerating drought and tough conditions like a champ. And while it’s not the absolute easiest plant for a complete beginner to propagate, it’s definitely within reach, especially with a little know-how. The rewards, in my opinion, far outweigh the effort!
The Best Time to Start
Timing is everything, right? For Searsia lancea, the sweet spot for propagation is generally during the late spring to early summer. This is when the plant is in an active growth phase, meaning its stems have a good supply of energy and are more receptive to rooting. You’re looking for cuttings from semi-hardwood stems. These are twigs that are no longer completely soft and green, but also not yet old and woody. They’ll usually snap cleanly when bent.
Supplies You’ll Need
Before we get our hands dirty, let’s gather our tools. Having everything ready makes the process so much smoother.
- Sharp pruning shears or a clean knife: For making clean cuts.
- Rooting hormone: While not strictly mandatory, it can significantly boost your success rate, especially with woody cuttings. Look for one with IBA.
- Fast-draining potting mix: A blend of equal parts coarse sand, perlite, and peat moss or coco coir works wonders. You can also find specific propagation mixes.
- Small pots or seed trays: Clean and with drainage holes, of course!
- Plastic bags or a propagation dome: To create a humid environment.
- Water: For misting and hydration.
- Labels: To keep track of what you’ve propagated and when.
Propagation Methods
Let’s get down to business! Stem cuttings are usually the most successful route for Searsia lancea.
Stem Cuttings
- Take Cuttings: In late spring or early summer, select healthy, non-flowering stems. Using your sharp pruning shears, take cuttings that are about 10-15 cm (4-6 inches) long. Make a clean cut just below a leaf node. A leaf node is where a leaf attaches to the stem; this is where roots are most likely to form.
- Prepare the Cuttings: Gently remove the leaves from the lower two-thirds of the cutting. If any leaves are very large, you can cut them in half horizontally to reduce water loss.
- Apply Rooting Hormone: Dip the cut end of each cutting into your rooting hormone. Tap off any excess.
- Plant the Cuttings: Fill your clean pots with the fast-draining potting mix. Make a hole in the center of the mix with a pencil or your finger. Insert the prepared cutting into the hole, ensuring the leaf nodes are below the soil surface. Gently firm the soil around the base of the cutting.
- Water and Cover: Water the mix thoroughly until it drains from the bottom. Then, place the potted cuttings into a plastic bag or cover them with a propagation dome to maintain high humidity. Make sure the leaves aren’t touching the inside of the bag if possible.
- Find a Warm Spot: Place the pots in a bright spot, but out of direct sunlight. If you have a heat mat, placing the pots on it can encourage faster root development – this is the “bottom heat” I’ll talk about later!
Water Propagation (Less Common for Woody Cuttings, but worth a try for softer stems)
If you happen to take a few softer, greener cuttings, you might try water propagation.
- Follow steps 1 and 2 above.
- Instead of rooting hormone and soil, place the prepared cuttings in a clean jar or vase filled with fresh water.
- Ensure that no leaves are submerged in the water. Rot can set in quickly this way.
- Place the jar in a bright location away from direct sun.
- Change the water every few days to keep it fresh and prevent bacterial growth.
- Once you see small roots developing, you can carefully transplant them into your well-draining potting mix.
The “Secret Sauce” (Pro Tips)
Here are a few things I’ve learned over the years that can really make a difference:
- The “Snap” Test: When selecting your semi-hardwood cuttings, I like to do a quick “snap test.” If the stem bends without breaking cleanly, it’s too soft. If it snaps brittlely, it’s too old. You’re looking for that satisfying, firm bend.
- Bottom Heat is Your Friend: If you’re serious about propagating woody plants, investing in a propagation heat mat can be a game-changer. Placing your pots on a gentle, consistent source of warmth from underneath significantly speeds up root formation. It mimics the warmth of the soil in summer and encourages those roots to emerge much faster.
- Don’t Disturb Too Soon: Patience is key here! Resist the urge to tug on your cuttings to “check for roots.” You could easily dislodge delicate new rootlets. Wait until you start seeing new leaf growth or feel a gentle resistance when you give the cutting a very light tug. This usually takes several weeks, sometimes longer.
Aftercare & Troubleshooting
Once you see those lovely new roots emerging – hooray!
- Gradual Acclimatization: As your cuttings start to show signs of new growth, gradually increase ventilation. If they were under a dome, start by lifting it for a few hours each day. If they were in a bag, open the bag for longer periods. This helps them adjust to the regular humidity levels and prevents shock.
- Potting Up: Once the roots are well-established (you’ll see them coming out of the drainage holes or feel good resistance), it’s time to pot them into slightly larger containers with fresh, but still well-draining, potting mix. Water them in gently.
- Watch for Rot: The most common pitfall is overwatering, which leads to rot. If your cuttings start to look yellow and wilted, or if you notice a black, mushy stem base, it’s a sign of rot. Unfortunately, it’s often too late at this stage. Ensure your soil drains exceptionally well and that you’re not keeping them too soggy.
- Lack of Growth: If nothing happens after a couple of months, it could be several things: the cuttings were taken too early or too late, they weren’t healthy to begin with, or they just didn’t get enough warmth or light. Don’t be discouraged; just try again!
Keep Nurturing
Propagating Searsia lancea is a rewarding journey. It takes a bit of observation, a dash of patience, and the willingness to learn. Don’t be disheartened if not every cutting takes. Each attempt is a learning experience, bringing you closer to that green thumb you’re cultivating. Enjoy the process, smell that wonderful scent when you snip those branches, and celebrate every tiny success! Happy propagating!
Resource:
https://identify.plantnet.org/k-world-flora/species/Searsia%20lancea%20(L.f.)%20F.A.Barkley/data