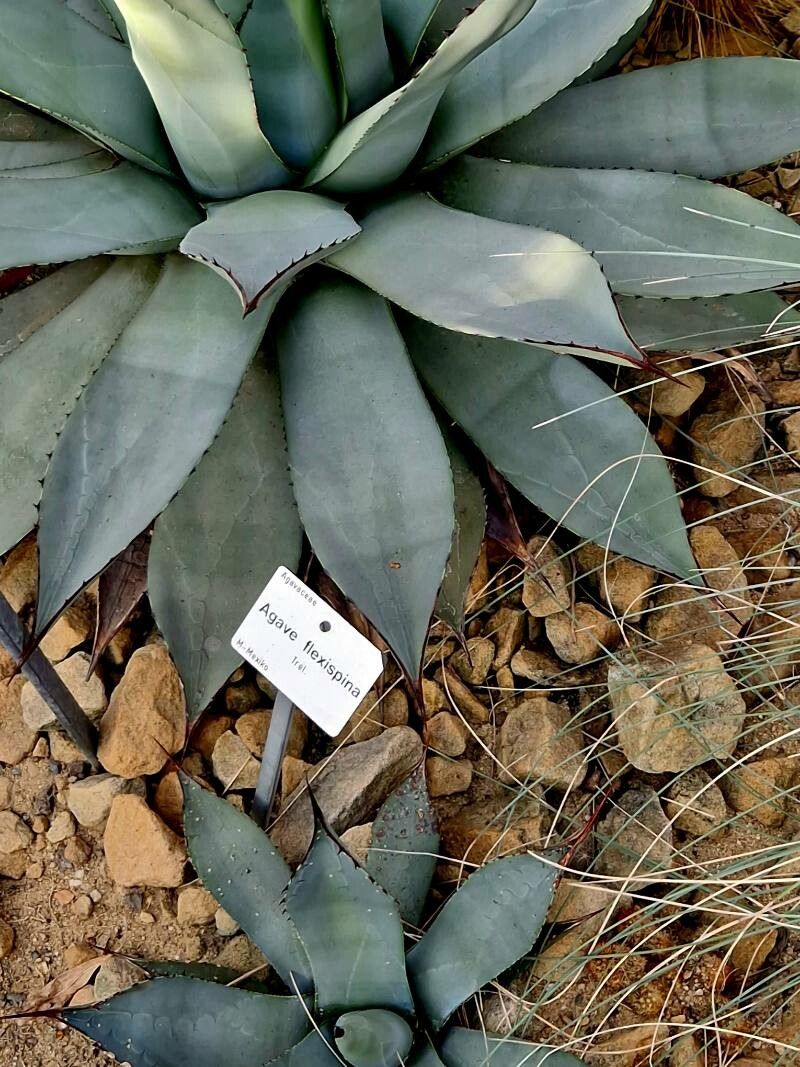
Hey there, fellow plant enthusiasts! Today, we’re going to dive into something truly special: propagating the glorious Agave flexispina. If you’ve ever admired that elegant rosette of slender, flexible leaves on this beauty, you know it’s a standout in any succulent collection. And the best part? You can multiply that beauty yourself! It’s incredibly rewarding to see a tiny pup grow into its own magnificent specimen. Now, while Agave propagation can sometimes feel a little daunting, Agave flexispina is actually quite forgiving, even for those of you just starting your journey into plant parenting. Think of it as a delightful challenge with a very pretty reward.
The Best Time to Start
For the highest success rate with Agave flexispina, spring and early summer are your best friends. This is when the plant is actively growing and has the energy to put out roots. You’ll often find opportunities on established plants that have developed pups, those smaller baby plants emerging from the base. Waiting until these pups are a decent size, say a few inches across, will give them a better start.
Supplies You’ll Need
Before we get our hands dirty, let’s gather our essentials. Having everything ready makes the process so much smoother!
- Well-draining potting mix: A cactus or succulent mix is perfect. You can also make your own by combining equal parts potting soil, perlite, and coarse sand.
- Sharp, sterilized pruning shears or a clean knife: We want to make clean cuts to prevent disease.
- Rooting hormone (optional but recommended): This isn’t strictly necessary for Agave, but it can give your cuttings a helpful boost.
- Small pots or trays: Choose containers with drainage holes. Terracotta pots are great because they allow the soil to dry out more quickly.
- Gloves: Agave leaves can be spiny, so protect your hands!
- A watering can with a fine rose or a spray bottle: Gentle watering is key.
- A warm, bright location: Think a sunny windowsill or a sheltered spot outdoors.
Propagation Methods
Agave flexispina is most commonly propagated through pups (offsets), which are essentially mini-Agaves that grow from the base of the parent plant. This is usually the easiest and most successful method.
Propagating by Pups (Offsets):
- Locate the pups: Look for small rosettes emerging from the soil around the base of your mature Agave flexispina. Choose pups that are at least a few inches in diameter.
- Gently expose the base: You might need to carefully brush away some soil to see where the pup is attached to the parent plant.
- Make the cut: Using your sterilized pruning shears or knife, carefully cut the pup away from the mother plant. Try to make a clean cut, as close to the parent as possible without damaging it. If the pup has its own tiny roots already, that’s a bonus!
- Allow to callus: This is a crucial step! Place the separated pup in a dry, shaded spot for a few days to a week. You want the cut end to dry out and form a callous. This prevents rot when you plant it. Don’t skip this; it’s a lifesaver!
- Planting: Fill your small pot with your well-draining potting mix. Make a small hole in the center and gently insert the calloused end of the pup. You can use a rooting hormone powder at this stage if you choose, dipping the cut end before planting.
- Watering: Wait about a week after planting before watering. This gives the pup time to settle in and encourages root growth. When you do water, water thoroughly, allowing excess to drain away.
The “Secret Sauce” (Pro Tips)
Here are a couple of little tricks I’ve learned over the years that can really make a difference:
- Don’t rush the rooting hormone: If you are using rooting hormone, apply it directly to the calloused end and then tap off any excess before planting. Too much can actually hinder root development or even cause rot.
- Embrace the bright light, but avoid the scorching sun: While Agave flexispina loves sun, a brand-new cutting or pup can be sensitive to intense, direct midday sun, especially if it’s been growing in shadier conditions. Bright, indirect light is perfect for encouraging roots. As it establishes, you can gradually introduce more direct sun.
Aftercare & Troubleshooting
Once your pup is planted and has had its initial “settling-in” week, you’ll want to establish a gentle watering routine. Water only when the soil has completely dried out. Overwatering is the number one killer of new succulent propagations. You’ll know your pup is happy and rooting when you see signs of new growth, like a tiny new leaf emerging from the center.
The most common issue you might encounter is rot. If the base of your pup starts to turn mushy or black, it’s likely rot. Unfortunately, this is often difficult to come back from. A preventative approach – ensuring excellent drainage, proper watering, and allowing the cutting to callous – is your best defense. If you catch it very early, you might be able to cut away the rotted part and let the healthy section callous again, but success is not guaranteed.
A Little Patience Goes a Long Way
Propagating any plant is an exercise in patience, and Agave flexispina is no different. It might take several weeks, or even a few months, for roots to fully establish. Don’t be discouraged if you don’t see immediate action. Just keep it in a bright, warm spot with appropriate watering, and enjoy the process of nurturing something new. Happy propagating!
Resource:
https://identify.plantnet.org/k-world-flora/species/Agave%20flexispina%20Trel./data