Oh, hello there, fellow plant lover! Pull up a chair, grab that cuppa, and let’s talk about a truly delightful little charmer: Scorpiurus vermiculatus. You know, the one with those whimsical, caterpillar-like seed pods that always bring a smile? It’s a real joy to grow, and the thought of creating more of these cheerful plants from what you already have? That’s just pure gardening bliss!
Why You’ll Love Propagating Scorpiurus
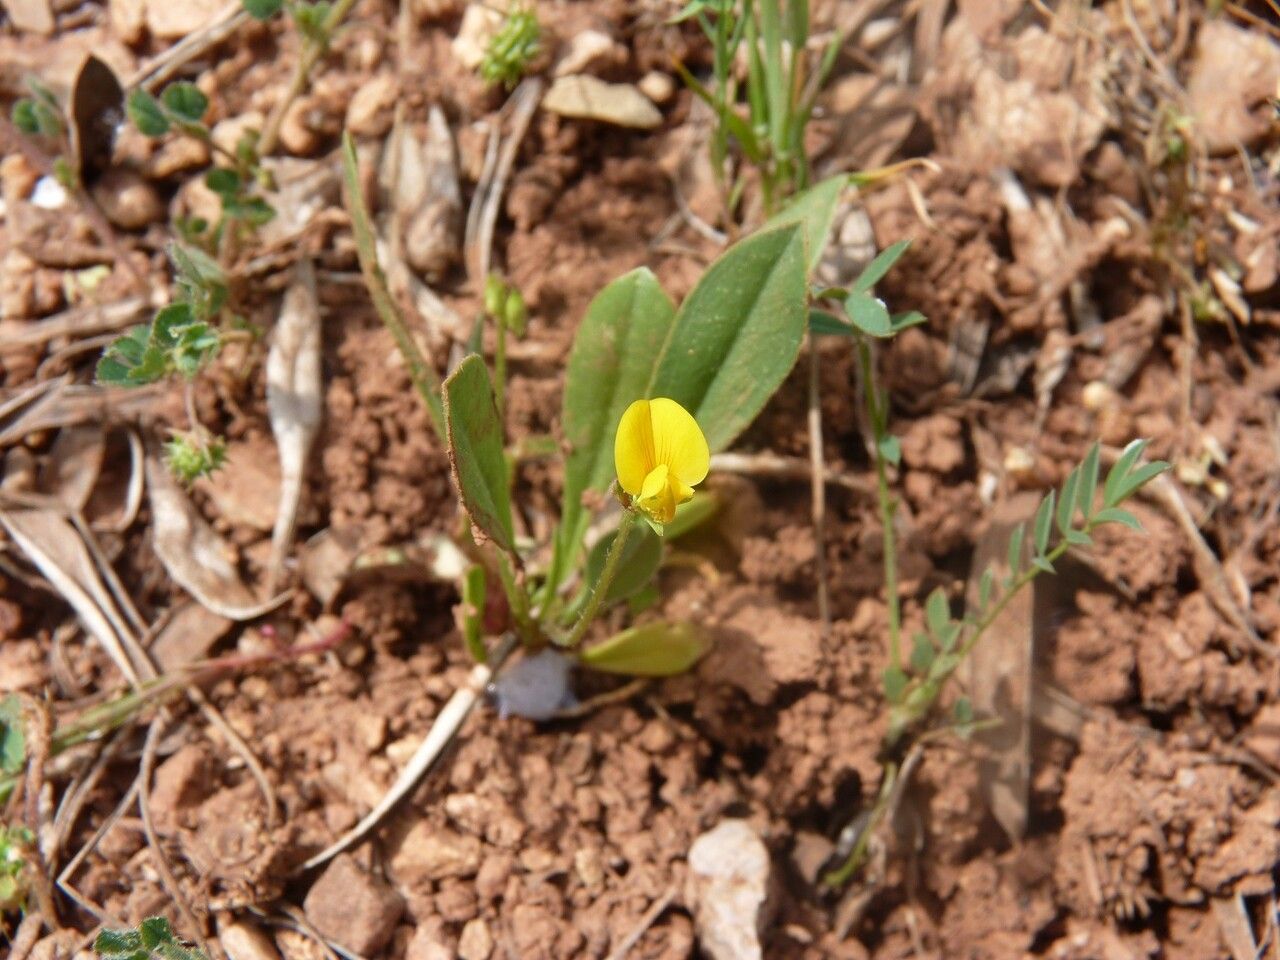
If you’ve ever admired the unique foliage or the fun ornamental pods of Scorpiurus vermiculatus, you’re in for a treat. Propagating it is a wonderful way to expand your collection, share with friends, or simply experience the magic of new life. Now, I wouldn’t say it’s utterly foolproof for a complete beginner, but it’s certainly manageable and rewarding. With a little attention and the right approach, you’ll be well on your way to success.
The Best Time to Start
For Scorpiurus vermiculatus, the absolute sweet spot for propagation is during the active growing season. Think late spring to early summer. This is when the plant has plenty of energy and is most receptive to producing new roots. You’re looking for healthy, vigorous stems that are neither too soft and new nor too woody and old.
Supplies You’ll Need
Gather these bits and bobs before you dive in:
- Sharp, clean pruning shears or a craft knife: For making clean cuts.
- Rooting hormone powder or gel (optional but recommended): Helps give those cuttings a boost.
- Well-draining potting mix: A blend of perlite, peat moss, and a little bit of compost works beautifully. You want something that won’t hold too much moisture.
- Small pots or seed trays: Clean and about 3-4 inches in diameter are perfect for starters.
- Plastic bags or a propagator lid: To create a humid environment.
- Watering can or spray bottle: For gentle watering.
- A dibber or pencil: To make a hole for your cuttings.
Propagation Methods: Taking Cuttings is Key!
For Scorpiurus vermiculatus, the most reliable method is stem cuttings. It’s straightforward and yields great results.
- Select Your Stems: Gently examine your healthy mature plant. Look for stems that have at least 2-3 sets of leaves and are about 4-6 inches long. Avoid flowering stems, as they’re putting energy into blooms, not roots.
- Make the Cut: Using your clean, sharp shears or knife, make a clean cut just below a leaf node (where a leaf attaches to the stem). This is where new roots are most likely to form.
- Prepare the Cuttings: Carefully remove the lower leaves from the cutting, leaving just a couple of sets at the top. This prevents leaves from decaying in the soil and encourages the plant to focus on root development.
- Apply Rooting Hormone (Optional but Wise): Dip the cut end of the stem into your rooting hormone powder or gel. Tap off any excess. This step really can make a difference!
- Plant Your Cuttings: Fill your pots or trays with your prepared potting mix. Use your dibber or a pencil to create a small hole in the center of the soil. Gently insert the cutting into the hole, making sure the leaf nodes that you removed the leaves from are below the soil surface. Firm the soil gently around the cutting.
- Water Gently: Water the soil thoroughly but gently, ensuring it’s moist but not waterlogged. You can use a spray bottle for this initial watering to avoid disturbing the cuttings.
- Create Humidity: Cover each pot loosely with a plastic bag or place them inside a propagator with the lid on. This creates a microclimate that keeps the cuttings from drying out before they can form roots.
The “Secret Sauce” (Pro Tips)
Here are a few little tricks I’ve picked up over the years that really boost success:
- Don’t Let Leaves Touch the Water (if water propagating): While stem cuttings are usually done in soil, if you happen to try water propagation (though soil is better for Scorpiurus), ensure no leaves are submerged. Any greenery in the water is a recipe for rot.
- Bottom Heat is Your Friend: If you have a heat mat designed for seedlings, placing your pots on it can significantly speed up root formation. It mimics the warmth of spring soil and gives those roots a real kickstart.
- Pinch Back for Bushiness: Once your cuttings have established a good root system and you see new growth, gently pinch off the very tip of the main stem. This encourages the plant to branch out and become a bushier, more attractive specimen.
Aftercare & Troubleshooting
Once your cuttings have been in their new homes for a few weeks, you’ll start to see signs of life!
- Rooting Check: You can gently give a cutting a tiny tug. If you feel resistance, roots are forming! You might also see new leaves emerging. This is your cue to gradually acclimate your new plants to normal air by opening the plastic bags or propagator lid a little more each day over a week.
- Continued Watering: Keep the soil consistently moist but never soggy. Overwatering is the most common mistake and can lead to painful rot.
- Light: Place your new plants in a bright, indirect light location. Avoid direct sun initially, as they are still delicate.
Common Signs of Failure
- Wilting and Yellowing: This is often a sign of overwatering or insufficient light.
- Rotting at the Base: Definitely overwatering. Let the soil dry out a bit more between waterings.
- No Growth: Be patient! Some plants just take their sweet time. Ensure adequate light and moisture. If it looks healthy but just isn’t growing, it might be waiting for a little more warmth.
Keep Growing and Enjoy!
Propagation is such a rewarding dance with nature. Don’t be discouraged if your first attempt isn’t perfect. Every gardener learns through trial and error. Just keep observing, keep tending, and enjoy the incredible journey of bringing new life into your garden. Happy growing!
Resource:
https://identify.plantnet.org/k-world-flora/species/Scorpiurus%20vermiculatus%20L./data