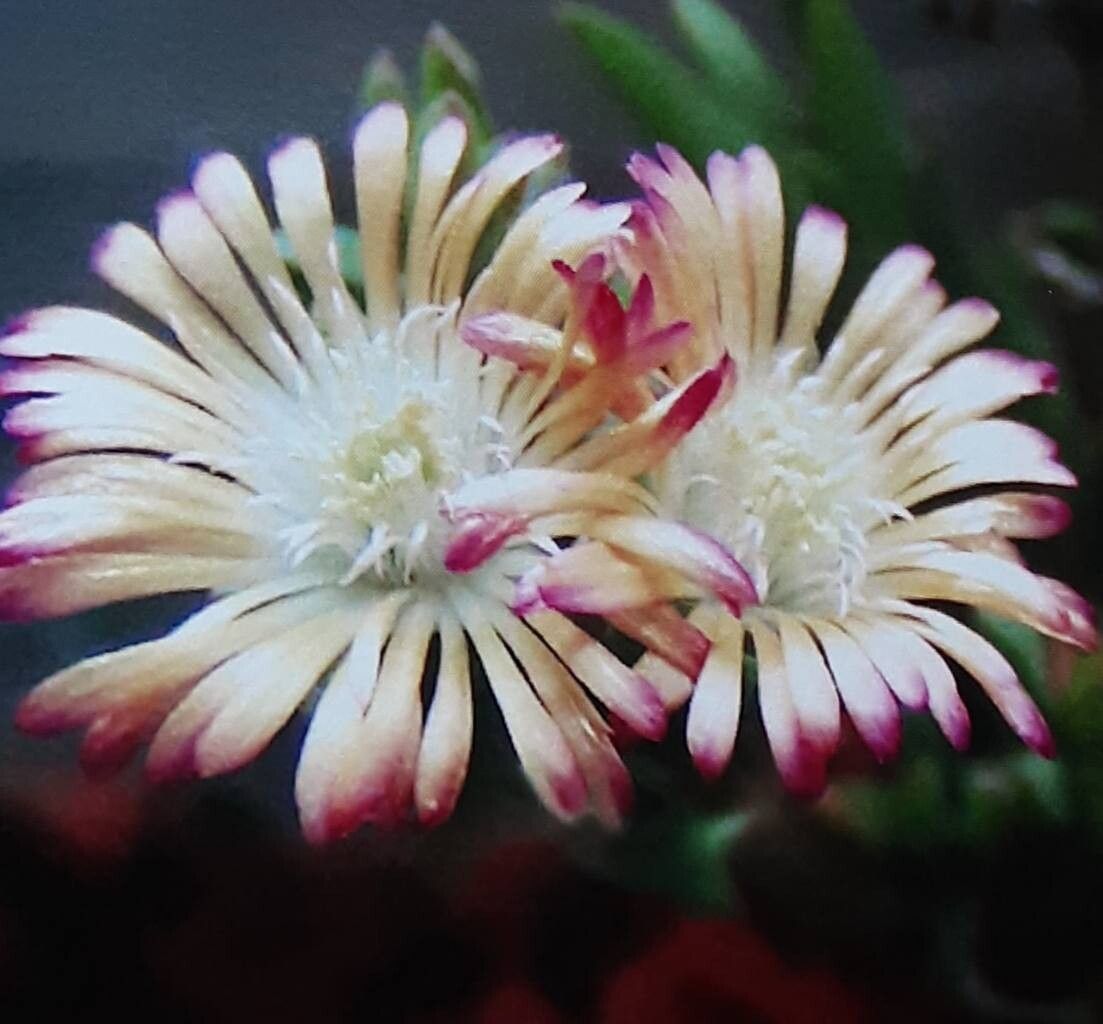
Oh, delve into the world of Delosperma robustum, have we? Wonderful choice! If you’re looking for a plant that shrugs off heat and drought like a seasoned traveler and offers a dazzling display of vibrant, daisy-like flowers, then this succulent is your friend. And the best part? They’re surprisingly eager to please when it comes to making more of themselves. I’ve been growing and propagating these beauties for two decades, and I can tell you, it’s an incredibly satisfying process. For beginners, I’d say Delosperma robustum is a fantastic starting point. You’ll likely have success from your very first try!
The Best Time to Start
For the highest chance of success, I always aim to propagate my Delosperma robustum during its active growing season, which usually kicks off in late spring and continues through the summer. This is when the plant has plenty of energy reserves to put into developing new roots. Waiting until the days are longer and warmer really makes a difference. Trying to do it when the plant is dormant in winter is just asking for disappointment.
Supplies You’ll Need
Before we get our hands dirty, let’s gather our tools:
- Sharp, clean pruning shears or a craft knife: For making clean cuts.
- Rooting hormone (optional but helpful): A powder or gel to encourage root formation.
- Well-draining potting mix: A cactus or succulent mix is perfect. You can also make your own with equal parts perlite and peat moss.
- Small pots or seed trays: About 3-4 inches in diameter is ideal. Make sure they have drainage holes!
- Plastic bags or a propagation dome: To create a humid environment.
- Spray bottle: For gentle watering.
- Gravel or small stones: For excellent drainage at the bottom of pots.
Propagation Methods
Delosperma robustum is primarily propagated through stem cuttings. It’s straightforward and incredibly effective.
Stem Cuttings
- Select a healthy stem: Look for a mature, non-flowering stem that’s at least 3-4 inches long. Gently bend it; if it snaps cleanly, it’s a good candidate.
- Make the cut: Using your clean shears or knife, make a clean cut just below a leaf node (where a leaf joins the stem). This is where hormones that encourage rooting are concentrated.
- Prepare the cutting: Strip off the lower leaves from the cutting. You want at least an inch or two of bare stem. This prevents the leaves from rotting when the cutting is in the soil.
- Apply rooting hormone (optional): Dip the cut end of the stem into your rooting hormone powder or gel. Tap off any excess.
- Let it callus: This is a crucial step! Allow the cutting to dry for 1-2 days in a bright, airy spot, but out of direct sun. This allows the cut end to form a protective callus, which helps prevent rot.
- Plant the cutting: Fill your small pots with your well-draining soil mix. You can add a thin layer of gravel at the bottom for extra insurance against soggy feet. Make a small hole in the center of the soil with your finger or a pencil.
- Insert the cutting: Gently push the callused end of the cutting into the hole, ensuring the bare stem is covered. You can plant 2-3 cuttings per pot, spaced a couple of inches apart.
- Water lightly: Mist the soil surface with your spray bottle. Don’t drench it. You just want the soil to be moist.
The “Secret Sauce” (Pro Tips)
Here are a few things I’ve learned over the years that really boost success:
- Don’t let the leaves touch the water (or soil) if you’re trying water propagation: While stem cuttings are best in soil, if you ever dabble in water propagation for other succulents, remember to remove lower leaves so they don’t rot in the water. For Delosperma, stick to the soil method for optimal results.
- Bottom heat is your best friend: If you have a heated propagator mat, placing your pots on it can significantly speed up root development. It mimics the warmth of spring soil and gives your cuttings a real kickstart.
- Patience with misting: Resist the urge to water deeply. Frequent, light misting is key to keeping the soil consistently moist but not soggy. Overwatering is the quickest way to lose your cuttings to rot.
Aftercare & Troubleshooting
Once your cuttings are in the soil, cover the pots with a plastic bag or place them under a propagation dome to maintain high humidity. Place them in a bright spot, but out of direct, harsh sunlight – think like a bright window ledge.
You should start to see signs of rooting in about 3-6 weeks. You’ll know they’re rooted when you see new growth at the tip of the cutting, or if you give them a very gentle tug and feel resistance.
Troubleshooting:
- Rotting: This is usually a sign of overwatering or lack of airflow. If you see mushy, dark stems, unfortunately, that cutting is likely lost. Remove it, ensure the remaining cuttings have drier soil and better airflow, and adjust your watering schedule.
- Wilting/Shriveling: This can happen if the cutting is drying out too much. Make sure your humidity dome is effective or increase misting frequency slightly.
Let’s Get Growing!
Propagating Delosperma robustum is a rewarding journey. It connects you more deeply with your plants and rewards you with even more beauty to share or enjoy. Be patient, trust the process, and don’t be discouraged if a cutting or two doesn’t make it. Every gardener has a few casualties. The joy of seeing those tiny roots emerge and eventually grow into a thriving new plant is absolutely worth it. Happy propagating!
Resource:
https://identify.plantnet.org/k-world-flora/species/Delosperma%20robustum%20L.Bolus/data