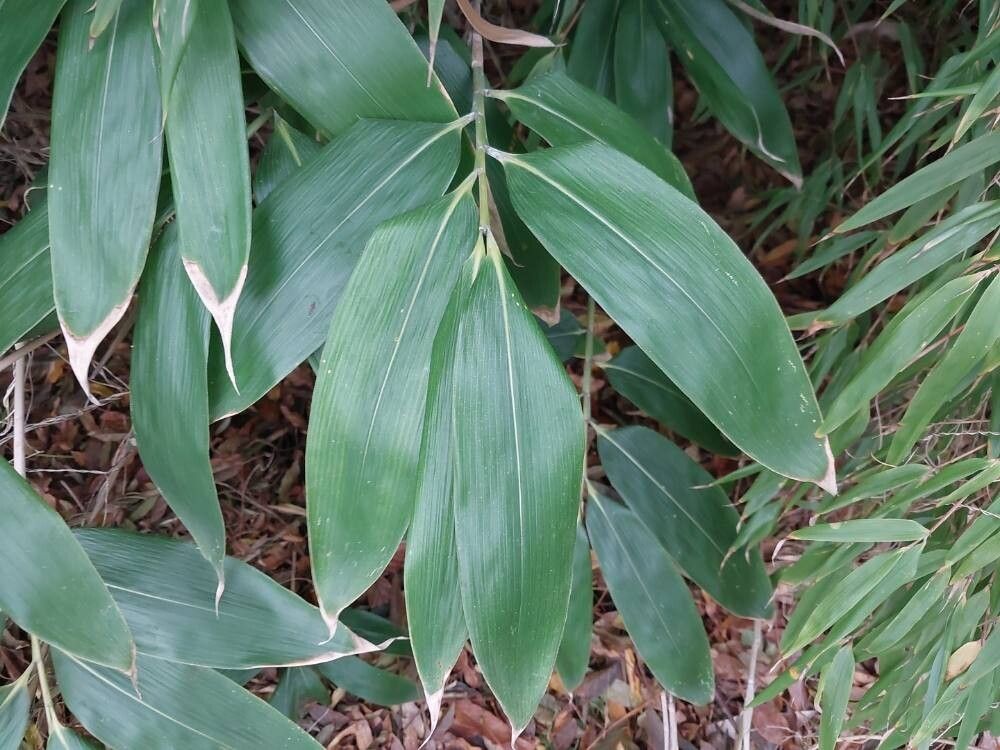
Hello, fellow garden enthusiasts! If you’ve ever admired the graceful sway and lush greenery of Sasa kurilensis, you know why it’s such a beloved bamboo. Its slender, elegant culms and vibrant leaves bring a touch of the tropics to even the chilliest climates, and its clumping nature makes it a fantastic choice for smaller gardens or containers. I’ve had a Sasa kurilensis in my garden for years, and let me tell you, the joy of watching new shoots emerge in spring is unparalleled.
Now, you might be wondering if propagating this beauty is a project for seasoned experts or something even a beginner can tackle. I’m delighted to say that Sasa kurilensis is generally quite forgiving, making it a wonderful plant to learn propagation from. It’s a rewarding journey, and soon you’ll have more of this gorgeous bamboo to share!
The Best Time to Start
For the highest success rates with Sasa kurilensis, I always recommend starting in late spring or early summer. This is when the plant is in its most vigorous growth phase. New shoots (culms) are emerging, and the plant has ample energy to put into rooting. You can also consider early autumn, but you’ll need to be extra diligent with aftercare to ensure your new propagations establish before winter.
Supplies You’ll Need
Gathering your tools before you begin makes the whole process so much smoother. Here’s what I keep on hand:
- Sharp Pruning Shears or a Knife: Clean cuts are crucial.
- Rooting Hormone (Optional but Recommended): This gives your cuttings a real boost.
- Well-Draining Potting Mix: A good blend of peat moss, perlite, and a bit of compost works wonders.
- Small Pots or Trays: Clean containers with drainage holes are a must.
- Plastic Bags or a Greenhouse Dome: To maintain humidity.
- Watering Can with a Fine Rose: For gentle watering.
- A Dibber or Pencil: To make planting holes.
Propagation Methods
Sasa kurilensis is wonderfully amenable to a couple of common methods. Let’s dive into how we’ll get these new plants started!
Stem Cuttings
This is my go-to method for Sasa kurilensis. It’s efficient and often yields great results.
- Select Your Cuttings: Look for healthy, new growth that’s at least a year old. You want culms that are semi-hardwood – not too soft and green, but not old and woody. Aim for cuttings that are about 6-10 inches long and have at least two or three nodes (the swollen joints where leaves emerge).
- Take Your Cuttings: Using your sharp and clean pruning shears, make a clean cut just below a node. Remove the leaves from the bottom two-thirds of the cutting, but leave a few leaves at the tip if possible; they help with photosynthesis. If the leaves are very large, you can cut them in half to reduce water loss.
- Apply Rooting Hormone: Dip the cut end of each cutting into your rooting hormone powder or gel. Tap off any excess.
- Plant Your Cuttings: Fill your small pots or trays with your well-draining potting mix. Use your dibber or pencil to create a hole deep enough to insert the bottom two nodes of the cutting. Gently firm the soil around the cutting to ensure good contact.
- Water Gently: Water thoroughly but gently to settle the soil.
Division
This method is best for established clumps and is a great way to rejuvenate your existing Sasa kurilensis.
- Excavate the Clump: In late spring, carefully dig up your Sasa kurilensis clump. You want to get as much of the root system as possible. It’s okay if some roots break; just try to minimize damage.
- Separate the Divisions: Loosen the soil and gently pull the clump apart into smaller sections. Each division should have at least one healthy rhizome and several culms. You can use your knife or pruning shears to help cut through any tough rhizomes.
- Trim Roots (Optional): If the roots are excessively long or tangled, you can trim them back a bit to make planting easier.
- Replant Immediately: Plant your divisions in their new locations or in pots filled with your well-draining potting mix. Ensure the rhizome is about an inch or two below the soil surface. Water well.
The “Secret Sauce” (Pro Tips)
Now, for a few things I’ve learned over the years that can really make a difference:
- Humidity is Your Best Friend: After planting your cuttings, cover the pots with a plastic bag or place them under a greenhouse dome. This creates a humid environment that is essential for root development. Make sure the leaves aren’t touching the plastic, as this can lead to rot. You can use stakes to prop up the bag.
- Bottom Heat is a Game Changer: If you’re struggling with slow rooting, consider using a seedling heat mat. This gentle warmth from below encourages root growth. Don’t go too hot, though; just a consistent, mild warmth is perfect.
- Don’t Disturb Too Soon: Resist the urge to pull up your cuttings to check for roots! Let them sit for at least 4-6 weeks before you even think about giving them a gentle tug. If you feel resistance, that’s a good sign they’re starting to establish.
Aftercare & Troubleshooting
Once you see signs of new growth – tiny leaves emerging from the top of the cutting or noticeable vigor in the division – you’re on the right track!
- Gradual Acclimation: If you’ve covered your cuttings, gradually remove the plastic over a week or two to help them adjust to lower humidity.
- Consistent Moisture: Keep the soil consistently moist but not waterlogged. Overwatering is the most common reason for failure, leading to root rot, which will manifest as mushy, blackened roots and wilting foliage. If you see this, it’s usually too late to save the cutting.
- Light and Feeding: Place your new propagations in a bright, indirect light location. Once they’ve clearly taken hold and are showing good leaf development, you can start feeding them with a diluted liquid fertilizer every few weeks.
A Bit of Patience Goes a Long Way
Propagating Sasa kurilensis is a wonderfully accessible project that brings the joy of gardening full circle. Take your time, use clean tools, and most importantly, be patient. Nature works on its own schedule, and soon you’ll be rewarded with new bamboo to admire and share. Happy growing!
Resource: