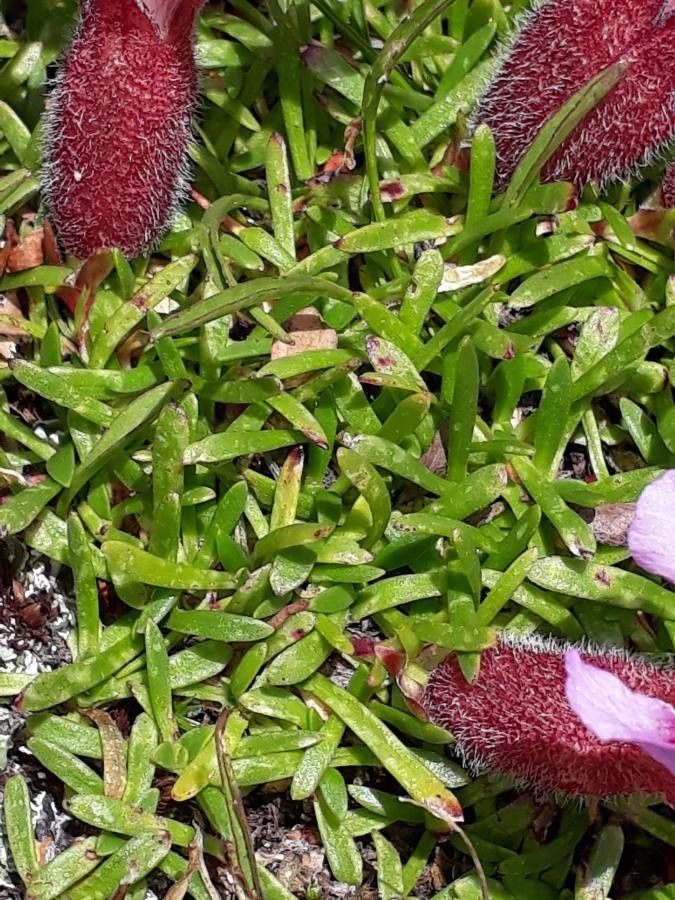
Oh, Saponaria pumila! If you’ve ever seen this darling little alpine tumbling over rocks or nestled in a cottage garden, you know its charm. It’s a prostrate plant, forming tight mats covered in cheerful, often bright pink, starry flowers. It’s just the happiest little thing, isn’t it? And the best part? You can easily bring that happiness into your own garden by propagating it yourself. Honestly, if you’re looking for a rewarding propagation project, this is it. It’s not a finicky diva by any means and is actually quite forgiving, making it a lovely choice even if you’re just dipping your toes into the world of plant propagation.
The Best Time to Start
I find that late spring to early summer is the sweet spot for propagating Saponaria pumila. You’re looking for new, non-woody growth. This is when the plant is actively growing and has plenty of energy to put into developing roots. Waiting until after the main flush of spring flowering also ensures you’re not taking cuttings from a plant that’s already a bit stressed from blooming.
Supplies You’ll Need
Here’s what I always have on hand when I’m tackling some Saponaria cuttings:
- Sharp pruning shears or a clean craft knife: Essential for making clean cuts.
- Rooting hormone powder or gel: While not strictly mandatory for Saponaria, it can give your cuttings a helpful boost.
- A sterile, well-draining potting mix: I like a blend of equal parts peat moss and perlite, or a pre-made seed-starting mix.
- Small pots or seedling trays: For housing your cuttings. Make sure they have drainage holes!
- A spray bottle: For misting your cuttings.
- A plastic bag or propagation dome: To create a humid environment.
- Gravel or small stones: If you plan on water propagation.
Propagation Methods
I’ve had great success with two main methods for Saponaria pumila: stem cuttings and division.
Stem Cuttings
This is my go-to for increasing my Saponaria numbers!
- Take your cuttings: Using your clean shears, select healthy stems that are about 3-4 inches long. Look for stems that are flexible but not floppy – that soft wood stage is perfect. I like to make my cut just below a leaf node (where a leaf attaches to the stem).
- Prepare the cuttings: Gently remove the lower leaves from the stem, leaving just a couple of leaves at the very tip. If you’re using rooting hormone, dip the cut end into it now.
- Pot them up: Fill your small pots with your prepared potting mix. Make a small hole with a pencil or your finger in the center of each pot. Carefully insert the cut end of your Saponaria cutting into the hole, nudging the soil gently around it to keep it upright.
- Water and cover: Water the soil lightly. Then, cover the pots with a plastic bag or a propagation dome to trap humidity. This is crucial to prevent the cuttings from drying out.
Division
This is a fantastic way to rejuvenate an older, established clump and get multiple new plants at once.
- Dig it up: In late spring or early summer, when the plant is actively growing but before it gets too hot, carefully dig up the entire Saponaria clump using a trowel or spade.
- Clean the roots: Gently shake off excess soil from the root ball. You can also gently rinse them under cool water if needed to get a better look.
- Separate: Look for natural divisions in the clump. You can usually pull apart sections with your hands. If the roots are a bit tangled, use a clean trowel or your fingers to gently tease them apart. Ensure each new division has a good portion of roots and some leafy growth.
- Replant: Immediately replant your divisions into their new locations in the garden or into pots filled with fresh, well-draining soil. Water them in well.
The “Secret Sauce” (Pro Tips)
Here are a few little tricks I’ve learned over the years that make propagating Saponaria even more successful:
- Bottom heat is your friend: While Saponaria does well without it, popping your potted cuttings on a gentle heating mat can significantly speed up root development. Think of it as giving them a warm little foot spa!
- Don’t let the leaves touch the soil: When you’re potting up stem cuttings, make sure none of the remaining leaves are buried in the soil. This is a surefire way to invite rot. They need air circulation!
- Mist judiciously: While humidity is key, don’t overdo the misting. You want the soil to be consistently moist, but not waterlogged. A light misting once or twice a day is usually enough, especially if you have them covered. Check the soil moisture with your finger before you spray.
Aftercare & Troubleshooting
Once your cuttings have started to sprout and show signs of new growth, you know roots are forming! You can gently tug on a cutting – if there’s resistance, it’s rooting.
Once roots are established (usually after 3-4 weeks), you can gradually acclimate them to less humid conditions by slowly lifting the cover for increasing periods each day. Once they seem sturdy, you can remove the cover entirely.
The biggest pitfall with Saponaria cuttings is rot. If you see your cuttings turning mushy and black, or the soil is constantly soggy, you’re likely overwatering. Ensure excellent drainage and try to let the surface of the soil dry out slightly between waterings. If divisions look a bit sad after replanting, don’t panic. Keep them consistently watered and they should perk up.
Happy Propagating!
Watching a tiny cutting transform into a thriving plant is one of the most magical parts of gardening. Don’t be discouraged if not every single one makes it – it’s part of the learning process. Just enjoy the journey, be a little patient, and soon you’ll have more little clumps of Saponaria pumila to share, or to fill every sunny spot in your garden with their cheerful blooms! Happy planting!
Resource:
https://identify.plantnet.org/k-world-flora/species/Saponaria%20pumila%20Janch./data