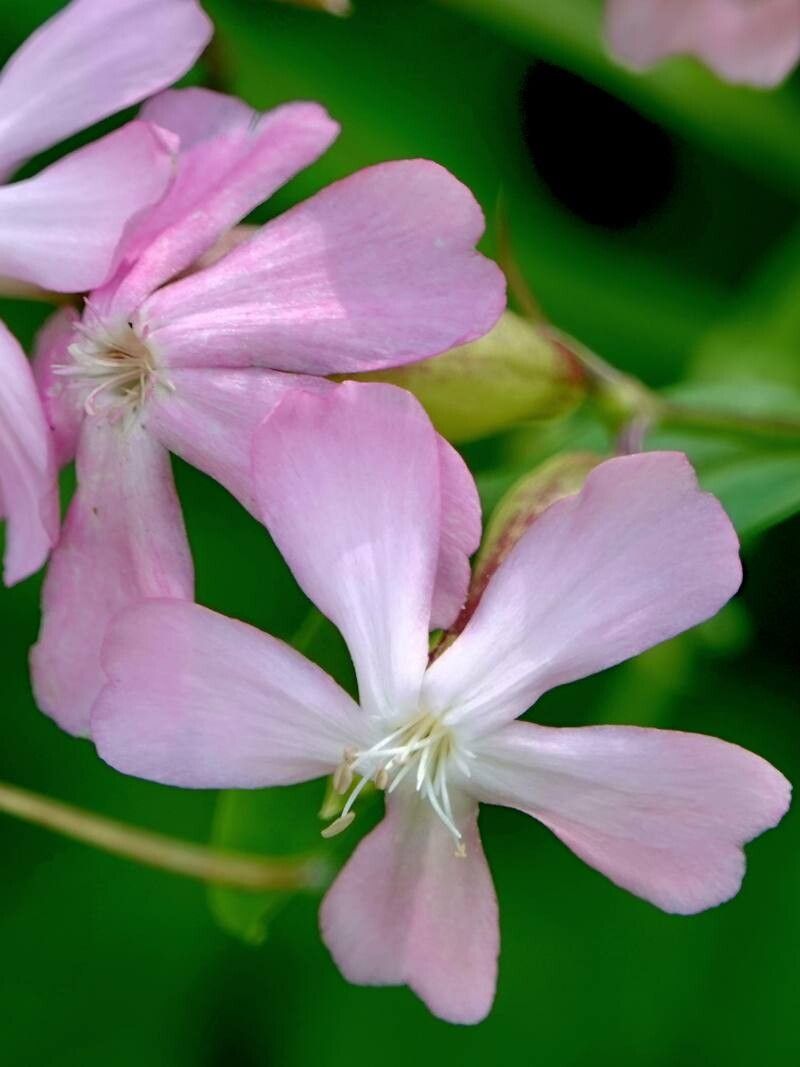
Oh, hello there! Pull up a chair, and let’s chat about my favorite herb, Saponaria officinalis, or as many of us affectionately call it, soapwort. If you’ve ever admired its frothy clusters of pink flowers, like delicate lace against its green foliage, you’re not alone. It’s a charming plant that brings a touch of old-world cottage garden magic. And not only is it beautiful, but it’s also incredibly useful. Did you know its roots contain natural saponins? That’s what gives it its soap-like lather, hence the name! Propagating it yourself is such a rewarding experience. It’s also a remarkably forgiving plant, making it a fantastic choice for beginners looking to expand their plant collection.
The Best Time to Start
When it comes to getting new soapwort babies, I find the sweet spot to be late spring to early summer. This is when the plant is actively growing, bursting with energy. You’re looking for stems that are plump and vigorous, not yet woody. Think of it as catching them at their peak potential.
Supplies You’ll Need
Gathering your tools beforehand makes the whole process so much smoother. Here’s what I usually have on hand:
- Sharp pruning shears or a clean, sharp knife: For making clean cuts. Sterilize them with rubbing alcohol between uses to prevent disease.
- A light, well-draining potting mix: I often use a blend of equal parts peat moss (or coco coir), perlite, and a little bit of compost. For division, the garden soil is usually fine.
- Small pots or trays: Terracotta pots are lovely as they allow the soil to breathe.
- Rooting hormone (optional but helpful): A gentle dip in this can give your cuttings a helpful boost.
- Watering can with a fine rose: To mist delicately.
- Plastic bags or a propagator: To create a humid environment for cuttings.
Propagation Methods
Soapwort is wonderfully versatile. Here are a couple of my go-to methods:
Stem Cuttings
This is my most frequent method, and it’s quite effective.
- Take your cuttings: Using your clean shears, select a healthy, non-flowering shoot. Cut a piece about 4-6 inches long. Make the cut just below a leaf node (where a leaf meets the stem).
- Prepare the cuttings: Gently remove the lower leaves, leaving just a few at the top. This prevents them from rotting in the soil. If you’re using rooting hormone, dip the cut end into it now.
- Pot them up: Fill your small pots with your prepared potting mix. Make a hole in the soil with a pencil or your finger and insert the cutting, firming the soil gently around it.
- Create humidity: Water the soil lightly. Then, cover the pot with a clear plastic bag or place it in a propagator. Make sure the leaves don’t touch the sides of the bag if possible.
- Find a good spot: Place the pots in a bright location but out of direct sunlight. Warmth is also beneficial.
Division
This is a straightforward way to multiply your existing soapwort clumps.
- Dig it up: In spring, when the plant is just starting to grow, carefully dig up the entire plant.
- Separate the roots: Gently shake off excess soil. You’ll see that the main root ball is often made up of several smaller sections. Gently pull or cut these sections apart, ensuring each division has some healthy roots and at least a few growing shoots.
- Replant: Dig new holes in your garden or in pots, and replant your divisions. Water them in well.
The “Secret Sauce” (Pro Tips)
Now for a couple of things I’ve learned over the years that can make a real difference:
- Bottom warmth: For stem cuttings, providing a little gentle bottom heat (like from a heat mat made for seedlings) can significantly speed up root development. It mimics the warmth of spring soil.
- Don’t overwater: This is crucial for cuttings. Just keep the soil consistently moist, not soggy. Overwatering is the quickest way to invite rot, and we definitely don’t want that! Let the very top of the soil dry out slightly between waterings.
- Patience with division: When you divide, try not to disturb the root system too much. The plant will be a little shocked, but it’s remarkably resilient. Give it a little time and consistent moisture, and it will bounce back beautifully.
Aftercare & Troubleshooting
Once you start seeing signs of new growth on your cuttings – tiny leaves unfurling – that’s a sure sign roots are forming! At this point, you can gradually acclimatize them to normal room conditions by slowly opening the plastic bag or propagator over a week or so. Continue to water them gently.
What if things go wrong? The most common issue is rot, which usually shows up as mushy, blackened stems. This is almost always a sign of overwatering or poor drainage. If you see this, there’s not much you can do for that particular cutting, so just learn from it and adjust your watering. For divisions, wilting can happen if they dry out too much, or if they’re planted too deeply. Ensure they have good soil contact and water them.
A Encouraging Closing
Propagating Saponaria officinalis is such a joy. It’s a simple process that connects you deeper with your garden and rewards you with more of those lovely, useful plants. Don’t be discouraged if your first attempt isn’t perfect. Gardening is a journey, and every plant you grow is a little victory. So, grab your tools, get your hands dirty, and enjoy the magic of creating new life! Happy gardening!
Resource:
https://identify.plantnet.org/k-world-flora/species/Saponaria%20officinalis%20L./data