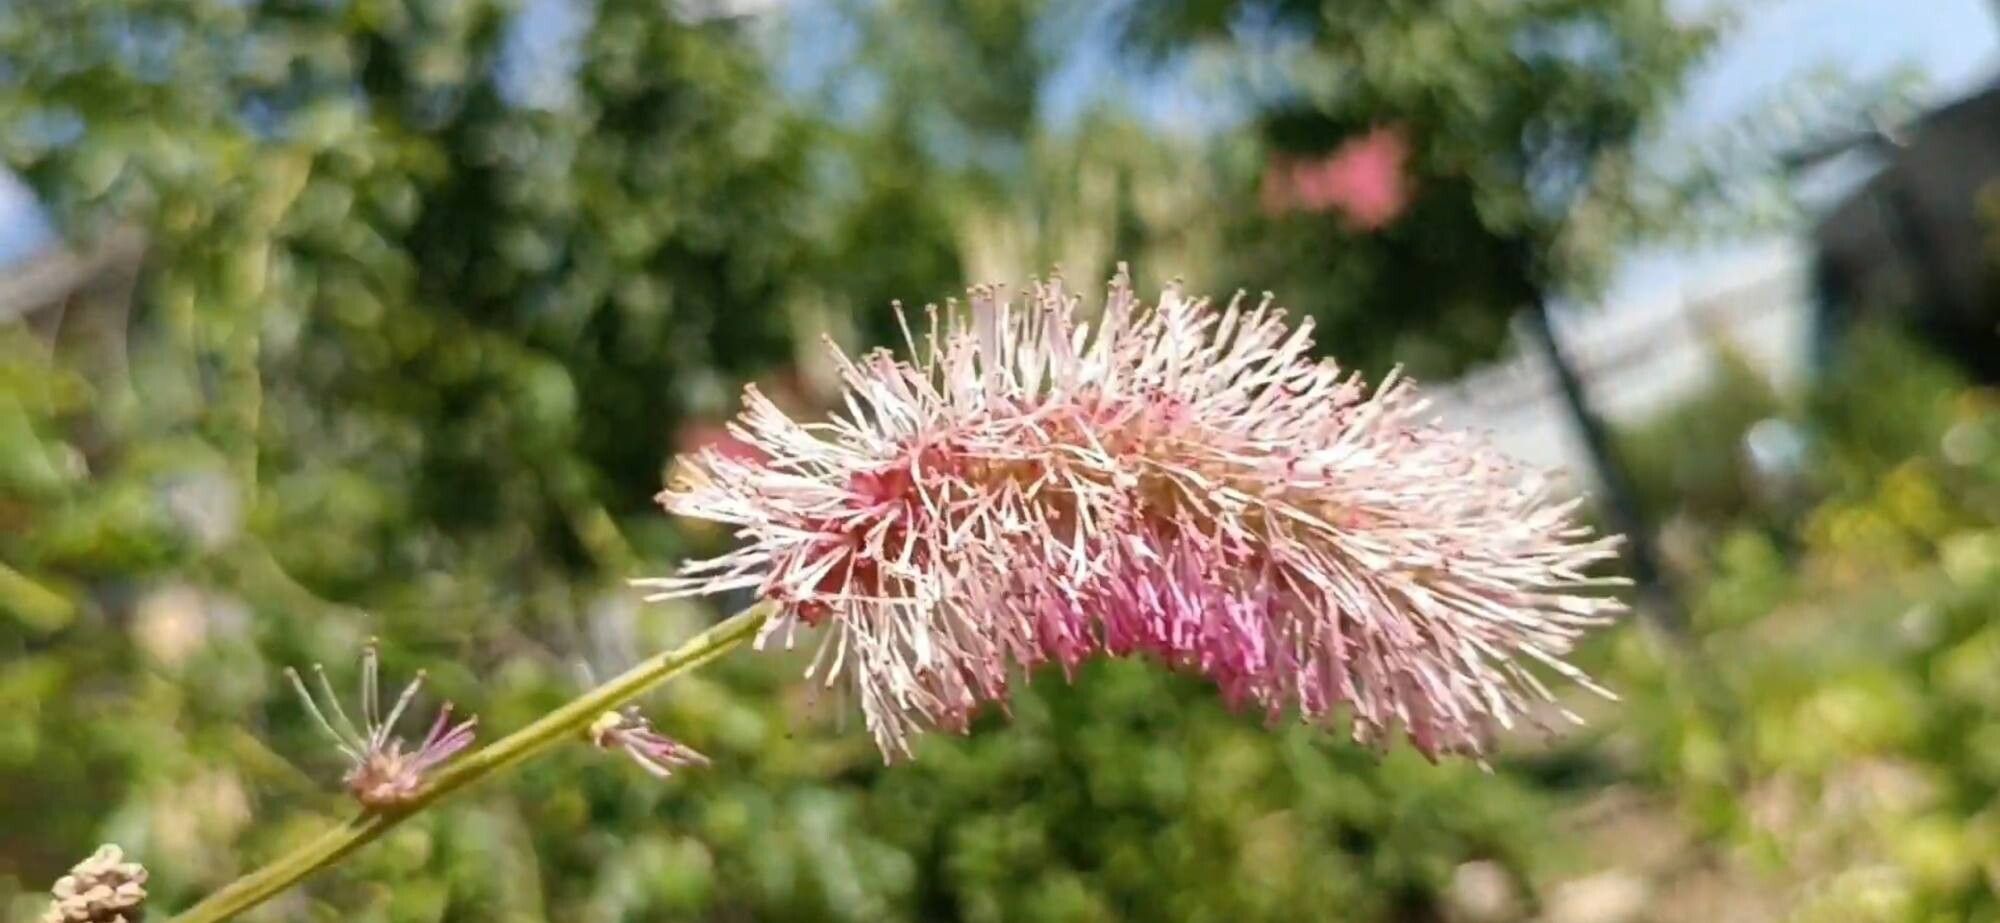
Oh, hello there! Pull up a chair and let’s chat about one of my absolute favorites: Sanguisorba obtusa. If you aren’t familiar, imagine a delicate, feathery beauty that dances in the breeze, with soft, pink bottle-brush flowers. It’s a plant that brings a quiet elegance to any garden, and let me tell you, multiplying your own little patches of this charm is incredibly rewarding. While some plants can be a bit fussy, I find Sanguisorba obtusa to be quite forgiving, making it a lovely project for even those newer to the gardening game.
The Best Time to Start
For the highest chance of success with Sanguisorba obtusa, I always recommend aiming for late spring or early summer. This is when the plant is actively growing and has plenty of young, pliable stems to work with. You’re essentially catching it at its most vigorous, which gives your cuttings a real head start.
Supplies You’ll Need
Before we dive in, let’s make sure you have everything ready. A little preparation goes a long way!
- Sharp, clean pruning shears or a craft knife
- A well-draining potting mix. I like a blend of peat moss, perlite, and a bit of compost.
- Small pots or trays (with drainage holes, of course!)
- A plastic bag or a small propagation dome
- Rooting hormone (optional, but can give a helpful boost)
- A spray bottle with clean water
Propagation Methods
I’ve found success with a couple of key methods for Sanguisorba obtusa, and division is my go-to.
Stem Cuttings
- Start by finding a healthy, non-flowering stem on your plant.
- Using your clean shears, take a cutting that’s about 4-6 inches long. Aim to make a cut just below a leaf node (where a leaf meets the stem).
- Remove the lower leaves from the cutting, leaving just a few at the top. This prevents them from rotting in the soil.
- If you’re using rooting hormone, dip the cut end into it.
- Fill your small pots with your prepared potting mix, moisten it well, and then gently insert the cuttings, making sure the nodes with the removed leaves are buried.
- Water gently to settle the soil.
- Cover the pots with a plastic bag or propagation dome to create a humid environment. Keep them in a bright spot, but out of direct sun.
Division: My Favorite!
This is often the easiest and most effective way to propagate Sanguisorba obtusa.
- The best time for this is also in spring, as new growth begins to emerge, or in early autumn after flowering has finished.
- Gently dig up your established plant. You might need to carefully loosen the soil around it first.
- Once the plant is out of the ground, gently shake away excess soil to expose the root ball.
- Look for natural breaks in the root system. You’re aiming to separate the plant into sections, each with a good amount of roots and some healthy shoots. I usually use my hands for this, but a clean trowel or even a sharp knife can help if the roots are dense.
- Each division should have at least a few shoots and a healthy root system.
- Replant these divisions immediately into their new spots, whether that’s back in your garden or in pots with fresh potting mix. Water them in thoroughly.
The “Secret Sauce” (Pro Tips)
Here are a couple of little tricks I’ve learned over the years that really make a difference:
- When taking stem cuttings, never let the leaves touch the soil or sit in a pool of water. This is a surefire way to invite rot. Keep them elevated by the stem.
- If you’re working with cuttings in pots, placing them on a heat mat can significantly speed up root development. It mimics the warmth of spring soil and gives those roots a real encouragement to grow.
Aftercare & Troubleshooting
Once your Sanguisorba obtusa has shown signs of rooting – you might see new leaf growth or feel gentle resistance when you tug on the cutting – you can start to gradually acclimate it to your regular garden conditions. This means slowly introducing it to less humidity and brighter light over a week or two.
The most common issue you’ll face is rot, which usually happens if the soil stays too wet or if there’s poor air circulation. You’ll see wilting, blackening stems, or a mushy base. If you spot this, sadly, that cutting or division is likely lost, but don’t let it discourage you! Just try again with drier soil and better ventilation. Sometimes, it’s just a matter of finding the right balance.
A Encouraging Closing
So there you have it! Propagating Sanguisorba obtusa is a wonderfully accessible way to expand your collection and share these lovely plants with friends. Be patient with the process, enjoy watching the tiny miracles unfold, and know that even if your first attempt isn’t perfect, gardening is always a learning journey. Happy propagating!
Resource:
https://identify.plantnet.org/k-world-flora/species/Sanguisorba%20obtusa%20Maxim./data