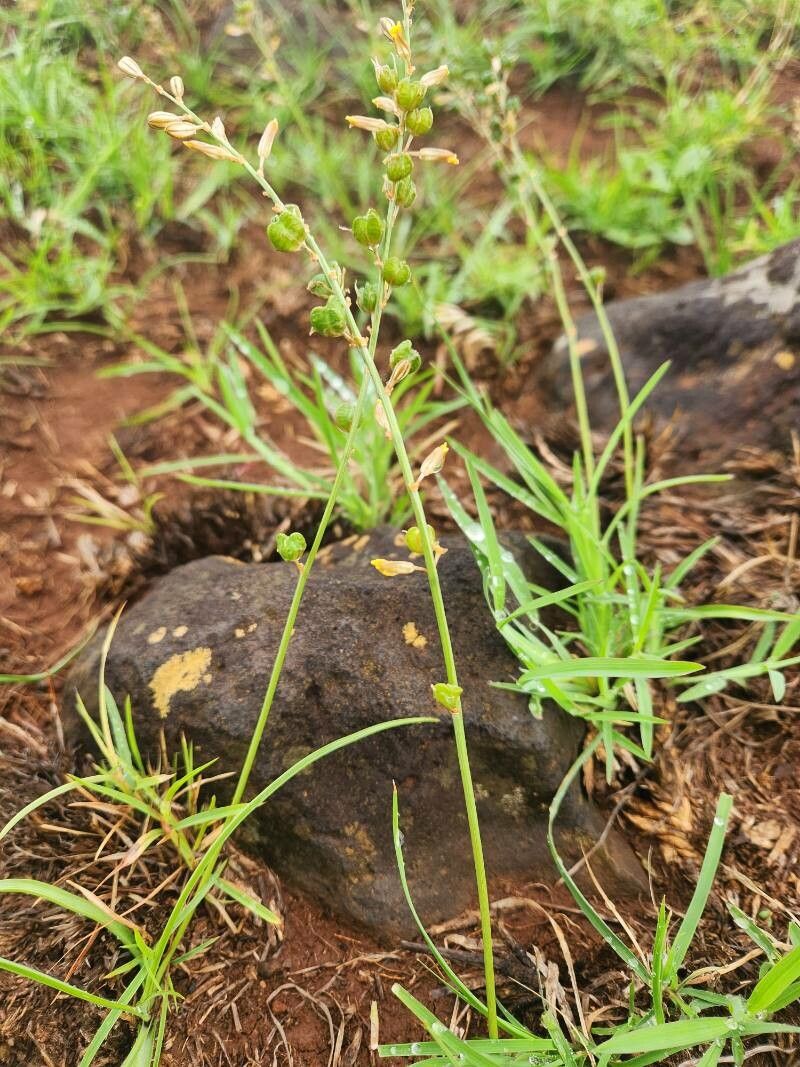
Grow More of That Lovely Spider Plant! Propagating Chlorophytum affine with Ease
Oh, the charm of Chlorophytum affine, isn’t it? Those graceful, arching leaves and those adorable little “spiderettes” that dangle down like miniature dancers. It’s a plant that just brings a smile to your face, and honestly, it’s remarkably forgiving. If you’ve ever admired your Chlorophytum affine and thought, “I wish I had more of these!”, you’re in luck. Propagating this beauty is incredibly rewarding, and I can tell you from firsthand experience, it’s a fantastic project for even the most novice gardener. You’ll be sharing these little green gems with friends before you know it!
When to Get Planting
The best time to start propagating Chlorophytum affine is really during its active growing season. Think spring and summer. This is when the plant is full of energy, making new growth and producing those wonderful spiderettes with gusto. While you can sometimes get away with it at other times, you’ll find your success rate skyrockets when the days are longer and warmer.
What You’ll Want on Hand
Gathering your supplies beforehand makes the whole process so much smoother. Here’s what I usually have on my bench:
- Sharp, clean pruning shears or scissors: For making clean cuts.
- A good quality potting mix: Something that drains well. A mix with perlite or vermiculite is excellent.
- Small pots or trays: For your new baby plants.
- Watering can or spray bottle: To keep things consistently moist.
- Rooting hormone (optional but helpful): Especially for division, it gives cuttings a little boost.
- Labels and a pen: So you don’t forget what’s what!
Easy Ways to Multiply Your Greens
Chlorophytum affine is a generous plant, and luckily, it offers a couple of super simple ways to propagate.
1. The Natural Way: Division
This is my absolute favorite method for Chlorophytum affine. It’s almost like the plant wants you to do it!
- Step 1: Gently remove your mature Chlorophytum affine from its pot. You might need to loosen the soil around the edges with a trowel or your fingers.
- Step 2: Look at the root ball. You’ll see distinct clumps or rosettes of leaves growing together from the main root system. These are your potential new plants!
- Step 3: Using your hands or a clean knife if the clumps are really dense, carefully separate these clumps. Try to ensure each new division has some healthy roots attached. Don’t be shy, but be gentle!
- Step 4: Pot each division into its own small pot filled with your well-draining potting mix.
- Step 5: Water thoroughly and place in a bright spot, but out of direct, harsh sunlight.
2. From the “Spiderettes”: Taking Plantlets
This is where the “spider plant” name truly comes alive! Those little baby plants that dangle from the flower stalks are practically begging to become their own plants.
- Step 1: Look for the “spiderettes” – the tiny plantlets forming on the ends of the long stalks.
- Step 2: The easiest way is to simply allow them to root while still attached to the mother plant. You can do this by placing the pot of the mother plant next to an empty pot and bending the stalk down so the spiderette rests on the soil surface of the new pot. You can even pin it gently in place with a paperclip or a small piece of wire.
- Step 3: Keep the soil in the new pot lightly moist. Within a few weeks, you’ll often see tiny roots forming.
- Step 4: Once the plantlet has developed a decent root system and looks like it’s growing on its own, you can cut the stalk connecting it to the mother plant.
- Step 5: Alternatively, you can snip the spiderettes off the stalk and place them directly into a pot of moist potting mix or even water. If using water, make sure the plantlet isn’t submerged entirely, just the base where roots will emerge.
My Little Secrets (Shh!)
Here are a couple of things I’ve learned over the years that really give you a head start:
- Bottom Heat is Your Friend: For divisions, especially if you’re doing it a bit earlier or later in the season, placing the pots on a heat mat can make a surprising difference. It encourages root development and helps them establish faster.
- Don’t Be Afraid to Trim: When taking plantlets from the stalk, if the main stalk is very long, I often trim it down leaving just a short bit attached to the spiderette. This helps conserve the plantlet’s energy and encourages it to focus on root development rather than trying to support a long stem.
What Happens Next?
Once your new divisions or plantlets have settled in, keep their soil consistently moist but not waterlogged. A good rule of thumb is to water when the top inch of soil feels dry. If you’re water propagating, make sure only the base of the plantlet is submerged, and change the water every few days to keep it fresh.
What to watch out for? The most common issue is rot. If you see leaves turning mushy and brown, it’s a sign of too much moisture. Ensure good drainage and don’t overwater. If you’re seeing no new growth after several weeks, don’t despair! Sometimes they’re just taking their time to get settled. Gently tugging on a plantlet can reveal if roots have formed.
Happy Growing!
Propagating Chlorophytum affine is such a joy because it’s so forgiving and gives such satisfying results. Don’t be discouraged if your first attempt isn’t perfect; gardening is all about learning and experimenting. Be patient, enjoy the process of nurturing these new little plants, and soon you’ll have a whole collection of your own! Happy planting!
Resource:
https://identify.plantnet.org/k-world-flora/species/Chlorophytum%20affine%20Baker/data