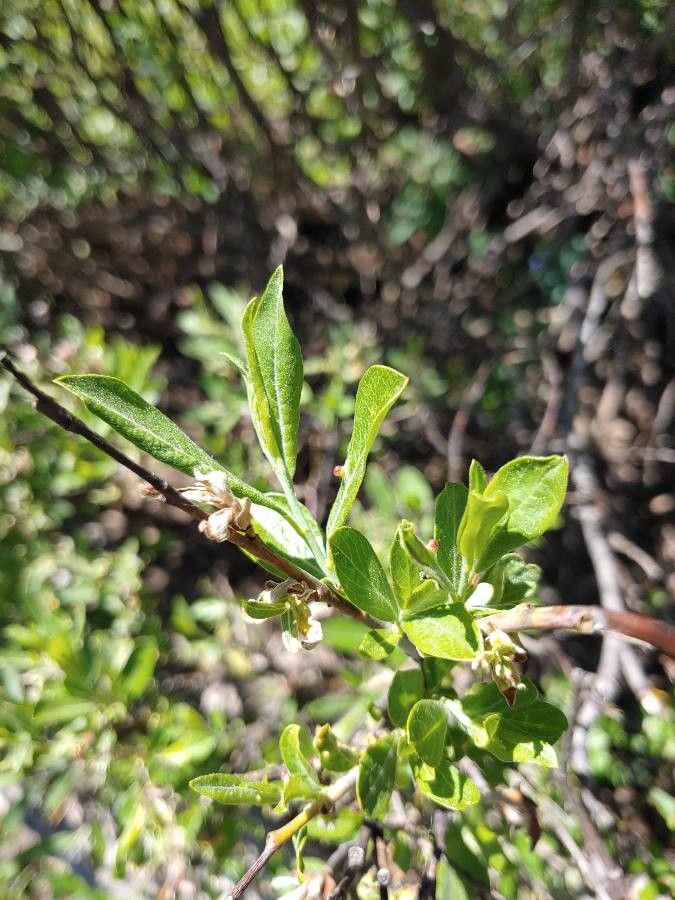
Oh, hello there! Come on in and grab a mug. Today, we’re going to chat about a plant that has always brought a smile to my face: Salix commutata, or the Mountain Willow. If you’ve ever admired its graceful branches, perhaps with their lovely silvery undersides catching the light, you’re not alone. This beauty adds such a touch of wild charm to any garden. And the best part? It’s wonderfully generous! Propagating it is a truly rewarding experience, and I’m happy to say, it’s quite beginner-friendly. You’ll be amazed at how easily you can multiply this lovely willow.
The Best Time to Start
For Salix, like many woody plants, the sweet spot for propagation is typically during the late spring or early summer. This is when the plant is in a vigorous growth phase, meaning it’s full of energy and has plenty of healthy, new shoots to work with. You’re aiming for cuttings that are not yet fully woody but have started to harden off a bit. Think of it as harvesting those perfect, slightly bendy stems – not too soft and floppy, and not as hard as an old twig.
Supplies You’ll Need
Getting your supplies ready is half the battle, and it’s not too complicated. Here’s what you’ll want to have on hand:
- Sharp Pruning Shears or a Clean Knife: Essential for making clean cuts.
- Rooting Hormone (Optional but Recommended): Especially for beginners, this gives your cuttings a helpful boost. Look for a powder or gel.
- Well-Draining Potting Mix: A good mix of peat moss, perlite, and coarse sand works wonderfully. You want something that won’t hold too much moisture.
- Small Pots or Trays: Clean pots are key to preventing disease.
- Water: For moistening the soil and for water propagation, if you choose.
- Plastic Bag or Propagation Dome: To create a humid environment.
- Small Pebbles or Sand (for water propagation): To help support the cuttings.
Propagation Methods
Salix commutata is a star at taking from stem cuttings. It’s straightforward, and you can get quite a few new plants from just one parent.
Method 1: Stem Cuttings
- Select Your Cuttings: Find healthy, one-year-old shoots that are about pencil-thick and 6-12 inches long. Make your clean cut just below a leaf node (where a leaf attaches to the stem).
- Prepare the Cuttings: Strip off any leaves from the bottom two-thirds of the cutting. If you have a very long cutting, you can even cut any remaining leaves in half horizontally to reduce water loss.
- Apply Rooting Hormone: Dip the cut end into your rooting hormone, tapping off any excess.
- Plant the Cuttings: Fill your pots with your prepared, moistened potting mix. Make a hole with a pencil or your finger, and gently insert the cutting about 2-3 inches deep. Firm the soil around it.
Method 2: Water Propagation
This is a slightly simpler method if you’re just experimenting or want to see the roots grow!
- Prepare the Cuttings: Follow steps 1 and 2 above for selecting and preparing your cuttings.
- Place in Water: Find a clean jar or vase. Place the prepared cuttings in the water, making sure the leaf nodes (where you removed the leaves) are submerged, but no leaves touch the water. You can add a few pebbles or some coarse sand to the bottom of the jar to help hold the cuttings upright.
- Change Water Regularly: Change the water every few days to keep it fresh and prevent rot.
The “Secret Sauce” (Pro Tips)
Now for a couple of little tricks I’ve picked up over the years that can really boost your success:
- Think Drainage, Drainage, Drainage: I cannot stress this enough. Salix hates soggy feet. When planting your cuttings, ensure your potting mix is airy and your pots have good drainage holes. If you’re using water propagation, don’t let that water stagnate!
- Embrace Humidity: Most cuttings need a humid environment to prevent them from drying out before they can form roots. Pop a plastic bag over your pots or use a clear propagation dome. Ensure the bag doesn’t touch the leaves – a few stakes can help create a little tent. A warm, bright spot is perfect, but avoid direct, scorching sunlight.
- Don’t Rush It: Patience is a gardener’s greatest virtue. Some cuttings will root in a few weeks, others might take a couple of months. Just keep them consistently moist (not soaking wet) and humid.
Aftercare & Troubleshooting
Once you see new leaf growth or feel a gentle tug when you very carefully try to pull a cutting, you know roots have formed!
- For Water Cuttings: Once the roots are about an inch or two long, you can gently transplant them into your well-draining potting mix. Handle those delicate roots with care.
- For Soil Cuttings: Gradually acclimate them to outdoor conditions by opening the plastic bag or dome a little more each day over a week. Then, you can plant them out into a protected spot in the garden or keep them in pots.
- Watch for Rot: The most common sign of failure is rot. If your cutting turns black and mushy, it’s usually a sign of too much moisture and/or poor air circulation. Remove any affected cuttings immediately to prevent it from spreading. If the cutting looks shriveled and dry, it likely dried out too much.
A Most Encouraging Closing
Seeing a little willow cutting take root and grow into a new plant is such a joyful experience. Don’t be discouraged if you have a few that don’t make it – it happens to the best of us. Just keep trying, learn from each attempt, and most importantly, enjoy the process! Happy growing!
Resource:
https://identify.plantnet.org/k-world-flora/species/Salix%20commutata%20Bebb/data