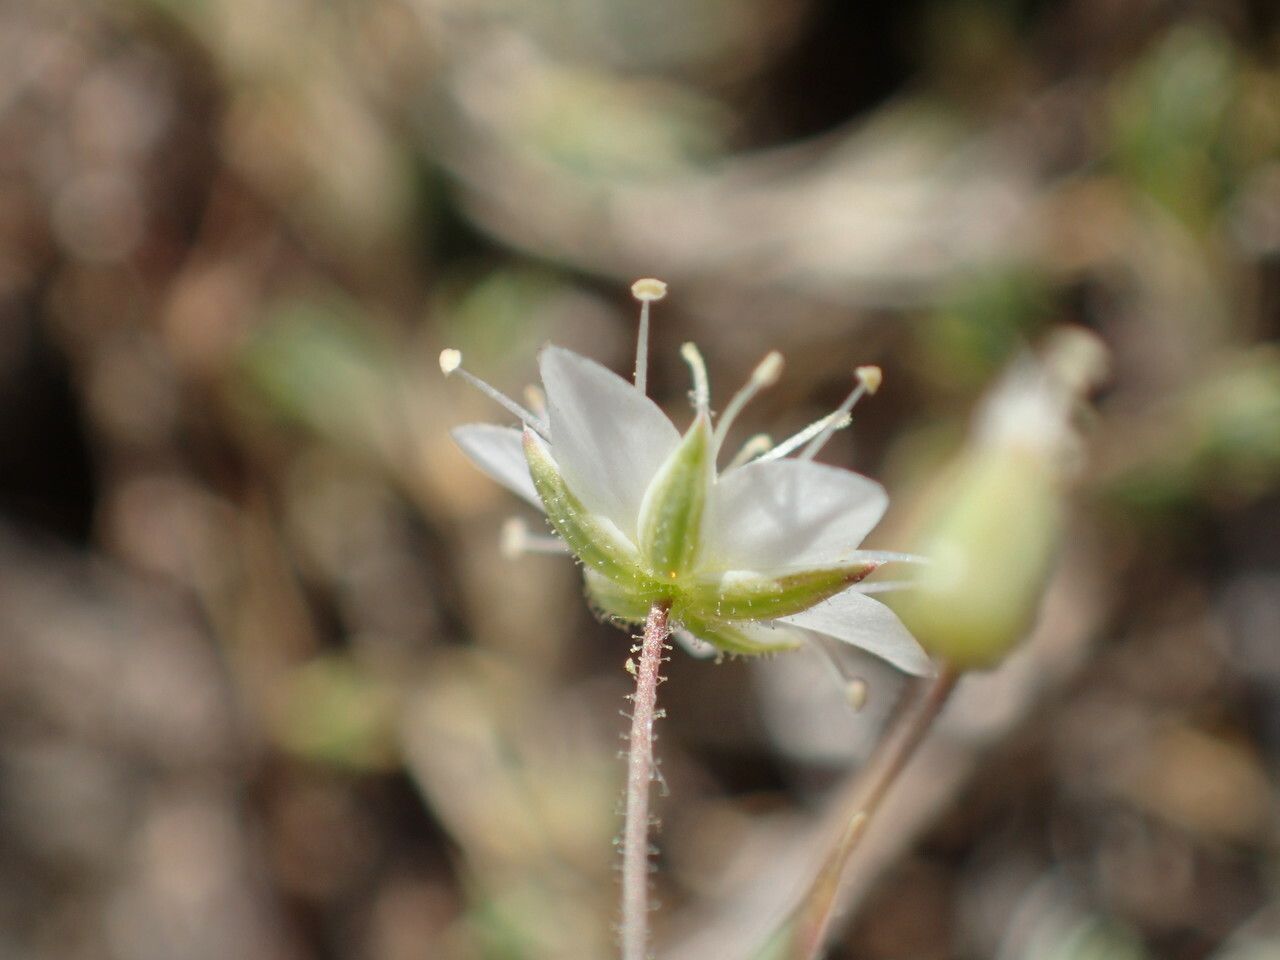
Oh, Sabulina attica! Isn’t it just a darling? I’ve always admired its delicate, almost ethereal beauty. Those soft, fuzzy leaves and often charming little blooms – it’s the kind of plant that brings a bit of softness and grace to any space. And the best part? Being able to create more of these beauties from one precious parent plant is incredibly satisfying. It’s like magic, right? For those of you just dipping your toes into the world of plant propagation, I’ll be honest, Sabulina attica is a pretty good place to start. You’ll likely find it quite forgiving, which is always a nice confidence booster!
The Best Time to Start
When it comes to Sabulina attica, I’ve found that spring is absolutely your best bet. Think of it as the plant waking up from its winter slumber and bursting with energy. This active growth phase means it’s primed to send out new shoots and, crucially, to root effectively. Waiting until the plant is actively growing, rather than in a dormant period, will significantly increase your chances of success.
Supplies You’ll Need
Gathering your tools before you begin makes the whole process much smoother. Here’s what I keep handy:
- Sharp Pruning Shears or a Clean Knife: For making clean cuts.
- Rooting Hormone (Optional, but recommended): I prefer a powder form.
- Well-Draining Potting Mix: A blend of perlite, peat moss, and a bit of compost usually works wonders. You can also buy specific succulent or cactus mixes.
- Small Pots or Seedling Trays: Clean ones, of course!
- Watering Can with a Fine Rose: To avoid disturbing your new cuttings.
- Plastic Bags or a Clear Dome: To create a humid environment.
Propagation Methods
Sabulina attica is a joy to propagate, and I usually have the most success with stem cuttings.
1. Taking Stem Cuttings:
- Find a healthy, non-flowering stem on your mature Sabulina attica. It should be at least 3-4 inches long.
- Using your sharp shears or knife, make a clean cut just below a leaf node. A leaf node is where a leaf attaches to the stem – this is where new roots will likely form.
- Gently remove the lower leaves from the cutting, leaving just two or three sets of leaves at the top. This helps prevent rot and focuses the plant’s energy on rooting.
- If you’re using rooting hormone, dip the cut end of the stem into the powder, gently tapping off any excess.
2. Planting the Cuttings:
- Fill your small pots or trays with your well-draining potting mix.
- Make a small hole in the center of the soil with your finger or a pencil.
- Carefully insert the cut end of the stem into the hole, ensuring the leaf nodes that you removed leaves from are below the soil surface.
- Gently firm the soil around the stem to hold it in place.
- Water lightly to settle the soil.
The “Secret Sauce” (Pro Tips)
Now for a couple of little tricks I’ve learned over the years that can really make a difference:
- Don’t let the leaves touch the soil! Especially the ones you left on top. If they dip into the moist soil, they’re much more likely to rot before the roots have a chance to establish. I often even pinch off any leaves that are too close to the soil line.
- Bottom heat is your friend. Propagating on a heat mat can significantly speed up root development. It mimics that lovely warm ground you’d find in spring. Just make sure the heat isn’t too intense – a gentle warmth is all you need.
Aftercare & Troubleshooting
Once your cuttings are planted, the real waiting game begins!
- Place your pots in a bright spot with indirect light. Avoid direct sun, as it can scorch the delicate new cuttings.
- Maintain humidity. I usually pop a clear plastic bag loosely over the pot, or if I’m using a tray, I’ll put the lid on. Peek inside daily to check for condensation and to ensure good air circulation to prevent mold. You might need to briefly air them out if you see a lot of moisture.
- Water only when the soil is dry to the touch. Overwatering is the most common killer of cuttings. It’s always better to err on the side of too dry than too wet.
Troubleshooting: What if things go wrong? The most common issue you’ll see is rot. This usually manifests as a mushy, blackening stem base. If you see this, it’s usually a lost cause, and the best thing to do is remove the cutting immediately to prevent it from affecting other cuttings. Sometimes, cuttings simply fail to root. This can happen if the conditions aren’t quite right, or if the cutting wasn’t healthy to begin with. Don’t get discouraged – just try again!
A Little Patience Goes a Long Way
Remember, propagation is a journey, and a little patience is key. It might take a few weeks, or even a couple of months, before you see those precious roots forming and new growth emerging. Don’t give up if it’s not instant! Enjoy the process of nurturing these little new lives. Happy propagating!
Resource: