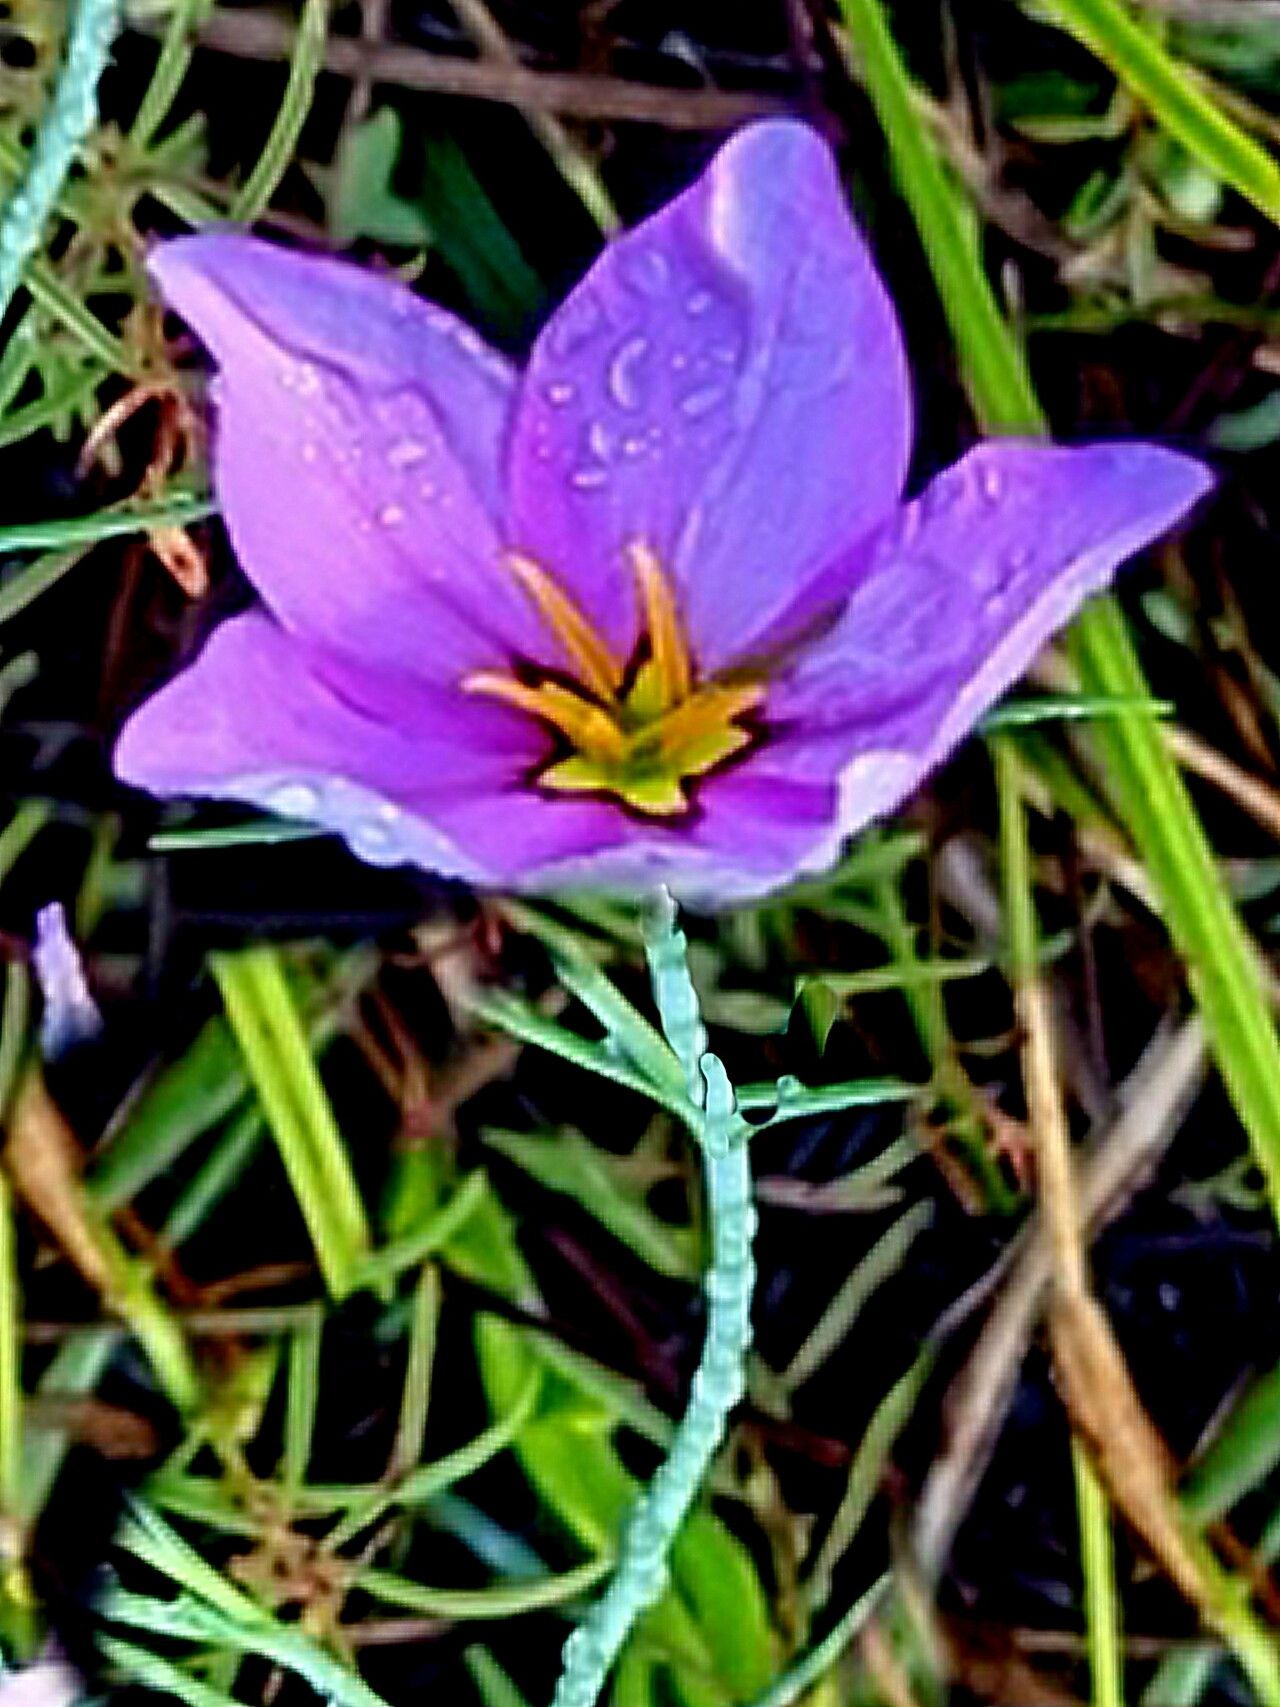
Oh, hello there! Come on in, pull up a chair. I’ve been just bursting to chat with you about Sabatia grandiflora, or as many of us affectionately call them, the “Rose of Massachusetts.” Seriously, if you’re looking for a splash of vibrant color in your garden, these native beauties are just the ticket. With their ruffled petal edges and that gorgeous, almost luminous pink, they really do steal the show.
Now, I know what you might be thinking – “Is this a finicky plant to propagate?” And I’m here to tell you, with a little know-how, it’s quite achievable! While it might not be the absolute easiest plant for a brand-new gardener, it’s certainly rewarding, and with these tips, you’ll be well on your way to a whole garden full of them. Trust me.
The Best Time to Start
For Sabatia grandiflora, late spring to early summer is generally your sweet spot. Think after the last frost has definitely passed, and when the plant is actively putting on new growth. You want to be working with healthy, vigorous stems. This is when they’re most receptive to rooting.
Supplies You’ll Need
Gathering your supplies beforehand makes the whole process so much smoother. Here’s what you’ll want to have on hand:
- Sharp Pruning Shears or a Blade: Cleanliness is key for preventing disease.
- Rooting Hormone (Optional but Recommended): This really gives cuttings a boost. Look for one with a fungicide.
- Lightweight Potting Mix: A good mix of peat moss, perlite, and sterile potting soil works wonders. You want something that drains well.
- Small Pots or Seedling Trays: Clean ones, please!
- Plastic Bags or a Humidity Dome: To create that essential humid environment for cuttings.
- Watering Can with a Fine Rose: Gentle watering is a must.
- Labels and a Pen: Don’t forget to label your creations!
Propagation Methods
Sabatia grandiflora is happily propagated through stem cuttings. It’s straightforward and generally yields good results.
- Take Your Cuttings: In late spring or early summer, look for healthy, non-flowering stems. Using your clean shears, cut pieces that are about 4-6 inches long. Make your cut just below a leaf node (where a leaf attaches to the stem).
- Prepare the Cuttings: Gently remove the lower leaves from each cutting, leaving just the top couple of leaves. If you’re using rooting hormone, dip the cut end into the powder or gel. Tap off any excess.
- Plant the Cuttings: Fill your small pots with the pre-moistened potting mix. Make a small hole in the center of each pot with your finger or a pencil.
- Insert and Water: Place a prepared cutting into each hole, ensuring the bottom leaf nodes are covered by the soil. Gently firm the soil around the base of the cutting. Water them lightly.
- Create Humidity: Cover each pot or tray with a clear plastic bag, or place the pots under a humidity dome. This is crucial for keeping the cuttings from drying out. Place the pots in a location that receives bright, indirect light. Avoid direct sun, which can scorch them.
The “Secret Sauce” (Pro Tips)
There are a few little tricks that can really improve your success.
- Bottom Heat is Your Friend: If you have a seedling heat mat, using it for your cuttings can significantly speed up root development. The gentle warmth encourages those root cells to get going.
- Don’t Overwater, But Keep Them Moist: It’s a balancing act. You want the potting mix to stay consistently moist, but not soggy. Soggy soil is a fast track to rot. If you can gently squeeze a handful of the mix and only a few drops of water come out, it’s just right.
- Patience with the Hormone: If you do use rooting hormone, remember that the goal is to provide a helpful nudge. It’s not a magic wand. Some cuttings will root quicker than others, and that’s perfectly normal.
Aftercare & Troubleshooting
Once your cuttings have started to root – you’ll often see new leaf growth or feel a slight tug when you gently try to lift them – it’s time to transition them a bit.
Gradually remove the plastic bag or humidity dome over a week or so, allowing the new plants to acclimatize to normal humidity. Continue to keep the soil consistently moist. You can start feeding them with a diluted liquid fertilizer every few weeks once you see good new growth.
The main thing to watch out for is rot. If you see the stems turning mushy and black, or the leaves wilting despite being in moist soil, it’s usually a sign of too much moisture and poor air circulation. If you catch it early, you might be able to save the cutting by removing it from the pot, trimming away any rotted parts, and replanting in fresh, slightly drier soil, perhaps with better drainage.
A Loving Closing
Propagating Sabatia grandiflora is a journey, and like any good garden adventure, it’s filled with learning. Be patient with your little ones, offer them consistent care, and celebrate each success. Before you know it, you’ll have a whole patch of these stunning roses to enjoy. Happy growing!
Resource:
https://identify.plantnet.org/k-world-flora/species/Sabatia%20grandiflora%20(A.Gray)%20Small/data