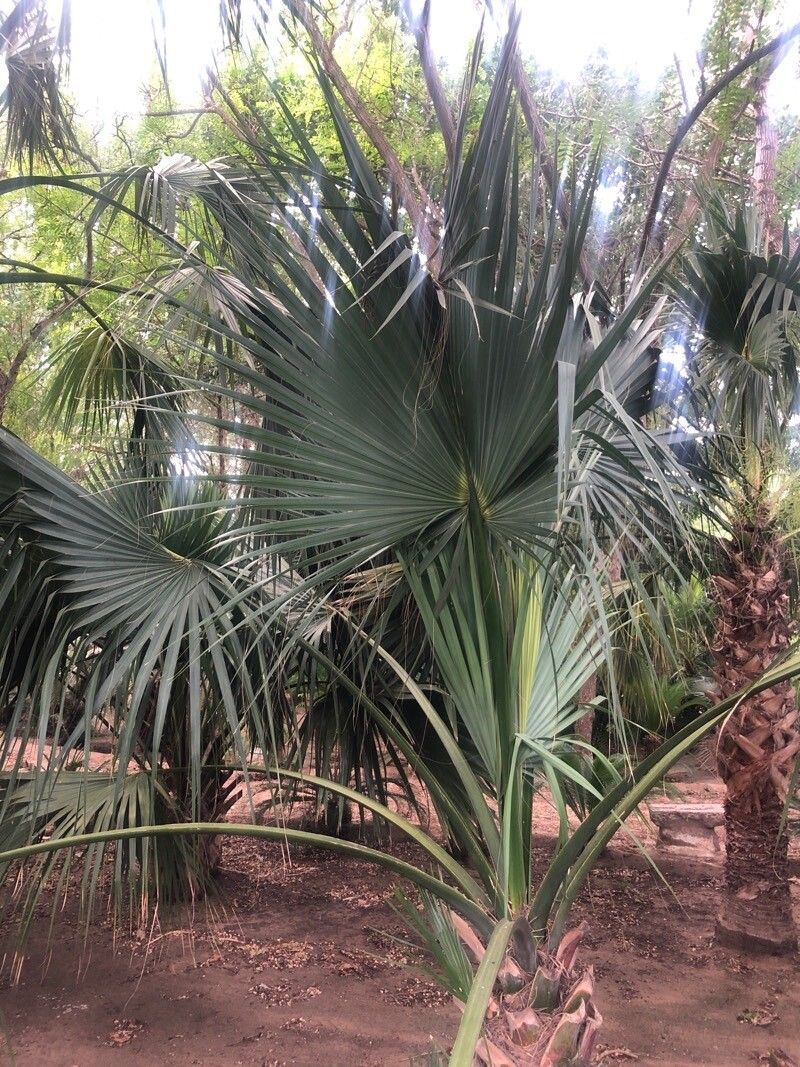
Hey there, fellow plant lovers! Today, we’re diving into the wonderful world of propagating Sabal causiarum, also known as the Puerto Rico hat palm. If you’ve ever admired these majestic palms with their sturdy trunks and beautiful, fan-shaped fronds, you’re in for a treat. Bringing one of these beauties into existence from a little piece of your existing plant is incredibly rewarding. Now, I’ll be honest, Sabal causiarum isn’t the absolute easiest plant to propagate for a complete beginner, but with a little patience and these tips, you’ll be well on your way to success.
The Time to Get Growing
For Sabal causiarum, the late spring and early summer are your golden windows. This is when the plant is in its most active growth phase. Think about it – the days are longer, the sun is warmer, and everything is just bursting with energy. This natural boost will give your cuttings the best chance to root and thrive.
Your Propagation Toolkit
Gathering your supplies beforehand makes the whole process so much smoother. Here’s what I usually have on hand:
- Sharp pruning shears or a clean, sharp knife: For making clean cuts.
- Rooting hormone (optional but recommended): Especially helpful for a quicker take. Look for a powder or gel.
- Well-draining potting mix: A good blend of peat moss, perlite, and a bit of coarse sand works wonders. You want it to drain like a sieve!
- Small pots or trays: With drainage holes, of course. Terracotta pots are lovely because they breathe.
- Clear plastic bags or a propagator: To create a humid environment.
- Watering can or spray bottle: For gentle watering.
- Labels: Don’t forget to label your babies!
Bringing New Palms to Life
Sabal causiarum is typically propagated from offsets, which are baby plants that sprout from the base of the mature palm. This is the most reliable method.
- Gently expose the offsets: Carefully dig around the base of your mature Sabal causiarum. You’re looking for those little pups emerging from the roots. Try not to disturb the main plant too much.
- Separate the offset: Once you’ve found a promising offset with its own set of roots, use your sharp knife or pruning shears to detach it from the mother plant. Make sure the offset has some roots attached; this is crucial. If it’s a larger offset, don’t be afraid to leave a good portion of the root ball.
- Prepare the offset: If you’re using rooting hormone, lightly dust the cut end of the offset. Shake off any excess.
- Plant it up: Fill your pot with the well-draining potting mix. Make a small hole in the center and place your offset in, ensuring the roots are spread out. Firm the soil gently around it.
- Water gently: Give your newly planted offset a good, gentle watering. You want the soil to be moist but not soggy.
- Create a humid haven: Place the potted offset inside a clear plastic bag or propagator. Seal it loosely to maintain humidity but allow for some air circulation.
- Find the right spot: Place your propagator in a bright location with indirect sunlight. Avoid direct sun, which can scorch the delicate new plant.
My “Secret Sauce” for Success
Over the years, I’ve learned a few tricks that can really make a difference.
- Don’t go crazy with the water: When starting offsets, it’s easy to overwater and invite rot. Keep the soil consistently moist but never waterlogged. A good test is to stick your finger about an inch into the soil; if it feels dry, it’s time for a little drink.
- Bottom heat is your friend: If you can, place your propagator on a gentle heat mat designed for plants. This subtle warmth from below can significantly encourage root development. It mimics natural soil warmth and really speeds things up!
- Patience is key with palms: Palms can be slower to show signs of new growth than many other plants. Don’t despair if you don’t see a new frond unfurling immediately. Give it several weeks, even a couple of months, before assuming it hasn’t taken.
Aftercare and What to Watch For
Once you start seeing signs of new growth – usually a new frond peeking out – it’s time to gradually acclimate your little palm to normal conditions.
- Reduce humidity slowly: Over the course of a week or two, gradually open the plastic bag or propagator more and more.
- Watering routine: Continue to water when the top inch of soil feels dry. Your goal is a happy, moist environment, not a swamp.
- Light adjustment: You can slowly introduce them to slightly brighter, but still indirect, light.
Now, what about when things go wrong? The most common culprit is root rot. Signs include a mushy base, yellowing leaves that quickly turn brown and crispy, or a foul smell. If you see this, act fast! Try to unpot the plant, remove any rotten parts with a clean knife, and repot into fresh, dry, well-draining soil. Sometimes, it’s a battle, but often you can save them.
Successfully propagating a Sabal causiarum is a journey that takes time and a gentle touch. Don’t get discouraged if your first attempt isn’t perfect. Every plant is a learning experience, and the satisfaction of nurturing your own majestic palm from scratch is truly unparalleled. Enjoy the process, and send me pictures of your new green babies!
Resource:
https://identify.plantnet.org/k-world-flora/species/Sabal%20causiarum%20(O.F.Cook)%20Becc./data