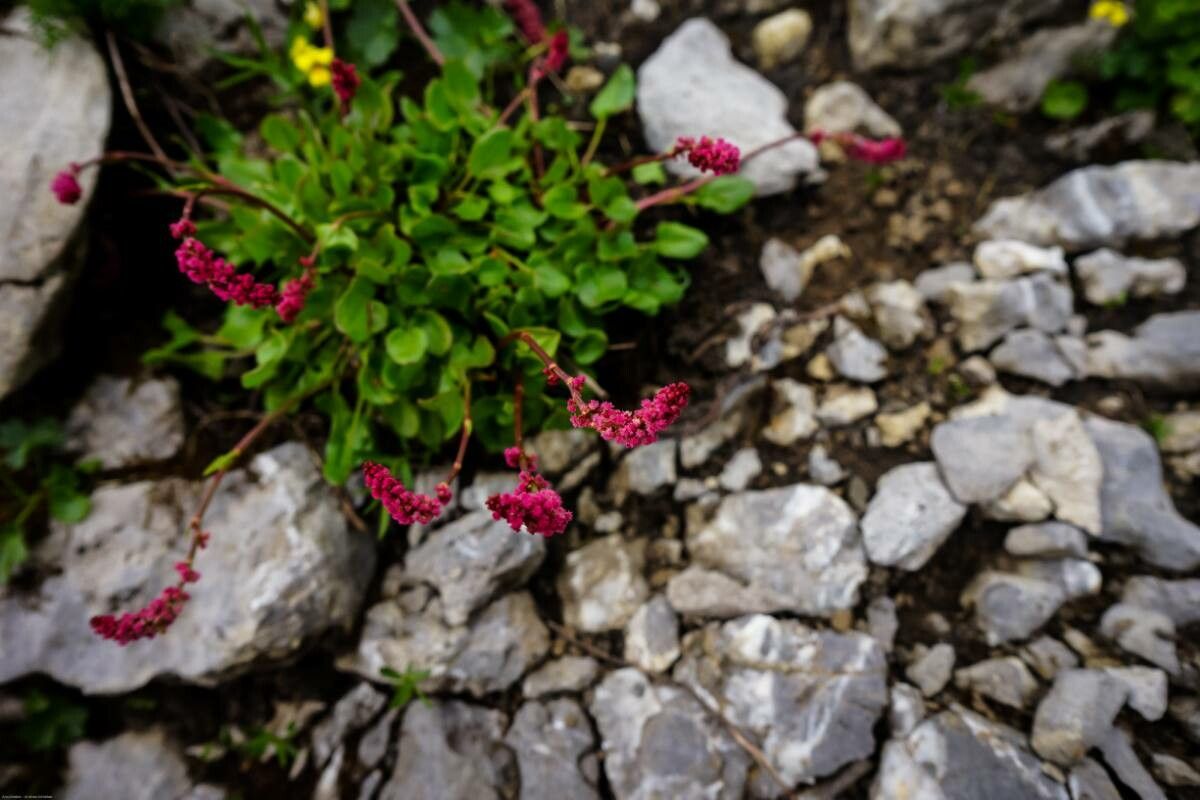
Hello, fellow plant enthusiasts! I’m so delighted to share my passion for a truly special plant with you today: Rumex nivalis. If you haven’t encountered this gem yet, imagine striking, architectural foliage, often with a fascinating silvery sheen, peeking out from your garden with an almost alpine air. It adds a touch of elegance and a unique texture that can really elevate a planting scheme. And the best part? There’s immense satisfaction in coaxing new life from an existing plant. Propagating Rumex nivalis might sound a little daunting, but I promise you, it’s quite achievable, even for those just dipping their toes into the world of plant propagation.
The Best Time to Start
For the highest success rate with Rumex nivalis, I like to get started in late spring or early summer. This is when the plant is in its most vigorous growth phase. You’ll see lots of fresh, healthy shoots emerging, which are perfect for taking cuttings or for dividing established clumps. Trying to propagate when the plant is dormant or stressed is just making things harder on yourself – and the plant!
Supplies You’ll Need
Before we dive in, let’s gather our tools. A little preparation goes a long way:
- Sharp pruning shears or a clean, sharp knife: Essential for making clean cuts.
- Roootsing hormone (optional, but helpful): A powdered or gel formulation can give your cuttings a nice boost.
- Well-draining potting mix: I prefer a blend of equal parts coco coir, perlite, and a little compost. This mimics the airy, free-draining conditions they love.
- Small pots or seed trays: Clean ones! Sterility is your friend in propagation.
- Watering can or spray bottle: For gentle watering.
- Plastic bags or humidity domes: To keep cuttings nice and moist.
- Labels and a marker: So you don’t forget what you planted where!
Propagation Methods
Rumex nivalis is a forgiving plant, and I’ve had great luck with a couple of methods.
Division
This is arguably the simplest and most rewarding method for Rumex nivalis.
- Dig it up: Gently dig out an established plant. I usually do this in spring before new growth gets too tall, or in early autumn once the main growing season is winding down.
- Clean the roots: Carefully brush away excess soil. You want to see the root system clearly.
- Find the divisions: Look for natural breaks in the root ball, where individual crowns or root sections are clearly separable.
- Separate gently: Using your hands, or a clean trowel or knife if it’s a bit stubborn, gently pull or cut the plant into smaller sections. Each division should have at least one healthy root system and a few dormant buds or a small shoot.
- Pot them up: Fill your small pots with your prepared potting mix. Make a little well in the center of each and place a division. Backfill with soil, ensuring the crown (where the leaves emerge) is just at soil level.
- Water thoroughly: Give each potted division a good watering to settle the soil.
Stem Cuttings (from new shoots)
This method is fantastic when you have plenty of vigorous new growth.
- Choose healthy stems: Look for softwood cuttings – young, flexible, non-woody shoots that are about 3-6 inches long. Make sure they have at least two sets of leaves.
- Make the cut: Using your sharp shears or knife, make a clean cut just below a leaf node (where a leaf attaches to the stem). This is where roots are most likely to form.
- Prepare the cutting: Remove the lower leaves, leaving just the top two or three. This prevents leaves from rotting in the soil. If your cutting has any developing flower spikes, pinch those off.
- Apply rooting hormone (optional): Dip the cut end into rooting hormone, tapping off any excess.
- Insert into soil: Poke a hole in your moist potting mix with a pencil or your finger. This prevents the rooting hormone from rubbing off. Place the cutting into the hole and gently firm the soil around it.
- Create a humid environment: Water lightly. Then, cover the pot with a plastic bag, a terrarium lid, or a clear plastic dome. Ensure the leaves of the cutting aren’t touching the sides of the bag, as this can lead to rot.
The “Secret Sauce”
Here are a couple of tricks up my sleeve that I find really boost success:
First, when dividing, I always inspect the root ball for any signs of damage or disease. If a section looks mushy or has tiny, white thread-like pests, it’s best to discard it. Healthy roots are key to happy new plants.
Second, for stem cuttings, bottom heat is your best friend. If you have a heat mat designed for propagation, place your pots on it. This encourages root development from below, even if the top environment is a bit cooler. It truly makes a difference!
Aftercare & Troubleshooting
Once your divisions are planted, or your cuttings are nestled in, keep them in a bright spot, but out of direct, scorching sun. Water gently to keep the soil consistently moist but not soggy. This is where the plastic bag or dome comes in – it helps maintain that crucial humidity.
You’ll know your cuttings are rooting when you see new growth appearing or feel a gentle resistance when you lightly tug on the stem. This usually takes a few weeks. Once you see good root development, you can gradually remove the plastic cover over a few days to acclimate the new plant to normal humidity.
The most common issue you might face is rot. This usually happens when the soil is too wet for too long without adequate air circulation. If you see stems going mushy and black, sadly, it’s often a sign of overwatering or poor drainage. Don’t be afraid to discard any rotted cuttings to prevent it from spreading. Sometimes, things just don’t take, and that’s part of the learning process – don’t get discouraged!
A Encouraging Closing
Propagating plants is a journey, and with Rumex nivalis, it’s a particularly satisfying one. Be patient with your new baby plants. Watch for those subtle signs of life. Enjoy the quiet satisfaction of nurturing something new from something you already love. Happy growing, everyone!
Resource:
https://identify.plantnet.org/k-world-flora/species/Rumex%20nivalis%20Hegetschw./data