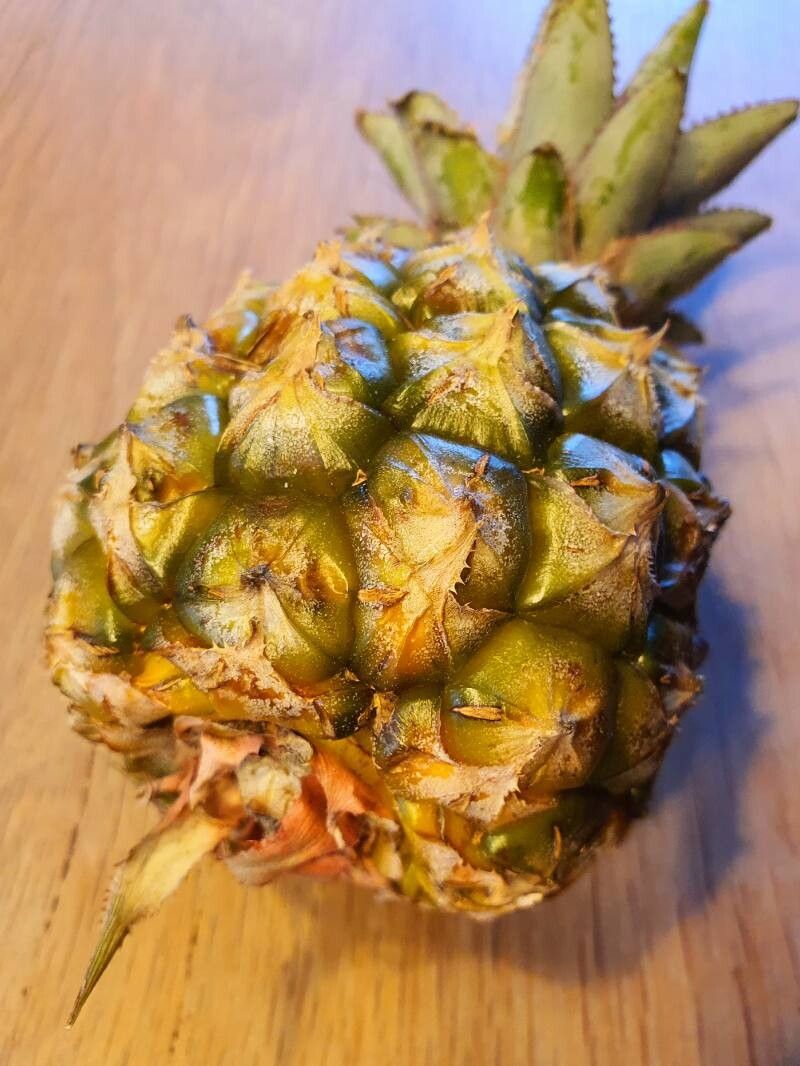
Well hello there, fellow plant enthusiast! It’s so lovely to have you join me today. We’re going to talk about a plant that brings a little bit of the tropics right into our homes – the pineapple, or Ananas comosus. Is there anything more satisfying than seeing a new little pineapple plant sprout from what was once just a fruit top? I don’t think so! Propagating these guys is a wonderfully rewarding experience, and I’m thrilled to share how you can do it too. For beginners, I’d say it’s quite approachable, with a little patience and the right know-how.
The Best Time to Start
Generally, the spring and early summer are your best friends when it comes to propagating pineapple tops. This is when the plant is naturally ramping up its growth, making it more receptive to rooting. Look for a plant that’s healthy and hasn’t already gone to seed at the top – that’s often a sign it’s put its energy elsewhere.
Supplies You’ll Need
Here’s a little toolkit to get you started:
- A ripe pineapple with a healthy-looking crown.
- A sharp knife or serrated knife.
- A clean glass or jar.
- Well-draining potting mix (a mix of potting soil, perlite, and a little sand works wonders).
- A small pot with drainage holes.
- Optional: Rooting hormone (though not strictly necessary, it can speed things up).
- Optional: A heat mat.
Propagation Methods
Let’s dive into the fun part!
Method 1: The Classic Crown Cutting (My Favorite)
This is the most common and, in my opinion, the most straightforward way to propagate your pineapple. From my experience, it’s the one with the highest success rate.
- Prepare the Crown: Take your ripe pineapple. Find a good, sturdy grip on the leafy crown and twist it firmly from the fruit. It should pop off with a slight tearing motion. If it’s being stubborn, don’t force it too much just yet.
- Clean Up: Once the crown is off, you’ll want to carefully trim away all the fruit flesh that remains attached to the base. You’ll also want to remove the lowest few layers of leaves until you see tiny, undeveloped root nubs starting to emerge from the base. This is crucial! It helps prevent rot.
- Let it Dry (The Crucial Step): Place the prepared crown upside down on a counter or in a well-ventilated area for 2-3 days. This slight “callousing” of the wound is key to preventing rot when you introduce it to moisture. Think of it as giving the plant a little scab.
- Rooting in Water: Once calloused, place the crown in a glass or jar of clean water. Make sure only the base of the stem is submerged, not the leaves. Change the water every couple of days to keep it fresh. You should start to see tiny roots forming within a few weeks.
- Planting Out: Once your roots are about an inch long, it’s time to pot it up. Use your well-draining potting mix. Gently plant the rooted crown, ensuring the roots are spread out in the soil. Water it in thoroughly.
Method 2: Direct Potting (For the Impatient Gardener)
You can skip the water step if you’re feeling adventurous!
- Follow steps 1-3 above to prepare and dry your pineapple crown.
- Pot it Up Directly: Fill a small pot with your well-draining mix. Make a small hole in the center and plant the calloused crown directly into the soil, ensuring the base is well-covered.
- Water Sparingly: Water it lightly, just enough to moisten the soil. You want it damp, not soggy. Overwatering at this stage is the biggest culprit for rot.
The “Secret Sauce” (Pro Tips)
You asked for insider tips, and I’m happy to share! These little tricks have saved many a pineapple propagation for me:
- Don’t Let Those Leaves Touch the Water: I know I mentioned it, but it bears repeating. If the leaves sit in water for too long, they’ll just rot. It’s the stem’s base that needs the water to encourage root formation.
- Bottom Heat is Your Friend: If you have access to a heat mat, placing your potted pineapple (or the jar of water, if you’re using that method) on it can significantly speed up root development. Pineapples love a bit of warmth to get things going. Think of it as giving them a cozy little greenhouse.
- Patience is a Virtue (and Pineapple Patience is Key): These aren’t the fastest propagators. It can take anywhere from 4-8 weeks for you to see significant signs of new leaf growth, indicating your roots are well established. Don’t get discouraged if it looks like nothing is happening for a while!
Aftercare & Troubleshooting
Once you see new leaves starting to sprout from the center of your pineapple crown, congratulations! You’ve got a baby pineapple plant.
- Watering: Continue to water when the top inch of soil feels dry. Avoid letting it sit in soggy soil. They don’t like “wet feet.”
- Light: Place your new plant in a bright, sunny spot. They absolutely adore sunshine.
- Fertilizing: Once the plant is actively growing, you can start feeding it with a balanced liquid fertilizer, diluted to half strength, about once a month during the growing season.
Now, let’s talk about what can go wrong. The most common issue is rot. This usually happens from overwatering, especially before roots have formed. You might notice the base of the stem turning mushy and black. If you see this, it’s likely a goner, and it’s best to try again with a new crown, paying extra attention to that drying step. Another sign of trouble is if the leaves start to yellow and wither dramatically without any signs of new growth – this could also indicate too much water or not enough light.
A Encouraging Closing
Growing your own pineapple from a fruit top is a journey filled with small victories. Be patient, enjoy the process of watching those tiny roots emerge and new leaves unfurl. Even if your first attempt doesn’t go perfectly, every single try is a learning experience, and you’ll get there. Happy propagating, and may your pineapple plants thrive!
Resource:
https://identify.plantnet.org/k-world-flora/species/Ananas%20comosus%20(L.)%20Merr./data