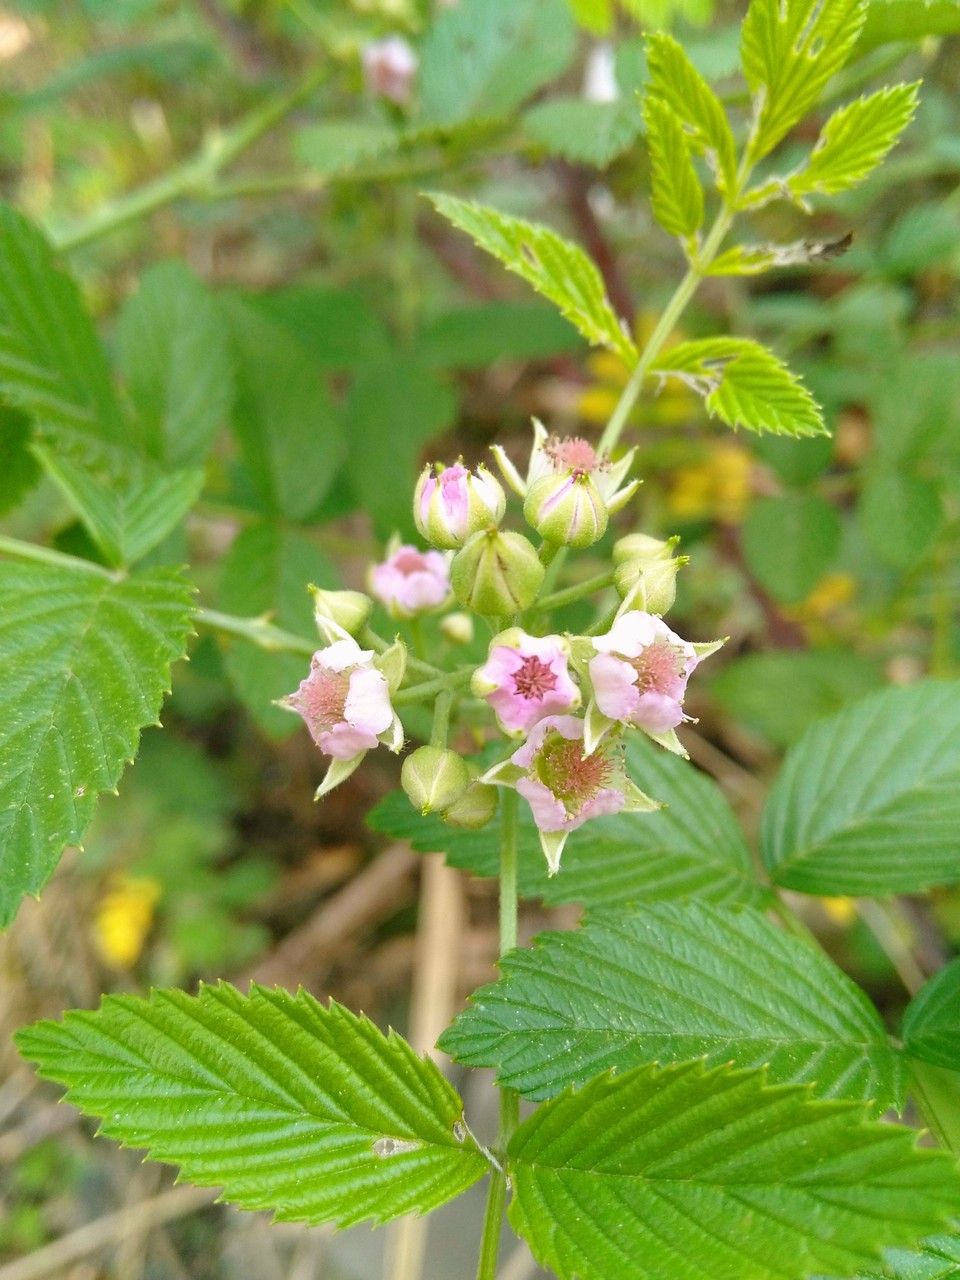
Oh, the Korean Raspberry, Rubus coreanus! If you’ve ever admired those glistening, dark purple fruits, packed with antioxidants and a delightful tartness, you know why this plant is worth getting to know better. Growing them from scratch is truly one of gardening’s greatest joys. And the good news? For those willing to get their hands a little dirty, propagating Rubus coreanus is quite approachable, even for beginners. It’s a truly rewarding project that’ll fill your garden (and your jam jars!) with deliciousness.
The Best Time to Start
Timing is everything when you’re nurturing new life. For Rubus coreanus, I’ve found the sweet spot is late spring to early summer. This is when the plant is actively growing and has plenty of energy to put into developing roots. Look for stems that are semi-hardened – they’ll bend rather than snap easily. Trying to propagate them too early, when they’re still very soft, can lead to rot. Waiting too late in the season can mean your young plants don’t have enough time to establish before winter.
Supplies You’ll Need
Here’s what you’ll want to have on hand to set yourself up for success:
- Sharp Pruning Shears or a Knife: Clean cuts are crucial!
- Rooting Hormone: This is inexpensive and gives your cuttings a real boost. I prefer a powder, but gel works too.
- Containers: Small pots or cell trays with drainage holes are perfect. Yogurt cups with holes punched in the bottom work in a pinch too!
- Potting Mix: A well-draining potting mix is key. I often mix standard potting soil with perlite or coarse sand for added aeration. A good seed-starting mix also does the trick.
- Rubus Coreanus Parent Plant: Of course!
- Water: For misting and watering.
- Plastic Bags or a Propagator: To create a humid environment.
- Gloves (Optional): Especially if you’re sensitive to the plant’s prickles.
Propagation Methods
Let’s get down to business! I find stem cuttings to be the most reliable and straightforward method for Rubus coreanus.
Stem Cuttings (Semi-Hardwood Cuttings)
- Select Your Stems: On a healthy parent plant, identify those semi-hardened stems I mentioned earlier. Aim for stems about the thickness of a pencil.
- Take Your Cuttings: Using your clean pruning shears, cut sections of the stem that are about 6-8 inches long. Make your cuts just below a leaf node (where a leaf attaches to the stem).
- Prepare the Cuttings: Gently remove the leaves from the bottom two-thirds of each cutting. This prevents them from rotting in the soil. You can leave 1-2 leaves at the top, but I often trim larger leaves in half to reduce water loss.
- Apply Rooting Hormone: Dip the cut end of each cutting into your rooting hormone, making sure it’s coated. Tap off any excess.
- Plant Your Cuttings: Fill your small pots or trays with your prepared potting mix. Make a hole in the center of the soil using a pencil or your finger. Insert the cutting into the hole, pushing the soil gently around the base to ensure good contact.
- Water Gently: Water the soil thoroughly but avoid waterlogging. You want the soil to be moist, not soggy.
- Create Humidity: Cover the pots with a clear plastic bag or place them inside a propagator. This creates a mini greenhouse, keeping humidity high, which is vital for cuttings. Make sure the leaves don’t touch the plastic if possible.
- Find a Warm Spot: Place your pots in a bright location, but out of direct sunlight. A windowsill that gets indirect light is ideal.
Division (Less Common, but possible)
If your Rubus coreanus has become a vigorous clump, you can also try division in early spring as new growth emerges.
- Gently Excavate: Carefully dig around the base of the plant, exposing the root system.
- Identify Divisions: Look for natural divisions or separate shoots that have their own roots.
- Separate Carefully: Using a sharp spade or knife, divide the clump into sections, ensuring each piece has ample roots and at least one good growing shoot.
- Replant Immediately: Plant these divisions into their new locations or pots as you would a young shrub, watering well.
The “Secret Sauce” (Pro Tips)
Here are a couple of things I’ve learned over the years that really make a difference:
- Bottom Heat is Your Friend: While not strictly essential, placing your pots on a heat mat designed for propagation can drastically speed up root formation. It mimics the warmth of spring soil and gives those developing roots a cozy environment to thrive.
- Don’t Disturb Too Soon: Resist the urge to yank on your cuttings to see if they have roots! I wait at least 4-6 weeks before gently tugging. If there’s resistance, you’ve got roots. It’s tempting, but patience is key here. Over-handling can destroy delicate new root hairs.
- A Lighter Touch with Water: When watering or misting your cuttings, err on the side of caution. A gentle misting is usually enough to keep the humidity up. If you see water pooling or the soil looking waterlogged, you’ll likely invite fungal issues.
Aftercare & Troubleshooting
Once you start seeing signs of new leaf growth, that’s a great indicator that roots are forming! At this point, you can gradually acclimate your cuttings to normal humidity. Poke a few holes in the plastic bag or open the propagator vents a bit each day for a week. Once they seem robust, remove the covering entirely.
You’ll want to keep the soil consistently moist but not waterlogged. Continue to keep them out of direct sun for a few more weeks. When the new plants are a few inches tall and have a good root system (you might see roots peeking out of the drainage holes), you can transplant them into slightly larger pots.
Now, what about when things go wrong? The biggest culprit is usually rot. If your cuttings turn black and mushy, it’s a sign of too much moisture and not enough airflow. Make sure your soil drains well and don’t let them sit in water. If you see white fuzzy mold on the soil surface, it’s often a sign of it being too wet and compacted. You might be able to scrape it off and let the soil dry out a bit more.
A Encouraging Closing
Propagating Rubus coreanus is a beautiful way to connect with the cycle of life in your garden. Don’t be discouraged if your first attempts aren’t perfect. Every gardener has had cuttings that didn’t make it. Just learn from it, adjust your approach, and try again. Embrace the process, enjoy the anticipation, and soon you’ll be enjoying the fruits of your labor, quite literally! Happy propagating!
Resource:
https://identify.plantnet.org/k-world-flora/species/Rubus%20coreanus%20Miq./data