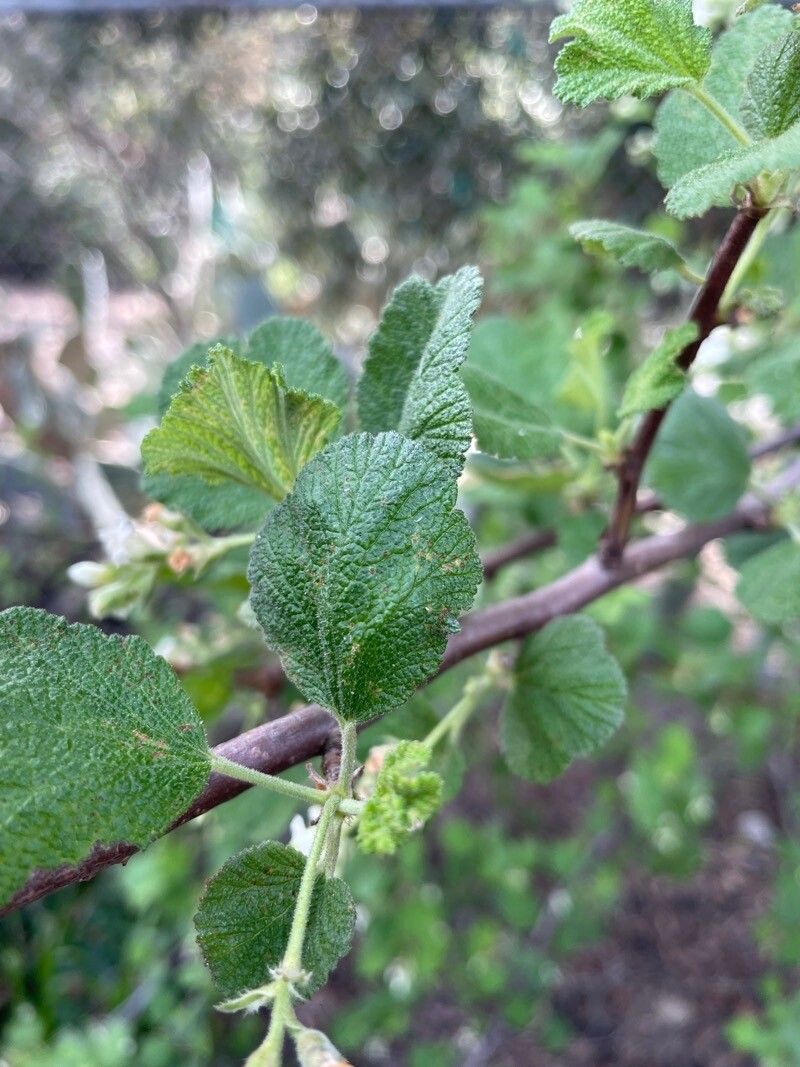
Oh, hello there! It’s so lovely to have you pull up a chair for a chat about one of my favorite subjects: growing more of the plants we adore. Today, we’re diving into the wonderful world of propagating Ribes indecorum, or as some of us affectionately call it, the Coast T-chuckleberry. If you’ve ever seen this beauty gracing a garden with its delicate white flowers and then those lovely, sometimes tart, berries, you know why it’s a gem. For me, the real joy comes from creating new life from an existing plant. It’s a wonderful feeling of connection to nature and a fantastic way to expand your garden without spending a fortune.
Now, is Ribes indecorum a doddle for absolute beginners? Honestly, I’d say it’s moderately easy. If you’ve tried your hand at a few other cuttings before, you’ll likely find success here with a bit of care. It’s not a fussy plant, but like all living things, it appreciates the right attention at the right time.
The Best Time to Start
My absolute favorite time to take cuttings of Ribes indecorum is mid-summer. Think late June through July, when the plant is in its full leafy glory but has developed some semi-hardened growth. You want shoots that are firm but not woody. Spring can work too, with softwood cuttings, but I find the success rate is just a touch higher with those slightly more mature stems from mid-summer.
Supplies You’ll Need
Gathering your supplies upfront makes the whole process much smoother. Here’s what I always have on hand:
- Sharp Pruning Shears or a Knife: Clean cuts are crucial for good root formation. Make sure they are sterilized with rubbing alcohol.
- Rooting Hormone: This really gives your cuttings a helping hand. I prefer powdered forms, but liquid works too.
- Potting Mix: A well-draining mix is essential. I like to use a blend of equal parts perlite and peat moss or coco coir. You can also buy specific cutting mixes.
- Small Pots or Propagation Trays: Clean containers with drainage holes are a must.
- Plastic Bags or a Clear Dome Lid: To keep humidity high around your cuttings.
- Watering Can with a Fine Rose: For gentle watering.
- Labels: To keep track of what you’ve planted where and when.
Propagation Methods
My go-to method for Ribes indecorum is stem cuttings. It’s reliable and gives you multiple new plants from just one parent.
- Take Your Cuttings: With your clean shears, select healthy, non-flowering shoots from your mature Ribes indecorum. You’re looking for stems about 4-6 inches long. Make your cut just below a node (where a leaf attaches to the stem). Remove the leaves from the bottom two-thirds of the cutting. This prevents them from rotting once planted.
- Prepare the Cuttings: Dip the cut end of each stem into your rooting hormone, tapping off any excess.
- Pot Them Up: Fill your small pots with your well-draining potting mix. Make a little hole in the center of each with a pencil or your finger. Gently insert the base of your cutting into the hole, making sure the node where you removed the leaves is buried in the soil. Firm the soil gently around it.
- Water and Cover: Water the soil thoroughly until it’s moist but not waterlogged. Then, either place a plastic bag loosely over the pot, creating a mini-greenhouse, or cover your tray with a clear dome. Make sure the plastic doesn’t touch the leaves too much if possible.
The “Secret Sauce”
Now, for a couple of little tricks I’ve picked up over the years that can really boost your success:
- Don’t let the leaves touch the water. If you’re doing water propagation (less common for Ribes but possible), this is key to preventing rot. For stem cuttings in soil, it means making sure those lower leaves are well above the soil line.
- Bottom Heat is Your Friend. If you have a heat mat designed for seedlings, placing your pots on it can significantly speed up root development. The warmth encourages those roots to get going from below. It’s a game-changer for many woody cuttings.
- Be Patient with the Poke Test: When you think they might be rooted (usually after 4-6 weeks), give the cutting a very gentle tug. If you feel resistance, you’ve got roots! If it pulls out easily, it might not be ready.
Aftercare & Troubleshooting
Once you see new growth emerging from the top of your cutting, that’s a great sign! It generally means roots have formed.
- Acclimatize: Gradually begin to remove the plastic bag or dome for longer periods each day over a week or so. This helps your new little plant get used to normal humidity levels.
- First Watering: Water from the bottom by placing the pots in a tray of water for about 15-20 minutes, allowing the soil to soak up moisture.
- Transplanting: Once your cuttings have a good root system and are strong enough to handle, you can transplant them into slightly larger pots with a good quality potting mix.
The most common issue you might face is rot. If your cuttings turn black and mushy, or the leaves start to wilt and look unhealthy despite being watered, it’s usually a sign of overwatering or poor drainage. Ensure your soil is airy and that you aren’t keeping them too constantly soggy. Sometimes, if only one or two cuttings in a tray rot, you can simply discard them and hope the others pull through. Don’t get discouraged; it happens to all of us!
A Gentle Closing
Propagating Ribes indecorum is a wonderfully rewarding endeavor. It’s a slow process, but watching those tiny roots develop and eventually seeing a new plant thrive is a moment of pure gardening magic. Be patient with your little charges, give them the care they need, and most importantly, enjoy the journey. Happy propagating!
Resource:
https://identify.plantnet.org/k-world-flora/species/Ribes%20indecorum%20Eastw./data