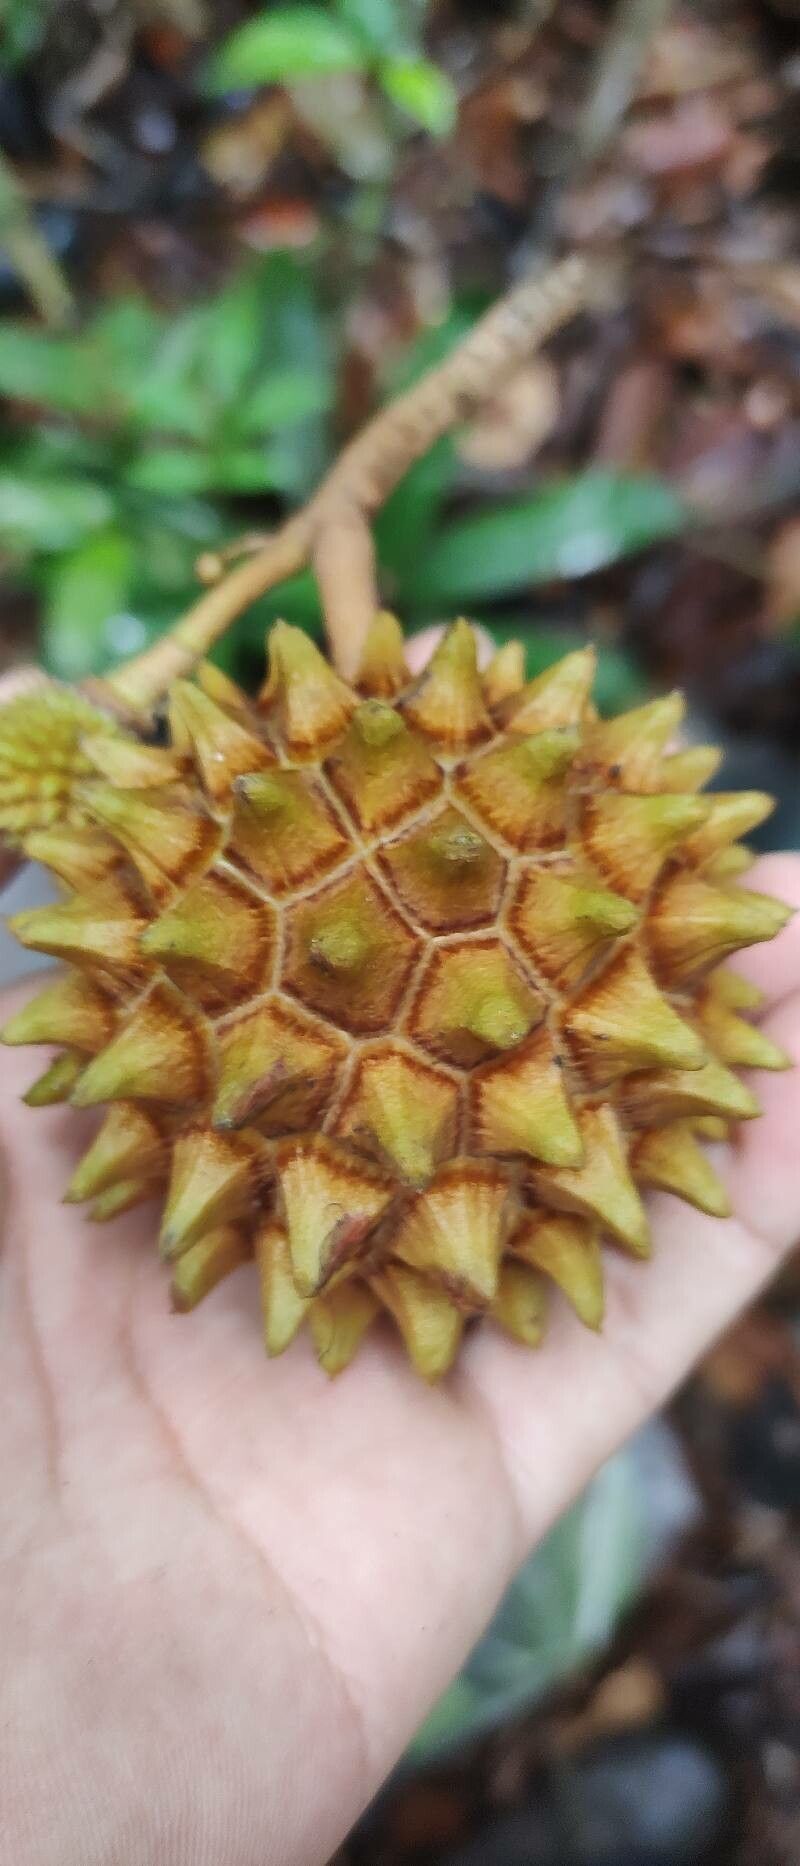
Hello fellow plant enthusiasts! Today, we’re diving into the wonderfully fragrant world of Duguetia stelechantha, often known as the Brazilian Spice Tree. If you’ve ever caught a whiff of its exquisite perfume or admired its unique, star-like flowers, you know why this plant is so special. And the best part? You can grow your own!
Why Propagate Duguetia Stelechantha?
There’s a deep satisfaction that comes from coaxing new life from an established plant. It’s a way to share the beauty and fragrance with friends, or simply to expand your own collection. Duguetia stelechantha can be a little more on the deliberate side to propagate, not necessarily a total beginner’s first rodeo. But with a bit of care and patience, it’s absolutely achievable. Think of it as a rewarding challenge, not an impossible feat.
The Best Time to Start
For the highest success rate with Duguetia stelechantha, I always aim to take cuttings in late spring or early summer. This is when the plant is in an active growth phase, meaning the stems have put on new growth but are still somewhat pliable. It’s also when the days are longer and warmer, providing that precious energy the cuttings need to root.
Supplies You’ll Need
Grab your gardening gloves; here’s what you’ll want on hand:
- Sharp Pruning Shears or a Craft Knife: For clean cuts. This is crucial to prevent crushing the stems.
- Rooting Hormone (Optional but Recommended): A powder or gel can significantly boost your chances of success.
- Small Pots or Seed Trays: About 4-6 inch pots are usually perfect. Make sure they have drainage holes!
- Well-Draining Potting Mix: A good blend is equal parts perlite, peat moss (or coco coir), and fine orchid bark. This ensures good aeration and prevents waterlogging.
- Clear Plastic Bags or a Mini Greenhouse: To create a humid environment.
- Spray Bottle: For misting.
- Labels and a Marker: To keep track of your cuttings.
Propagation Methods: Stem Cuttings
This is my go-to method for Duguetia stelechantha. It’s reliable and yields great results.
- Select Your Cuttings: Look for healthy, non-flowering stems that are about pencil-thick and between 4-6 inches long. You want to make sure you’re taking semi-hardwood cuttings – stems that are mature enough to hold their shape but still have some flexibility.
- Make the Cut: Using your sharp shears or knife, make a clean cut just below a leaf node (where a leaf meets the stem). This is where roots are most likely to form. Remove the lower leaves, leaving just the top two or three. This reduces water loss.
- Apply Rooting Hormone: Dip the cut end of the stem into your rooting hormone, tapping off any excess. This step isn’t strictly mandatory, but it can really give your cuttings a head start.
- Plant Your Cuttings: Fill your pots with your prepared potting mix. Make a small hole with your finger or a pencil and gently insert the cutting, ensuring the leaf node where you made the cut is buried. Firm the soil around the stem.
- Water Gently: Water the soil thoroughly until water drains from the bottom of the pot.
- Create a Humid Environment: This is key! Cover the pot with a clear plastic bag (making sure it doesn’t touch the leaves) or place it in a mini greenhouse. This traps moisture and mimics the humid conditions cuttings love.
The “Secret Sauce” (Pro Tips)
Here are a couple of things I’ve learned over the years that make a difference:
- Cleanliness is Paramount: Before you start, sterilize your pruning shears with rubbing alcohol. This prevents transferring any potential diseases to your cuttings.
- Bottom Heat is Your Friend: If you have a heat mat designed for seedlings, place your pots on it. Gentle bottom heat encourages root development much faster than just ambient room temperature. It makes a surprisingly big difference!
Aftercare & Troubleshooting
Once your cuttings are planted, place them in a bright, indirect light location. Avoid direct sun, which can scorch the delicate new growth. Keep the soil consistently moist but not waterlogged. This means checking the soil every couple of days and misting the leaves if they look a bit dry.
You’ll know your cutting has rooted when you see new leaf growth! This can take anywhere from 6 weeks to a few months, so be patient. Gently tugging on the cutting – if there’s resistance, roots are likely forming.
The biggest enemy here is rot. If you see stems turning mushy or black, it’s usually a sign of too much moisture and not enough air circulation. Make sure your pot has good drainage and consider increasing ventilation slightly if the problem persists. You might need to trim away any rotted bits.
Happy Rooting!
Propagating Duguetia stelechantha is a labor of love, and seeing those first tiny roots emerge is incredibly rewarding. Take your time, enjoy the process, and don’t be discouraged if not every cutting makes it. Each attempt is a learning experience, and soon enough, you’ll be surrounded by the unique beauty of your own homegrown spice trees! Happy gardening!
Resource:
https://identify.plantnet.org/k-world-flora/species/Duguetia%20stelechantha%20(Diels)%20R.E.Fr./data