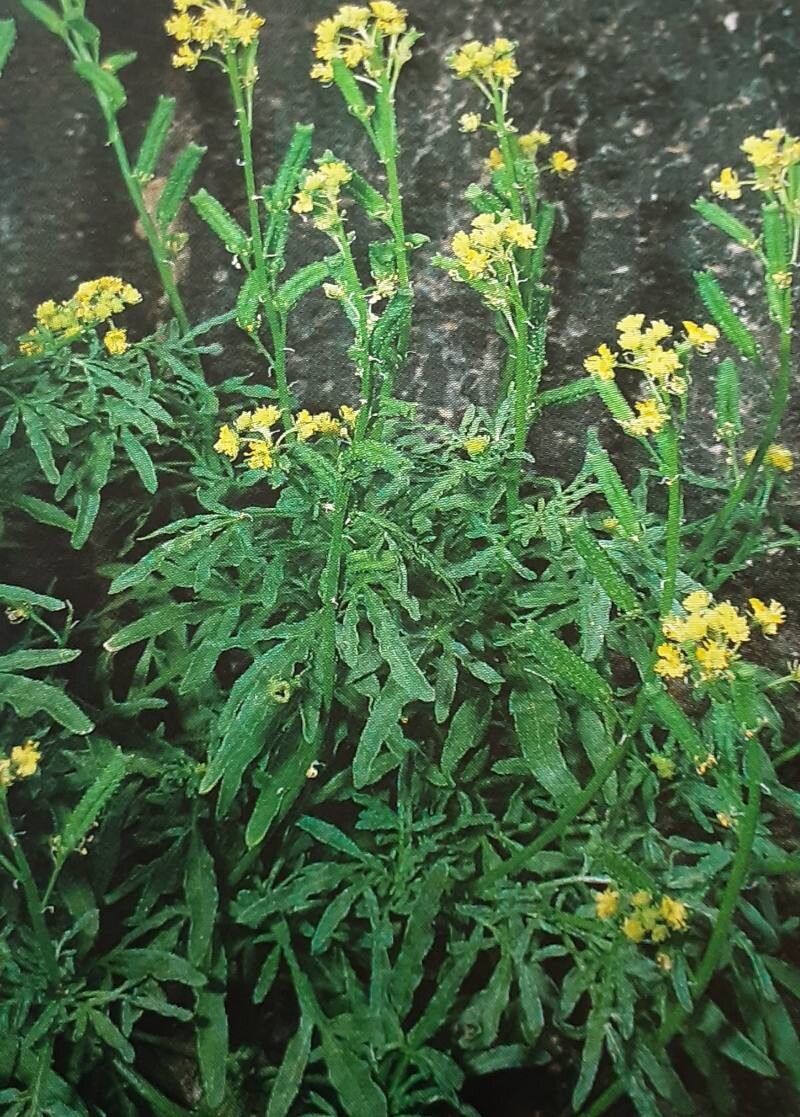
Hello there, fellow gardeners! I’m so excited to talk to you today about a plant that truly captures my heart: Reseda lancerotae. If you’re drawn to delicate, fragrant blooms and a bit of old-world charm in your garden, you’ll adore this one. Propagating it is such a joy, a truly rewarding experience that lets you fill your garden (and your friends’ gardens!) with its beauty. Now, I’ll be honest, Reseda lancerotae can be a tad fussy, so it might be a little challenging for absolute beginners, but don’t let that deter you! With a bit of patience and these tips, you’ll be a pro in no time.
The Best Time to Start
For the absolute best chance of success with Reseda lancerotae, I always aim to start my propagation efforts in late spring or early summer. This is when the plant is actively growing and has plenty of energy to put into new roots. Look for stems that are firm but not yet woody.
Supplies You’ll Need
Gathering your supplies beforehand makes the whole process so much smoother. Here’s what I usually have on hand:
- Sharp pruning shears or a clean knife: For making precise cuts.
- Rooting hormone (optional, but recommended): A gentle dip can really give your cuttings a boost.
- Well-draining potting mix: A blend of perlite or coarse sand mixed with your favorite seed starting mix works wonderfully. Avoid heavy, water-retentive soils.
- Small pots or seed trays: Clean ones are key to preventing disease.
- Plastic bags or a propagator: To create a humid environment.
- Labels and a marker: Because memory can be unreliable, especially with multiple projects!
- A warm spot: Like a sunny windowsill or a heated propagator.
Propagation Methods
I find that stem cuttings are the most reliable way to propagate Reseda lancerotae. They’re straightforward and yield excellent results.
- Take Your Cuttings: On a bright, dry morning, select healthy, non-flowering stems. You want stems that are about 4-6 inches long. Make a clean cut just below a leaf node (where a leaf attaches to the stem).
- Prepare the Cuttings: Gently remove the lower leaves from the cutting, leaving just two or three at the top. If the leaves are quite large, you can even cut them in half to reduce water loss.
- Apply Rooting Hormone (Optional): If you’re using rooting hormone, dip the cut end of the stem into the powder, tapping off any excess.
- Pot Them Up: Fill your clean pots or trays with your well-draining potting mix. Make a small hole in the center of the soil with a pencil or your finger.
- Insert the Cuttings: Gently place the prepared cutting into the hole, ensuring the leaf nodes are below the soil line. Firm the soil gently around the base of the cutting.
- Water and Cover: Water the soil thoroughly until it drains from the bottom of the pot. Then, cover the pots with a plastic bag or place them in a propagator. This will create the humid environment your cuttings need to root.
The “Secret Sauce” (Pro Tips)
Here are a couple of things I’ve learned over the years that really make a difference:
- Keep it Clean, Keep it Dry! This is crucial. Make sure your tools, pots, and even your hands are clean before you start. Reseda lancerotae cuttings are prone to rot if they get too wet or if there are any fungal issues.
- Bottom Heat is Your Friend: Placing your pots on a heated propagator mat can significantly speed up the rooting process. It mimics the warmth of the soil in summer and encourages those roots to form.
- Don’t Rush to Uncover: Once you’ve covered your cuttings, resist the urge to lift the lid constantly. You want to maintain that consistent humidity. Only lift briefly to check on the soil moisture, and do so quickly.
Aftercare & Troubleshooting
Once your cuttings have started to show signs of rooting – usually, you’ll see new leaf growth appearing at the top – it’s time for a little more attention.
- Gradually Acclimate: Slowly begin to remove the plastic bag or open the propagator vents over a few days. This helps the new plant get used to drier air.
- Watering: Water your new plants when the top inch of soil feels dry. Avoid letting them sit in soggy conditions.
- Transplanting: Once they have a good root system (you can often tell by gently tugging on the cutting, or by seeing roots emerge from the drainage holes), you can transplant them into slightly larger pots with a similar well-draining mix.
The most common problem you might encounter is rot. If a cutting turns black and mushy, it’s usually a sign of too much moisture or a fungal infection. Unfortunately, these are often beyond saving, so it’s best to discard them and start fresh, paying extra attention to soil drainage and hygiene. Another sign that things aren’t going well is if the cutting stays looking perfectly fresh but shows no signs of root development after several weeks. This might mean the conditions aren’t quite right, and a little bottom heat or more consistent humidity could help.
So, there you have it! Propagating Reseda lancerotae is a journey filled with little victories. Be patient with your cuttings, trust the process, and don’t be discouraged if you have a few that don’t make it. Each attempt teaches you something new. Enjoy those beautiful blooms and the satisfaction of growing your own! Happy gardening!
Resource:
https://identify.plantnet.org/k-world-flora/species/Reseda%20lancerotae%20Webb%20ex%20Delile/data