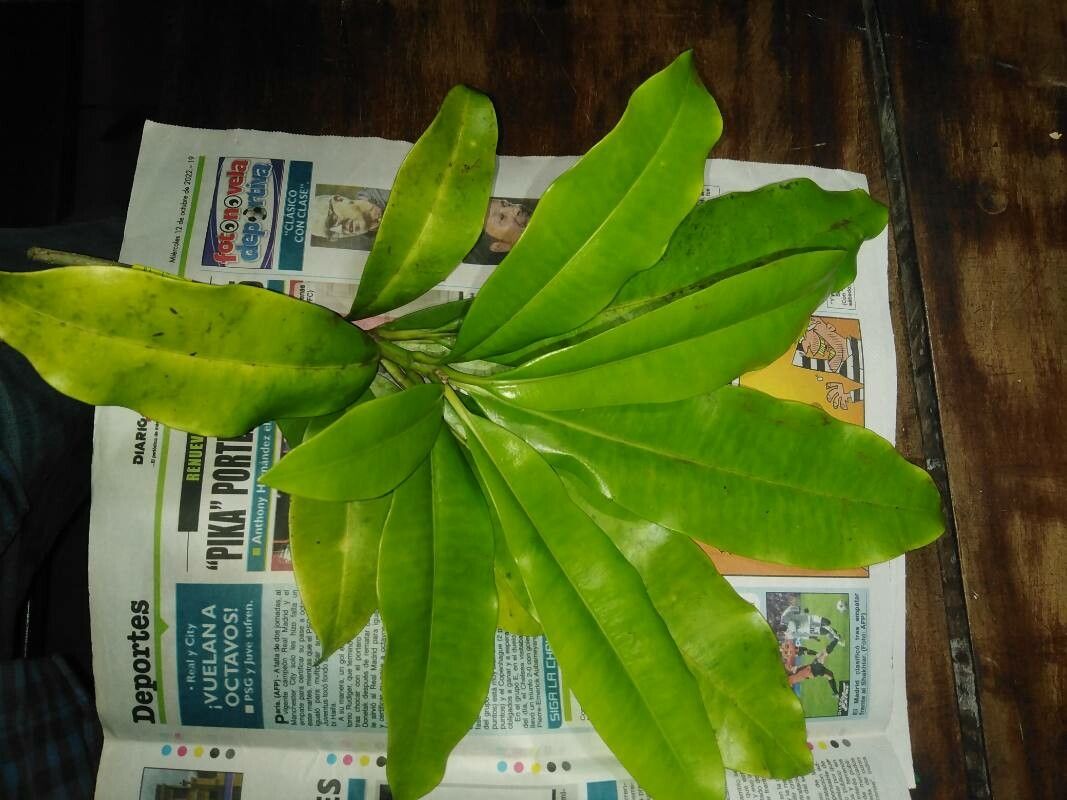
Ah, Rauvolfia aphlebia! What a fascinating plant to bring into your garden. I’m so glad you’re thinking about propagating it. You know, beyond its unique charm – I personally adore those glossy, deep green leaves – there’s a real sense of accomplishment that comes with coaxing a new plant into existence from a piece of an old one. This isn’t always the easiest plant to start from scratch, but with a little care and patience, it’s absolutely achievable. Think of it as a rewarding challenge.
The Best Time to Start
For the highest success rate with Rauvolfia aphlebia, I find that spring is your best bet. As the days get longer and warmer, the plant enters a robust growth phase. You’re looking for actively growing, but not flowering, stems. This means the plant has plenty of energy to put into developing new roots. Avoid trying this during the cooler, dormant months.
Supplies You’ll Need
Here’s a little arsenal to get you started:
- Sharp, clean pruners or a craft knife: You want to make a clean cut, not a tear.
- Rooting hormone (optional but highly recommended): This really gives your cuttings a boost. Look for one designed for woody or semi-hardwood cuttings.
- A well-draining potting mix: I like to use a blend of equal parts peat moss or coco coir, perlite, and a bit of coarse sand. This ensures good aeration and prevents waterlogging.
- Small pots or containers: Clean ones are a must!
- A clear plastic bag or propagator lid: This helps maintain humidity, which is crucial for cuttings.
- Water mister or spray bottle: For keeping things nicely moist.
- Gloves (optional): Some plants can be a bit sticky or even irritating to the skin.
Propagation Methods
I’ve had the most luck with stem cuttings for Rauvolfia aphlebia. It’s quite straightforward once you get the hang of it.
- Select Your Cuttings: Gently bend a mature stem. You want one that’s somewhat firm but not brittle. Aim for cuttings that are about 4-6 inches long.
- Make the Cut: Using your sharp pruners or knife, make a clean cut just below a leaf node. A leaf node is where a leaf emerges from the stem – this is where the magic of rooting happens.
- Prepare the Cutting: Carefully remove the lower leaves from the bottom half of your cutting. Leave just a couple of leaves at the top to help with photosynthesis. If the remaining leaves are quite large, you can even cut them in half to reduce water loss.
- Apply Rooting Hormone: Dip the cut end of the stem into your rooting hormone powder. Tap off any excess.
- Plant Your Cuttings: Fill your clean pots with your prepared potting mix. Make a small hole in the center with your finger or a pencil. Gently insert the cut end of the stem into the hole, ensuring the leaf nodes are below the soil surface. Firm the soil gently around the stem.
- Water Gently: Water the soil lightly, just enough to moisten it all the way through.
- Create a Humid Environment: Place the pot inside a clear plastic bag and seal it, or cover it with a propagator lid. This creates a mini-greenhouse effect. You can also place the pots on a heat mat if you have one.
The “Secret Sauce” (Pro Tips)
Now, here are a couple of things I’ve learned over the years that can make a big difference:
- Don’t let the leaves touch the water! If you’re doing water propagation (which I find less reliable for this particular plant, but some try it), make sure only the stem is submerged. Rot is the enemy when leaves are in stagnant water. For soil cuttings, this tip is less about water contact and more about avoiding overcrowding in your pot. Give your cuttings a little breathing room.
- Bottom heat is your friend. Propagator mats or placing your pots on top of a gently warm appliance (like a router not being used) can significantly speed up root formation. It mimics that lovely warmth you get from the soil in spring.
- Be patient with the prune. Sometimes, if a cutting looks a bit sad or leggy, a light prune can encourage it to branch out and put energy into root development. Don’t be too aggressive, though!
Aftercare & Troubleshooting
Once your cuttings have been planted, place them in bright, indirect light. Avoid direct sun, which can scorch delicate new growth. Keep the soil consistently moist but not soggy. A good test is to gently poke your finger into the soil – if it feels dry about an inch down, it’s time to water.
You’ll know your cuttings are rooting when you see new leaf growth. This usually takes anywhere from 4-8 weeks, sometimes longer. You can also give them a very gentle tug – if there’s resistance, roots have formed. At this point, gradually acclimate them to normal room humidity by poking a few holes in the bag or lifting the lid for increasing periods each day.
The most common sign of failure is wilting and turning black or mushy, which is usually a sign of rot from overwatering or poor drainage. If you see this, unfortunately, that cutting is probably lost. Don’t get discouraged! It’s all part of the learning process.
A Little Encouragement
Propagating Rauvolfia aphlebia is a journey, not a race. Enjoy the process of nurturing these tiny new beginnings. Some will thrive, and some might not, but that’s okay. Each attempt teaches you something new. Keep at it, and soon you’ll have a little Rauvolfia family to share!
Resource: