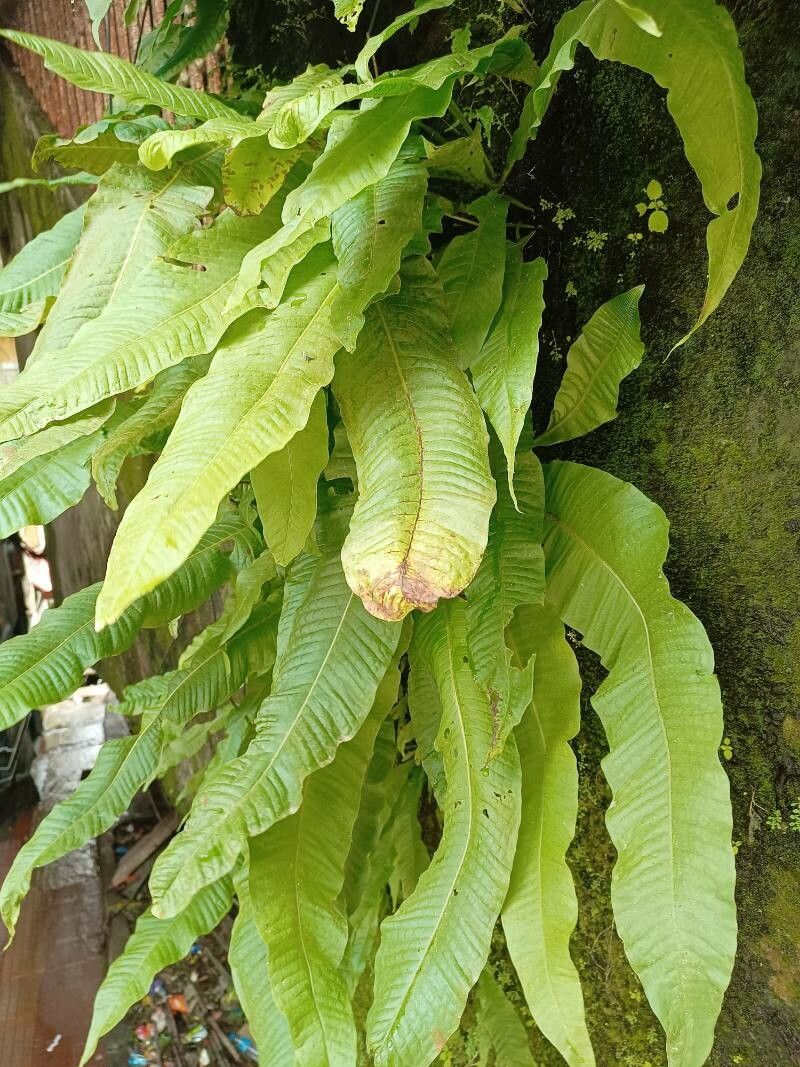
Hello, fellow plant lovers! Today, we’re going to dive into propagating a truly special fern: Pyrrosia porosa. You know, the one with those wonderfully leathery, paddle-shaped leaves that look like they belong in an ancient forest? I’ve been growing and sharing Pyrrosia for years, and honestly, the satisfaction of seeing a tiny piece of this magnificent fern unfurl into a new plant is just delightful.
If you’re new to plant propagation, don’t worry! Pyrrosia porosa is generally quite forgiving. It’s a rewarding plant for beginners to try their hand at, and you’ll be surprised at how successful you can be.
The Best Time to Start
For the best chance of success with Pyrrosia porosa, I always aim for late spring to early summer. This is when the plant is actively growing and has plenty of energy to put into developing new roots. You’ll see new fronds emerging energetically, and this is your signal that it’s ready to be multiplied!
Supplies You’ll Need
Gathering your supplies beforehand makes the whole process much smoother. Here’s what I usually have on hand:
- Sharp, clean pruning shears or a craft knife: For making clean cuts. Sterilize them with rubbing alcohol between uses to prevent disease spread.
- Potting mix: A well-draining, airy mix is crucial. I often use a blend of peat moss or coco coir, perlite, and a little bit of orchid bark. Some growers swear by a specific fern mix, which works beautifully.
- Small pots or trays: Small, shallow containers are perfect for starting out. Make sure they have drainage holes!
- Plastic bags or a propagator lid: To create a humid environment.
- Watering can or spray bottle: For gentle watering.
- Optional: Rooting hormone: While not always necessary for Pyrrosia, it can give your cuttings an extra boost.
Propagation Methods: Creating New Friends
There are a couple of reliable ways to propagate Pyrrosia porosa. I find division to be the most straightforward, but stem cuttings can also be very effective.
Method 1: Division (My Go-To)
This is my favorite method because it’s like giving your established plant a haircut and getting new plants as a bonus!
- Gently remove the parent plant from its pot. You want to be careful not to damage the existing roots too much.
- Examine the root ball. Look for natural divisions where the rhizomes have grown apart. You’ll often see distinct sections of the plant connected by these underground stems (rhizomes).
- Using your clean shears or knife, carefully separate a division. Aim for a section that has at least a few healthy fronds and a good chunk of roots attached.
- Pot up each division. Place the separated plantlets in their new pots filled with your prepared, well-draining potting mix.
- Water gently. Give them a good drink to settle the soil around the roots.
- Provide humidity. Cover the pots loosely with a plastic bag or place them in a propagator. Keep them out of direct sunlight for the first few weeks.
Method 2: Stem Cuttings (Rhizome Cuttings)
This method takes a little more patience, but it’s incredibly rewarding when a new plant starts to emerge.
- Identify a healthy rhizome. Look for a vigorous, mature rhizome (the thick, creeping stem) on your parent plant.
- Make a clean cut. Using your sterilized shears or knife, cut a section of the rhizome about 2-4 inches long. Ensure it has at least one or two healthy fronds emerging or that look like they could emerge.
- Remove lower leaves. If there are any small, scale-like leaves along the rhizome, you can gently remove them.
- Optional: Apply rooting hormone. Dip the cut end of the rhizome into rooting hormone.
- Plant the cutting. Place the rhizome horizontally on the surface of your well-draining potting mix in a small pot or tray. You can gently press it into the soil so it makes good contact, but don’t bury it deeply. The fronds should be pointing upwards.
- Mist lightly. Keep the surface of the soil consistently moist, but not soggy.
- Create a humid environment. Cover the pot with a plastic bag or propagator lid.
The “Secret Sauce” (Pro Tips)
Over the years, I’ve picked up a few little tricks that seem to boost my success rates.
- Rhizome contact is key: For stem cuttings, ensure the rhizome is making good, direct contact with the soil surface. It needs to absorb moisture and nutrients from there to initiate root growth. Don’t bury it too deep, or it might rot.
- Bottom heat is a game-changer: If you’re serious about propagation, investing in a seedling heat mat can make a huge difference, especially for stem cuttings. Consistent, gentle warmth from below encourages root development and speeds up the process significantly. Place your pots or trays on top of it.
- Patience with rhizome cuttings: Don’t be discouraged if you don’t see new growth immediately. It can take several weeks, or even a couple of months, for a rhizome cutting to establish a root system and start sending up new fronds. Keep the environment humid and the soil consistently moist, and trust the process!
Aftercare & Troubleshooting
Once your Pyrrosia divisions or cuttings have developed a healthy root system and you see new fronds emerging, it’s time to transition them!
- Gradual acclimatization: If you’ve been using a plastic bag or propagator, start slowly removing the cover for increasing periods each day to let the plant get used to the lower humidity.
- Consistent moisture: Keep the soil evenly moist but never waterlogged. Overwatering is the quickest way to invite trouble.
- Bright, indirect light: Place your new plants in a location with bright, filtered light. Keep them out of harsh, direct sunlight, which can scorch their delicate new growth.
Troubleshooting: The most common issue you’ll encounter is rot. This is usually caused by overwatering and poor air circulation. If you see your cuttings or divisions suddenly turning mushy, brown, or black at the base, it’s a sign of rot. Remove the affected parts immediately, ensure your soil is draining well, and try to provide better airflow. Sometimes, even with the best efforts, a cutting might not take. Don’t get discouraged; just try again with a fresh one!
Keep Growing!
Propagating Pyrrosia porosa is such a rewarding journey. It’s a chance to connect with nature on a deeper level, to nurture life, and to fill your home with more of these enchanting ferns. Be patient with yourself and your new plantlets. Observe them, learn from them, and most importantly, enjoy the process of bringing new green life into the world. Happy propagating!
Resource:
https://identify.plantnet.org/k-world-flora/species/Pyrrosia%20porosa%20(C.Presl)%20Hovenkamp/data