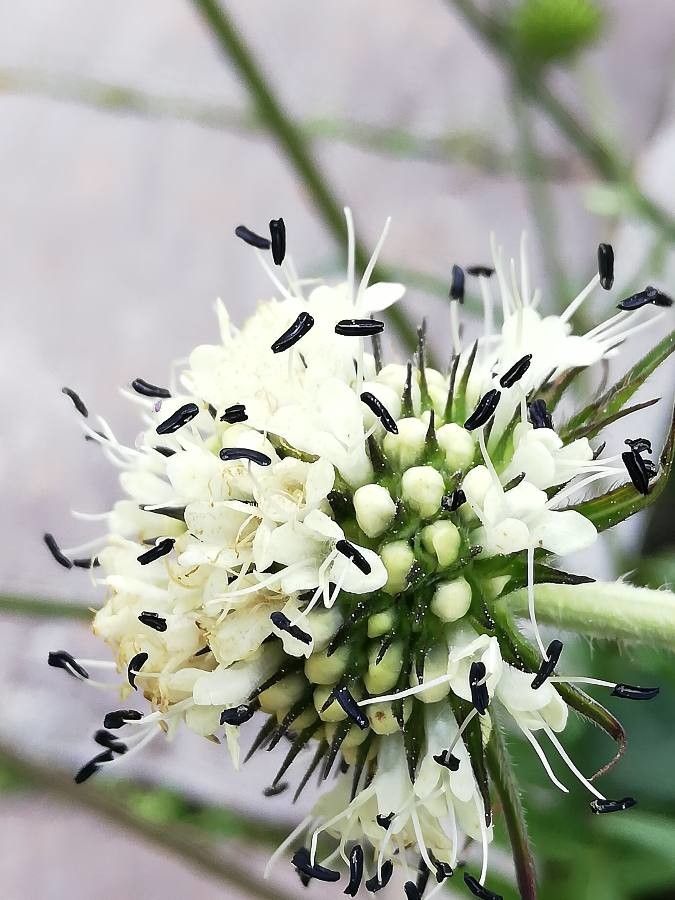
Hello there, fellow plant enthusiasts! Today, I want to chat about a personal favorite of mine: the stunning Dipsacus asper, often known as Rough Burdock. Its tall, architectural form and the intriguing dried seed heads that persist through winter make it a real showstopper in any garden. Plus, the bees absolutely adore its spiky purple flowers. If you’re looking to expand your collection of these beauties, or perhaps share them with friends, propagating Dipsacus asper is a deeply rewarding endeavor. And guess what? It’s actually quite straightforward, making it a wonderful project for beginners and seasoned gardeners alike.
The Best Time to Start
When it comes to getting the best results with Dipsacus asper, spring is your best bet. Look for new growth emerging from the ground after the last frost. This is when the plant is bursting with energy, and cuttings will be most eager to root. You can also attempt taking cuttings in early summer, but spring generally offers a more vigorous start.
Supplies You’ll Need
To set yourself up for success, gather these handy tools:
- Sharp pruning shears or a clean, sharp knife: For making clean cuts that heal well.
- Rooting hormone (optional but recommended for speed): A powder or gel to encourage root development.
- Well-draining potting mix: I like a blend of equal parts potting soil, perlite, and coarse sand. This prevents soggy roots.
- Small pots or seedling trays: With drainage holes, of course!
- Plastic bags or a propagation dome: To create a humid environment.
- Watering can with a fine rose: For gentle watering.
- Labels and a permanent marker: So you remember what you planted where!
Propagation Methods
Dipsacus asper is quite adaptable, and I’ve found success with a couple of key methods.
Stem Cuttings
This is my go-to technique for Dipsacus asper.
- Take your cuttings: In the spring, select healthy, non-flowering stems that are about 4-6 inches long. Make a clean cut just below a leaf node. A node is where a leaf attaches to the stem.
- Prepare the cuttings: Gently remove the lower leaves, leaving only the top few intact. This reduces water loss.
- Apply rooting hormone: If you’re using rooting hormone, dip the cut end of the stem into the powder or gel. Tap off any excess.
- Pot them up: Fill your small pots with the well-draining potting mix. Make a small hole with your finger or a pencil.
- Insert the cuttings: Gently push the cut end of each cutting into the hole, ensuring the leaf nodes are buried. Firm the soil gently around the stem.
- Water gently: Water thoroughly but carefully.
- Create humidity: Cover the pots with a plastic bag or place them under a propagation dome. Make sure the leaves do not touch the plastic; a few twigs can help prop it up.
- Provide light and warmth: Place the pots in a bright spot, but out of direct sunlight. Bottom heat, from a propagation mat, can significantly speed up rooting.
Division
If you have an established plant, you can also try dividing it.
- When to dig: The best time for division is early spring, just as new growth appears.
- Carefully excavate: Gently dig around the base of the plant, taking care not to damage the roots, and lift the entire clump.
- Separate the root ball: You can often tease the root ball apart with your hands. If it’s a bit stubborn, a clean spade can help, but try to keep as much of the root system intact as possible for each new division.
- Replant immediately: Get your new divisions into their new homes right away. Plant them at the same depth they were previously growing.
- Water well: Water thoroughly after planting to help settle the soil.
The “Secret Sauce” (Pro Tips)
Here are a couple of things I’ve learned over the years that make a difference:
- My most crucial tip for cuttings: Don’t let the leaves touch the water in the holding pot or the plastic covering. If you’re doing water propagation (which I find less successful with Dipsacus asper, but some try), you can dip the leaves. However, for soil propagation, any moisture sitting on the leaves can lead to rot.
- And this is a big one: Use bottom heat! While Dipsacus asper can root without it, providing gentle warmth from underneath your pots or trays truly accelerates root development. It mimics the conditions a seed would experience underground and encourages those enthusiastic roots to emerge much faster.
- For division, don’t be afraid to get your hands dirty! Sometimes, the most effective way to separate a robust root system is with a good firm tug and a bit of gentle persuasion. It feels a bit brutal, but if the plant is healthy, it will thank you for the extra space and new beginnings.
Aftercare & Troubleshooting
Once you see new growth appearing, that’s a good sign your cuttings or divisions have rooted!
- Gradual acclimatization: Over the next few days, slowly increase the ventilation by opening the plastic bag or propagation dome a little more each day. This helps the new plants adjust to normal humidity levels.
- Watering: Keep the soil consistently moist, but never waterlogged. Water when the top inch of soil feels dry to the touch.
- Transplanting: Once the new plants have a good root system visible from the drainage holes, or have several sets of healthy leaves, you can transplant them into slightly larger pots or their permanent garden location.
Now, what if things go wrong?
- Wilting, yellowing leaves: This can be a sign of insufficient moisture or shock. Ensure they have enough (but not too much) water and are out of direct sun.
- Mushy stems or blackening at the base: This is usually rot, a clear indicator of overwatering or poor drainage. It’s tough to recover from rot, so prevention is key. Ensure your soil is airy and you’re letting the surface dry slightly between waterings. If you catch it early on a cutting, you might be able to cut off the healthy section above the rot and try again.
A Little Patience Goes a Long Way
Propagating plants is an act of hope and patience. Don’t get discouraged if not every attempt is a roaring success. Each time you try, you learn a little more. Take joy in the process, observe your new green friends closely, and before you know it, you’ll have a garden full of gorgeous Dipsacus asper to admire. Happy growing!
Resource:
https://identify.plantnet.org/k-world-flora/species/Dipsacus%20asper%20Wall.%20ex%20DC./data