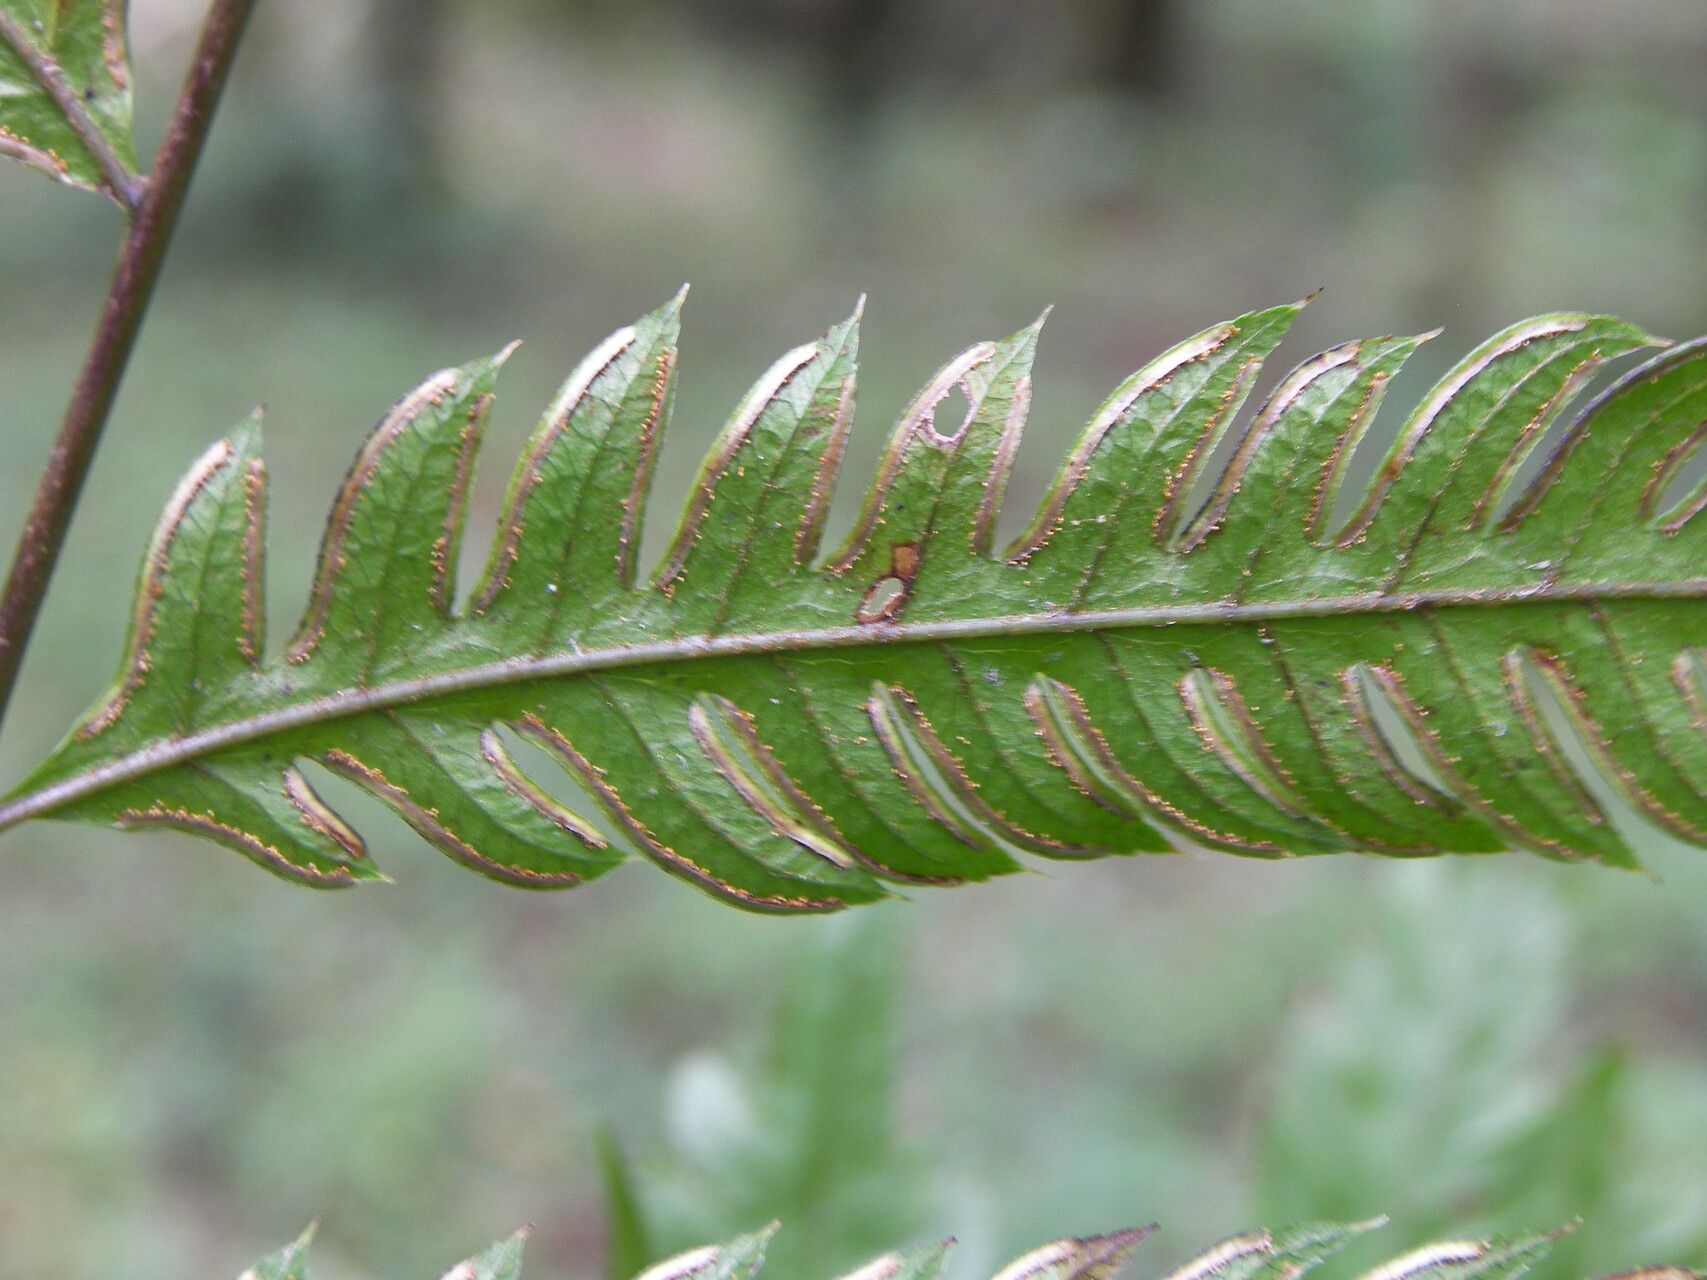
Oh, Pteris orizabae! What a stunner. Its delicate, frilly fronds bring such a touch of elegance to any shady corner. I remember the first time I saw one, I was instantly smitten. If you’re thinking about bringing more of these beauties into your life, you’re in for a treat. While not as foolproof as some of the more common houseplants, propagating Pteris orizabae is definitely achievable, and immensely rewarding when you see those first new fronds unfurl from your own efforts. Don’t let that deter you; with a little care and attention, you’ll be successful.
The Best Time to Start
For the highest chance of success, I always aim to propagate my Pteris orizabae during its active growing season, which typically spans from late spring through early summer. This is when the plant has the most energy reserves to put into developing new roots and shoots. Trying to propagate when it’s feeling a bit sluggish in the cooler months can lead to slower rooting or even failure.
Supplies You’ll Need
- Sterilized pruning shears or a sharp knife: Clean tools are crucial to prevent disease.
- Well-draining potting mix: I like a blend of equal parts peat moss or coco coir, perlite, and a little bit of horticultural charcoal.
- Small pots or containers: Clean ones, of course! Terra cotta is great because it breathes.
- Rooting hormone (optional, but helpful): A powder or gel.
- Plastic bags or a clear plastic dome: To create a humid environment.
- Spray bottle: For misting.
- Water: Fresh, room-temperature water.
Propagation Methods
Let’s dive into the most reliable ways to give your Pteris orizabae a new lease on life.
Division: The Surest Bet
This is probably the easiest and most successful method for Pteris orizabae. When you see your plant looking a little crowded, or perhaps you just want more, this is your go-to.
- Gently remove the parent plant from its pot.
- Inspect the root ball. You’re looking for distinct clumps or sections where roots are naturally growing apart.
- Using your fingers or a sterilized knife, carefully divide the plant into smaller sections. Try to ensure each new section has at least a few healthy fronds and a good section of roots.
- Pot up each division into its own container filled with your well-draining potting mix.
- Water lightly and place in a bright, indirect light location. Keep the soil consistently moist but not soggy.
Stem Cuttings: A Bit More Patience
This method takes a little more finesse, but it’s extremely rewarding when it pays off.
- Using your sterilized shears, take a tip cutting from a healthy, mature frond. You want a piece that includes the tip of the frond and a small bit of the rhizome or stem it’s attached to, if possible.
- Remove any lower leaflets from the cutting that might end up submerged in water or soil. This prevents rot.
- If using rooting hormone, dip the cut end into the powder or gel.
- Insert the cutting into your moist potting mix, ensuring it’s firm enough to stand up. If you can’t get a bit of rhizome, you can try just a piece of the frond, but success is much lower.
- Mist the cutting and cover the pot with a plastic bag or dome to maintain high humidity.
- Place in bright, indirect light. Keep the soil lightly moist and be patient. It can take several weeks, or even a couple of months, for roots to develop.
The “Secret Sauce”
Here are a few little tricks I’ve learned over the years that really make a difference:
- For stem cuttings, don’t let any of the green frond material touch the water or overly saturated soil. This is a fast track to rot. If you’re water propagating (though division is much better for this fern), make sure only the very base of the stem is submerged.
- Bottom warmth can be a game-changer for cuttings. Pop your pots on a seed starting mat set to a low temperature. This gentle warmth encourages root development from below, giving your cuttings that extra nudge.
- When dividing, don’t be afraid to get your hands dirty. Sometimes, gently teasing apart the roots with your fingers is far less damaging than using tools, especially if the roots are tightly intertwined.
Aftercare & Troubleshooting
Once you spot those little root nubs or your cutting starts to look perkier, you’re on the right track!
Continue to keep the soil consistently moist but never waterlogged. The humidity tent can be gradually removed over a few days as the new plant adjusts. Slowly introduce it to more light and normal watering routines.
The most common issue you’ll face is rot. If you see fronds turning yellow and mushy, or if the base of your cutting feels slimy, it’s likely rot. This usually happens due to overwatering or poor air circulation. Remove any affected parts immediately and try to improve conditions. If the whole cutting goes mushy, unfortunately, it’s time to start again. Patience is key here; sometimes a cutting just doesn’t take.
So there you have it! Propagating Pteris orizabae is a wonderful way to multiply your collection and share these lovely ferns with friends. Don’t get discouraged if your first attempt isn’t perfect. Gardening is all about learning and experimenting. Enjoy the journey of nurturing these new life forms, and before you know it, you’ll have a small fern forest of your own!
Resource: