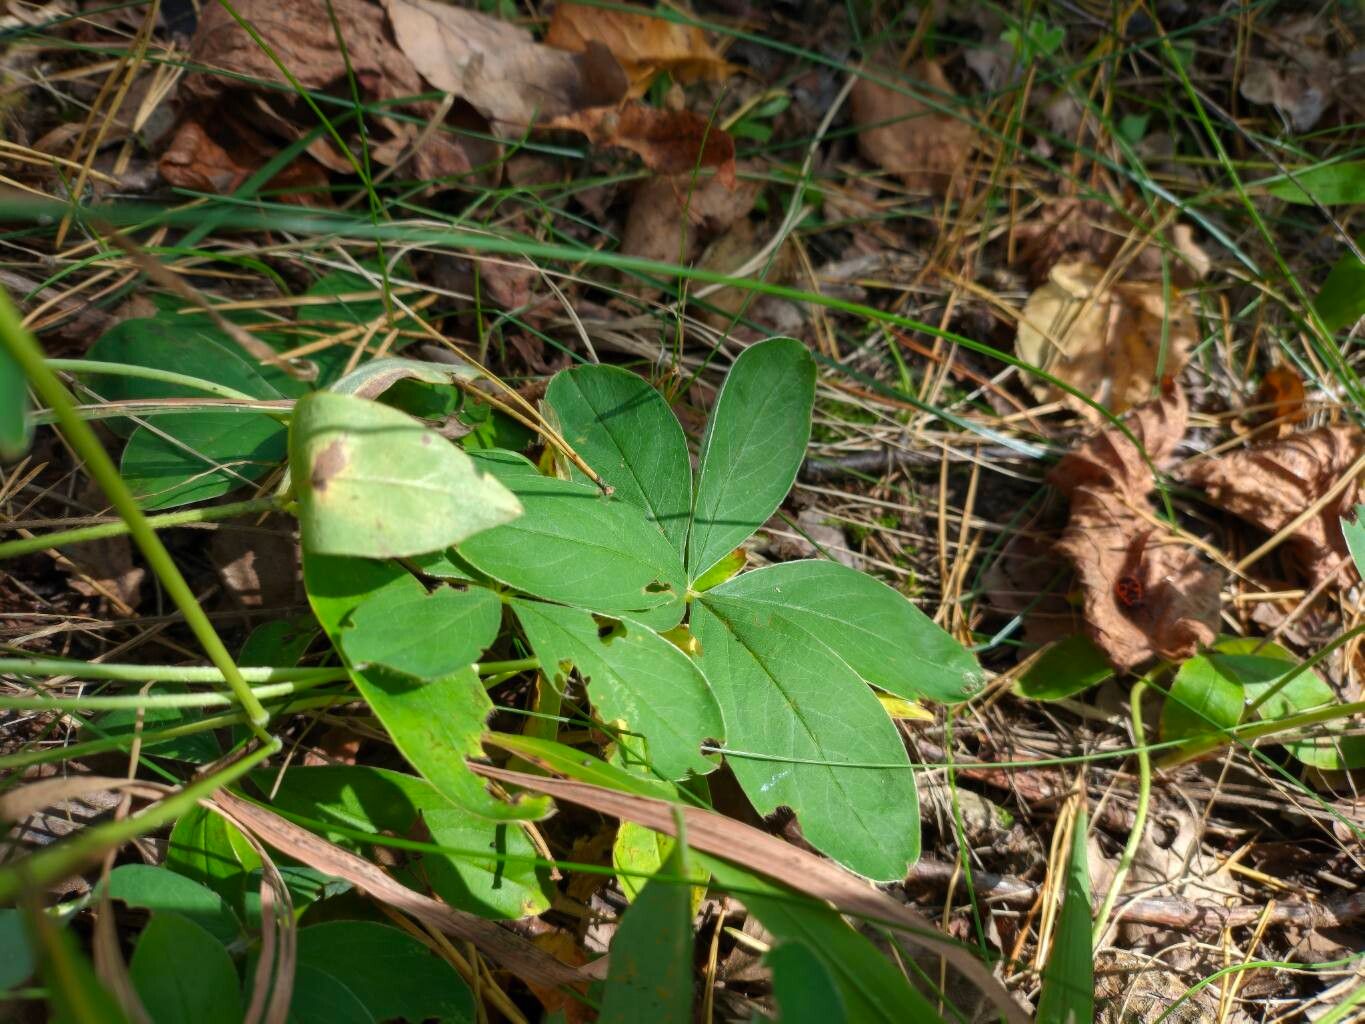
Ah, Potentilla alba! Isn’t it a charming little thing? I’ve always loved its delicate white flowers and tidy, spreading habit. It really adds a touch of understated elegance to any garden spot. And the joy of multiplying your own plants? Honestly, there’s nothing quite like it. You get to share them with friends, fill in bare patches, or just admire your handiwork. As for beginners, I’d say propagating Potentilla alba falls into the “pleasantly achievable” category. It’s not overly fussy, which is always a good sign when you’re just starting out.
The Best Time to Start
For the most success, aim for late spring or early summer, right after the plant has finished its main flush of flowering. This is when the new growth is mature enough to be resilient but still has plenty of energy to put into rooting. You want to be taking cuttings from stems that are semi-hardwood – not brand new and floppy, but not old and woody either. Think of it as the “just right” stage.
Supplies You’ll Need
Here’s what I always have on hand:
- Sharp pruning shears or a clean knife: For making those crucial cuts. Sterilize them!
- Rooting hormone powder or gel: This is a great little helper, especially for those of us who aren’t blessed with a naturally green thumb.
- Small pots or seed trays: With drainage holes, of course.
- A good potting mix: I like a blend that’s light and drains well. A mix of peat moss, perlite, and a little bit of regular potting soil works wonders. You can also buy specialized cutting compost.
- Small plastic bags or a propagator: To create a humid environment for your cuttings.
- Watering can with a fine rose or a spray bottle: For gentle watering.
Propagation Methods: Let’s Get Our Hands Dirty!
The most reliable way to propagate Potentilla alba is through stem cuttings. It’s tried and true!
- Select Your Stems: Look for healthy, non-flowering shoots that are about 4-6 inches long. Gently bend one of the stems; if it snaps cleanly, it’s likely a good candidate. If it bends without breaking, it’s probably too soft.
- Make the Cut: Using your clean, sharp shears, make a cut just below a leaf node (where a leaf attaches to the stem). This is where the magic happens for rooting.
- Prepare the Cuttings: Gently remove the leaves from the bottom half of the cutting. You can pinch them off or carefully cut them. Leave just a couple of leaves at the very top. This reduces water loss. If the remaining leaves are very large, you can even snip them in half horizontally.
- Dip in Rooting Hormone: Lightly moisten the cut end of the stem. Then, dip it into the rooting hormone, tapping off any excess. Don’t be shy with this step – it really gives your cuttings a boost.
- Pot Them Up: Fill your small pots or trays with your prepared potting mix. Make a little hole in the center with your finger or a pencil.
- Insert the Cuttings: Gently push the hormone-coated end of the cutting into the hole, making sure the leaf nodes are below the soil surface. You want about half of the cutting to be buried.
- Water Gently: Water the pots lightly so the soil is moist but not waterlogged.
- Create Humidity: Now for the cozy part! You can either cover the pots with a clear plastic bag, securing it around the pot with a rubber band to create a mini greenhouse, or place them inside a propagator. Make sure the leaves aren’t touching the sides of the bag too much.
The “Secret Sauce” (Pro Tips)
Here are a couple of my little tricks that often make a difference:
- Bottom Heat is Your Friend: If you have it, placing your pots on a heated propagator mat can significantly speed up the rooting process. It mimics the warmth of spring and really encourages root development.
- Don’t Let Them Drown: When you’re misting or watering, be very careful. Even though they like moisture, you don’t want the leaves sitting in water for extended periods. This can lead to rot, and nobody wants that! Ensure good air circulation too by occasionally lifting the plastic bag or opening the propagator vents.
Aftercare & Troubleshooting
Once your cuttings are potted, place them in a bright spot out of direct sunlight. Keep the soil consistently moist but not soggy. You’ll know your cuttings have rooted when you see new leaf growth appearing or when you gently tug on a cutting and feel a bit of resistance. This usually takes anywhere from 4 to 8 weeks, sometimes longer.
If you see stems turning yellow or mushy, that’s a sign of rot. This usually means too much moisture and not enough air circulation. Don’t despair! Remove any rotting cuttings immediately and try to improve ventilation for the others. Sometimes, they just don’t take, and that’s okay. Gardening is all about learning!
A Encouraging Closing
So there you have it! Propagating Potentilla alba is a truly rewarding process. Be patient with your little cuttings, give them a good environment, and don’t be afraid to experiment. Every gardener has cuttings that fail – it’s part of the journey. But when you see those tiny roots emerge and new shoots unfurl, you’ll feel a sense of accomplishment that’s simply unmatched. Happy propagating!
Resource:
https://identify.plantnet.org/k-world-flora/species/Potentilla%20alba%20L./data