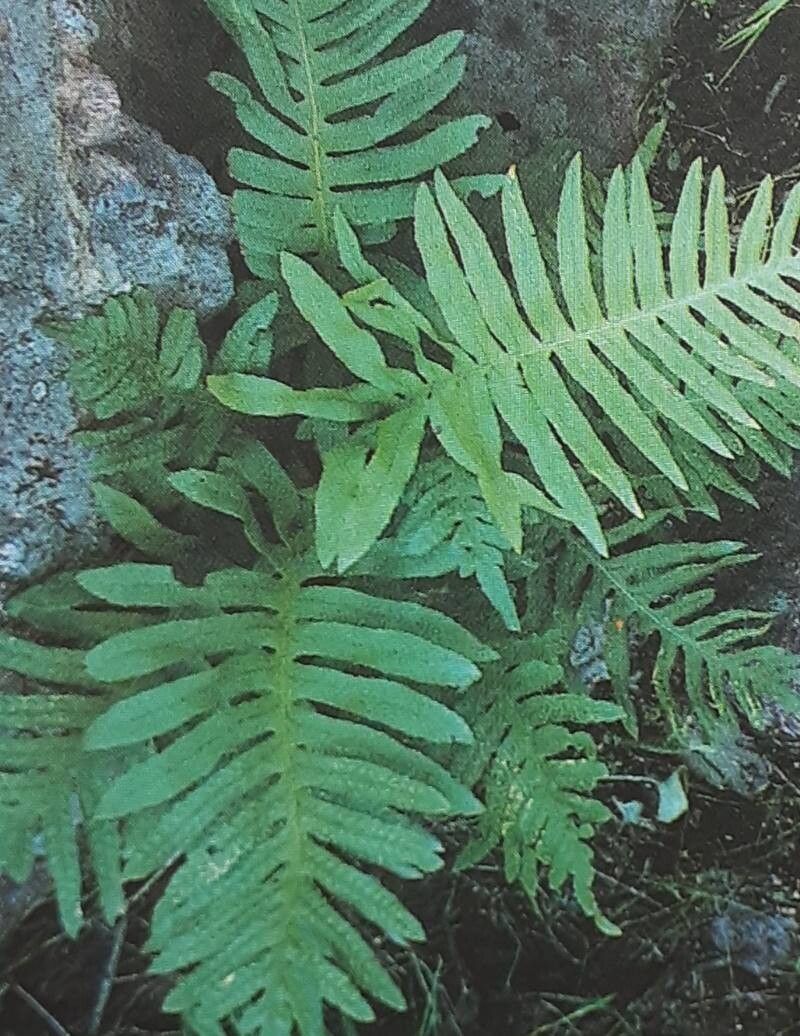
Hello fellow plant lovers! I’m so happy you’re here. Today, we’re diving into the wonderful world of propagating Polypodium interjectum, also known as the Intermediate Polypody. This gorgeous fern, with its lush, arching fronds, is a true gem for any shaded garden or cool, humid indoor space. Seeing those delicate new leaves unfurl from a little piece you’ve coaxed into life… well, it’s one of life’s simple, yet profound, gardening joys. And guess what? You absolutely can do it! While some ferns can be a bit finicky, Polypodium interjectum is surprisingly cooperative, making it a fantastic plant for beginners to try their hand at propagation.
The Best Time to Start
For the highest chance of success with Polypodium interjectum, spring is your best bet. As the weather begins to warm up and the plant starts showing vigorous new growth, it’s got plenty of energy to dedicate to rooting. Aim for late spring or early summer, after the danger of frost has passed if you’re propagating outdoors. If you’re working with an indoor plant, you can often get away with propagation during its active growth phase anytime from early spring through summer.
Supplies You’ll Need
Gathering your supplies beforehand always makes the process smoother. Here’s what I usually have on hand:
- Sharp pruning shears or a clean, sharp knife: Essential for making clean cuts. Don’t skimp on sharpness – ragged edges invite trouble.
- Potting mix: A light, airy mix is key for ferns. I love a blend of peat moss, perlite, and a little bit of regular potting soil. You can also find specific fern mixes.
- Small pots or trays: Terracotta pots are great because they breathe, but plastic works too. Make sure they have drainage holes!
- Watering can with a fine rose: Gentle watering is crucial for delicate new growth.
- Optional: Rooting hormone: While not strictly necessary for Polypodium interjectum, it can give cuttings a little boost. I prefer the powdered form for ferns.
- Optional: Clear plastic bag or propagator lid: To create a humid environment.
- Optional: Small pebbles or grit: For improving drainage at the bottom of pots.
Propagation Methods
Polypodium interjectum is a champion at dividing. This is my preferred and usually most successful method for this particular fern.
Division: The Heart of the Matter
Dividing a mature fern is like giving it a refreshing haircut while also creating new plants!
- Gently Extract the Parent Plant: If your fern is in a pot, carefully tip it out. If it’s in the ground, dig around the root ball a few inches out and lift it. Try to keep as much of the root system intact as possible.
- Inspect the Rhizomes: You’ll notice sturdy, creeping stems on the surface or just beneath the soil – these are its rhizomes. Look for natural divisions where the rhizome has grown apart, creating distinct clumps with their own fronds and roots.
- Separate with Care: Using your hands or a clean, sharp knife, carefully split the rhizomes. You want each new section to have a good amount of root attached and at least one or two healthy fronds. There’s no “perfect” way to do this; just be as gentle as you can. Sometimes, you might need to cut through a thicker rhizome.
- Pot Up Your New Babies: Place each division into its own pot filled with your airy fern mix. Ensure the rhizome is just at or slightly below the soil surface.
- Water Gently: Water thoroughly but gently, making sure not to dislodge the new roots.
The “Secret Sauce” (Pro Tips)
Here are a few little tricks that I’ve learned over the years that can make all the difference:
- Don’t Over-Pot: It might seem counterintuitive, but over-potting a division can lead to root rot. Start your new plants in pots that feel just right for their size. They’d rather be a little snug than drowning in excess soil.
- Humidity is King: Ferns absolutely adore humidity. After potting up your divisions, water them lightly, and then loosely cover the pots with a clear plastic bag or a propagator lid. This creates a mini-greenhouse effect, keeping moisture levels high and encouraging roots to form. Just remember to “burp” the bag daily for a few minutes to allow for air circulation.
- Patience with the Pantry: If you are not dividing and want to try taking cuttings from rhizomes (which is more advanced but possible!), don’t let the cut ends dry out for even a minute. Get them straight into moist soil or your rooting medium.
Aftercare & Troubleshooting
Once your divisions are potted, keep them in a bright, indirect light location. Avoid direct sunlight, as it will scorch those delicate fronds. Keep the soil consistently moist but not waterlogged. You should start to see new frond development within a few weeks to a couple of months, which is a surefire sign that your plant is settling in and rooting.
The most common issue you might encounter is rot. This typically happens if the soil stays too wet, or if there’s poor air circulation. If you see a frond turning yellow and mushy at the base, or the rhizome itself feels soft and dark, it’s likely rot. Remove the affected parts immediately, and ensure the soil is draining well. If the whole division is affected, unfortunately, it might be a loss, but don’t be discouraged!
A Encouraging Closing
Propagating Polypodium interjectum is such a rewarding journey. It’s about connecting with your plants on a deeper level and multiplying the beauty in your garden or home. Be patient with the process. Nature works on its own schedule, and sometimes, it takes a little time for those roots to get established. But when you see that first tiny unfurling fiddlehead on your new fern, you’ll know it was all worth it. Happy propagating!
Resource:
https://identify.plantnet.org/k-world-flora/species/Polypodium%20interjectum%20Shivas/data